Overview
CloudBase provides a MySQL database service that supports complete SQL features, offering developers a stable and reliable data storage solution.
Use AI to manage relational databases and SQL operations
How to Create
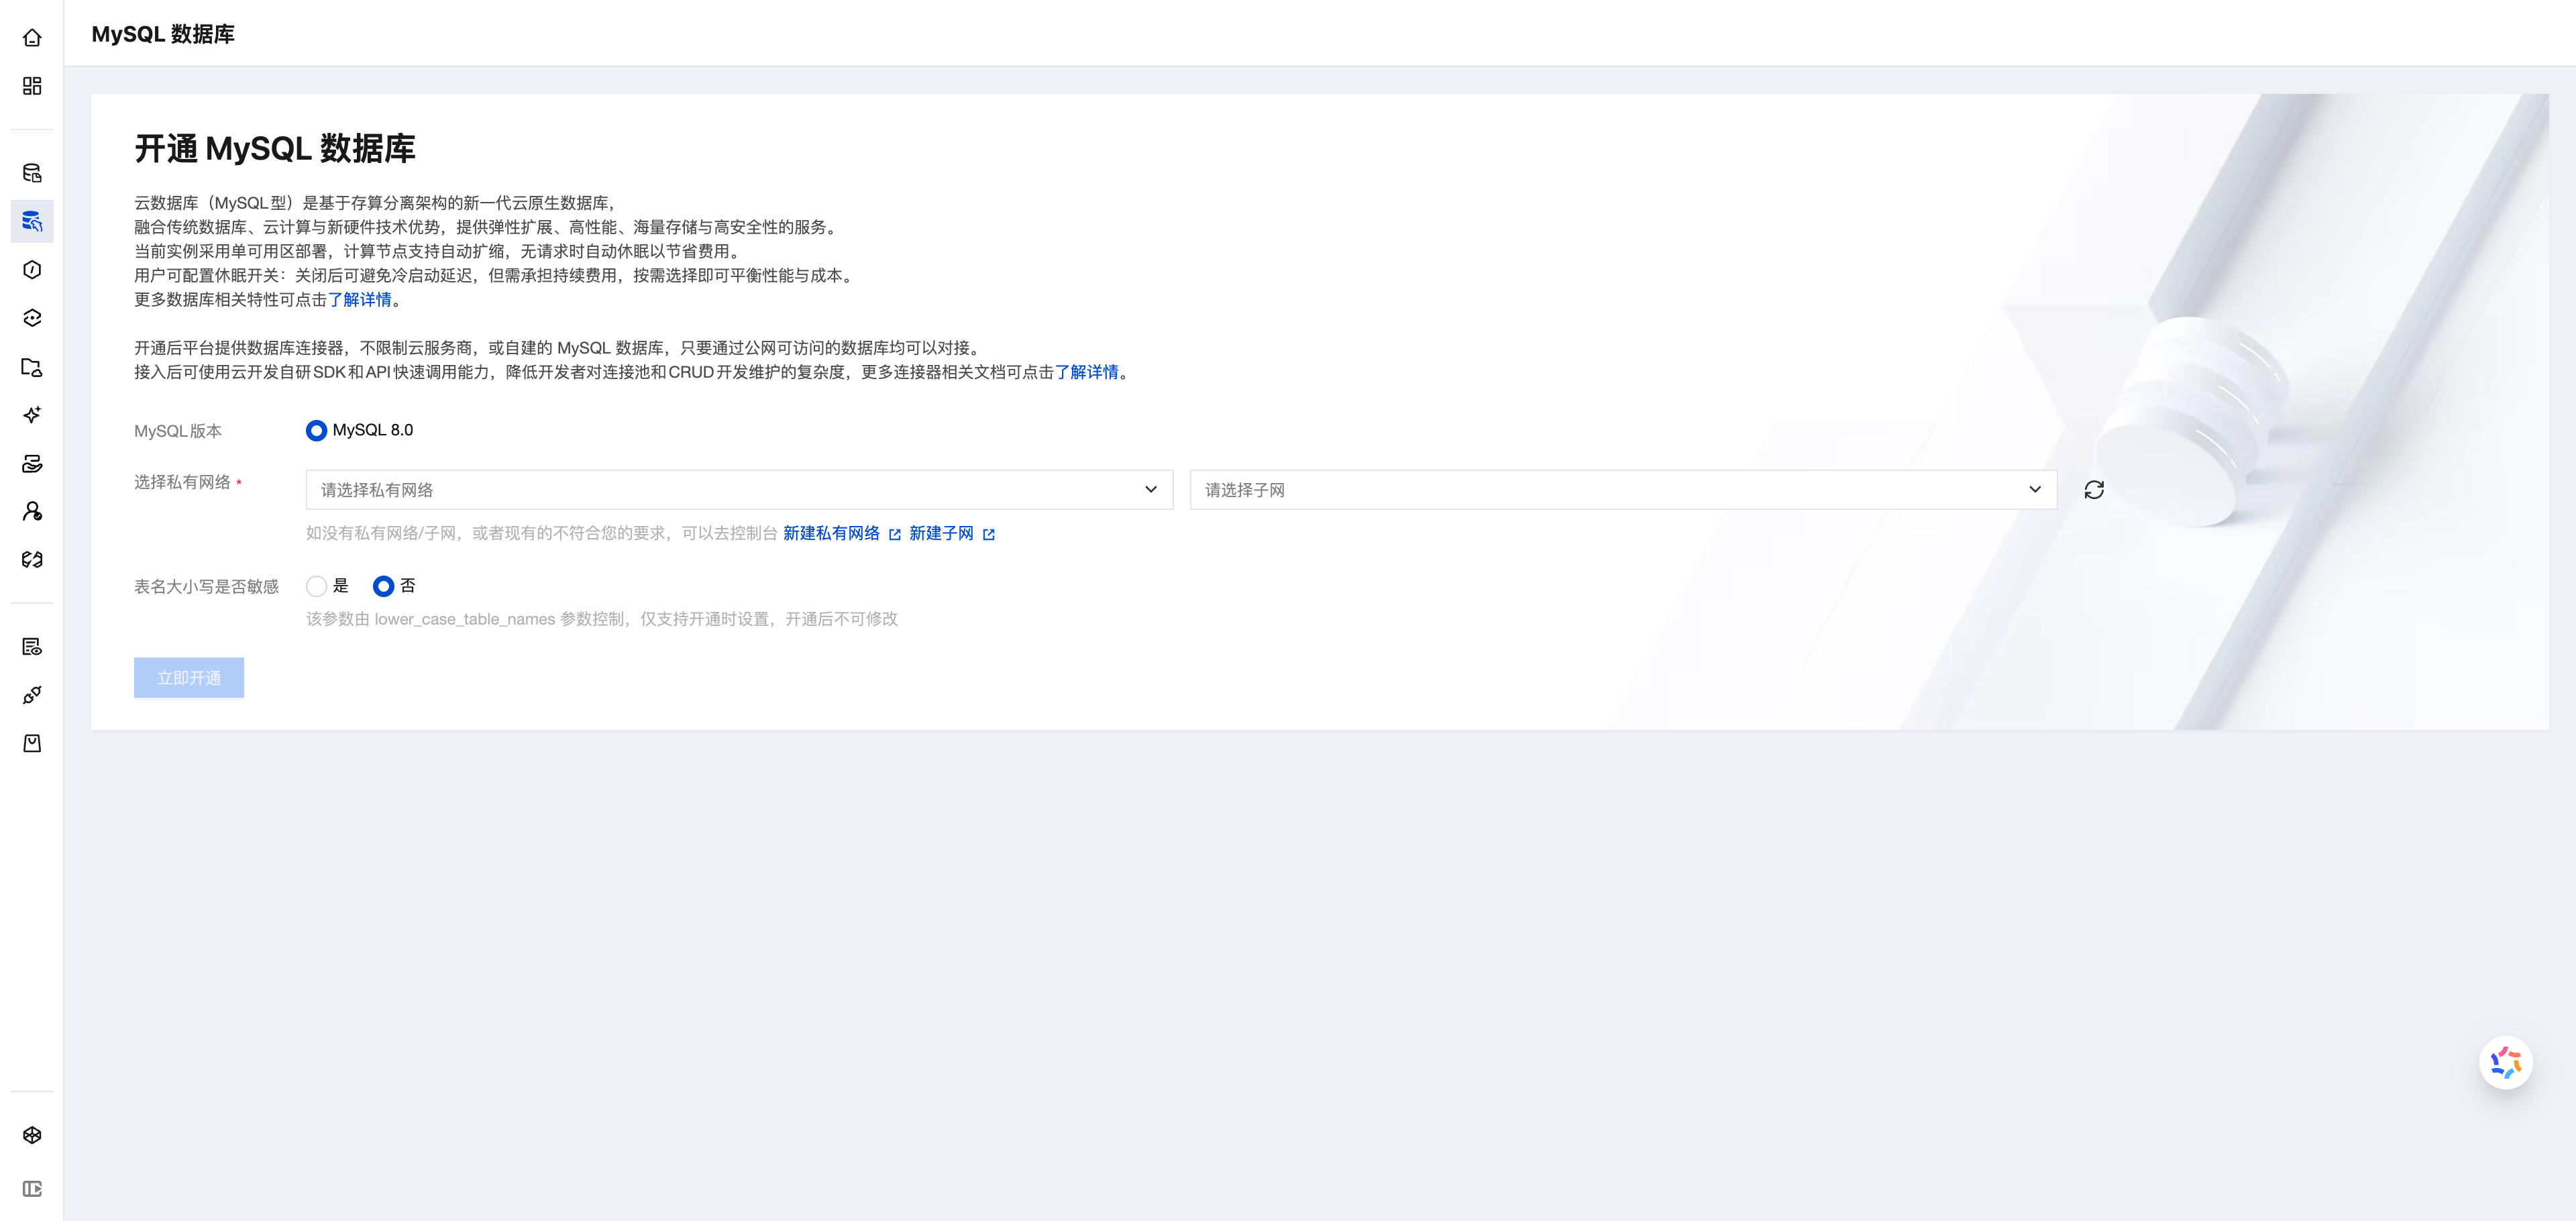
Initialize the database
Access the Cloud Development Platform/MySQL Database. First-time users of Cloud Development need to activate the MySQL database.
💡 Note: The activation process takes 2-3 minutes. Please wait patiently.
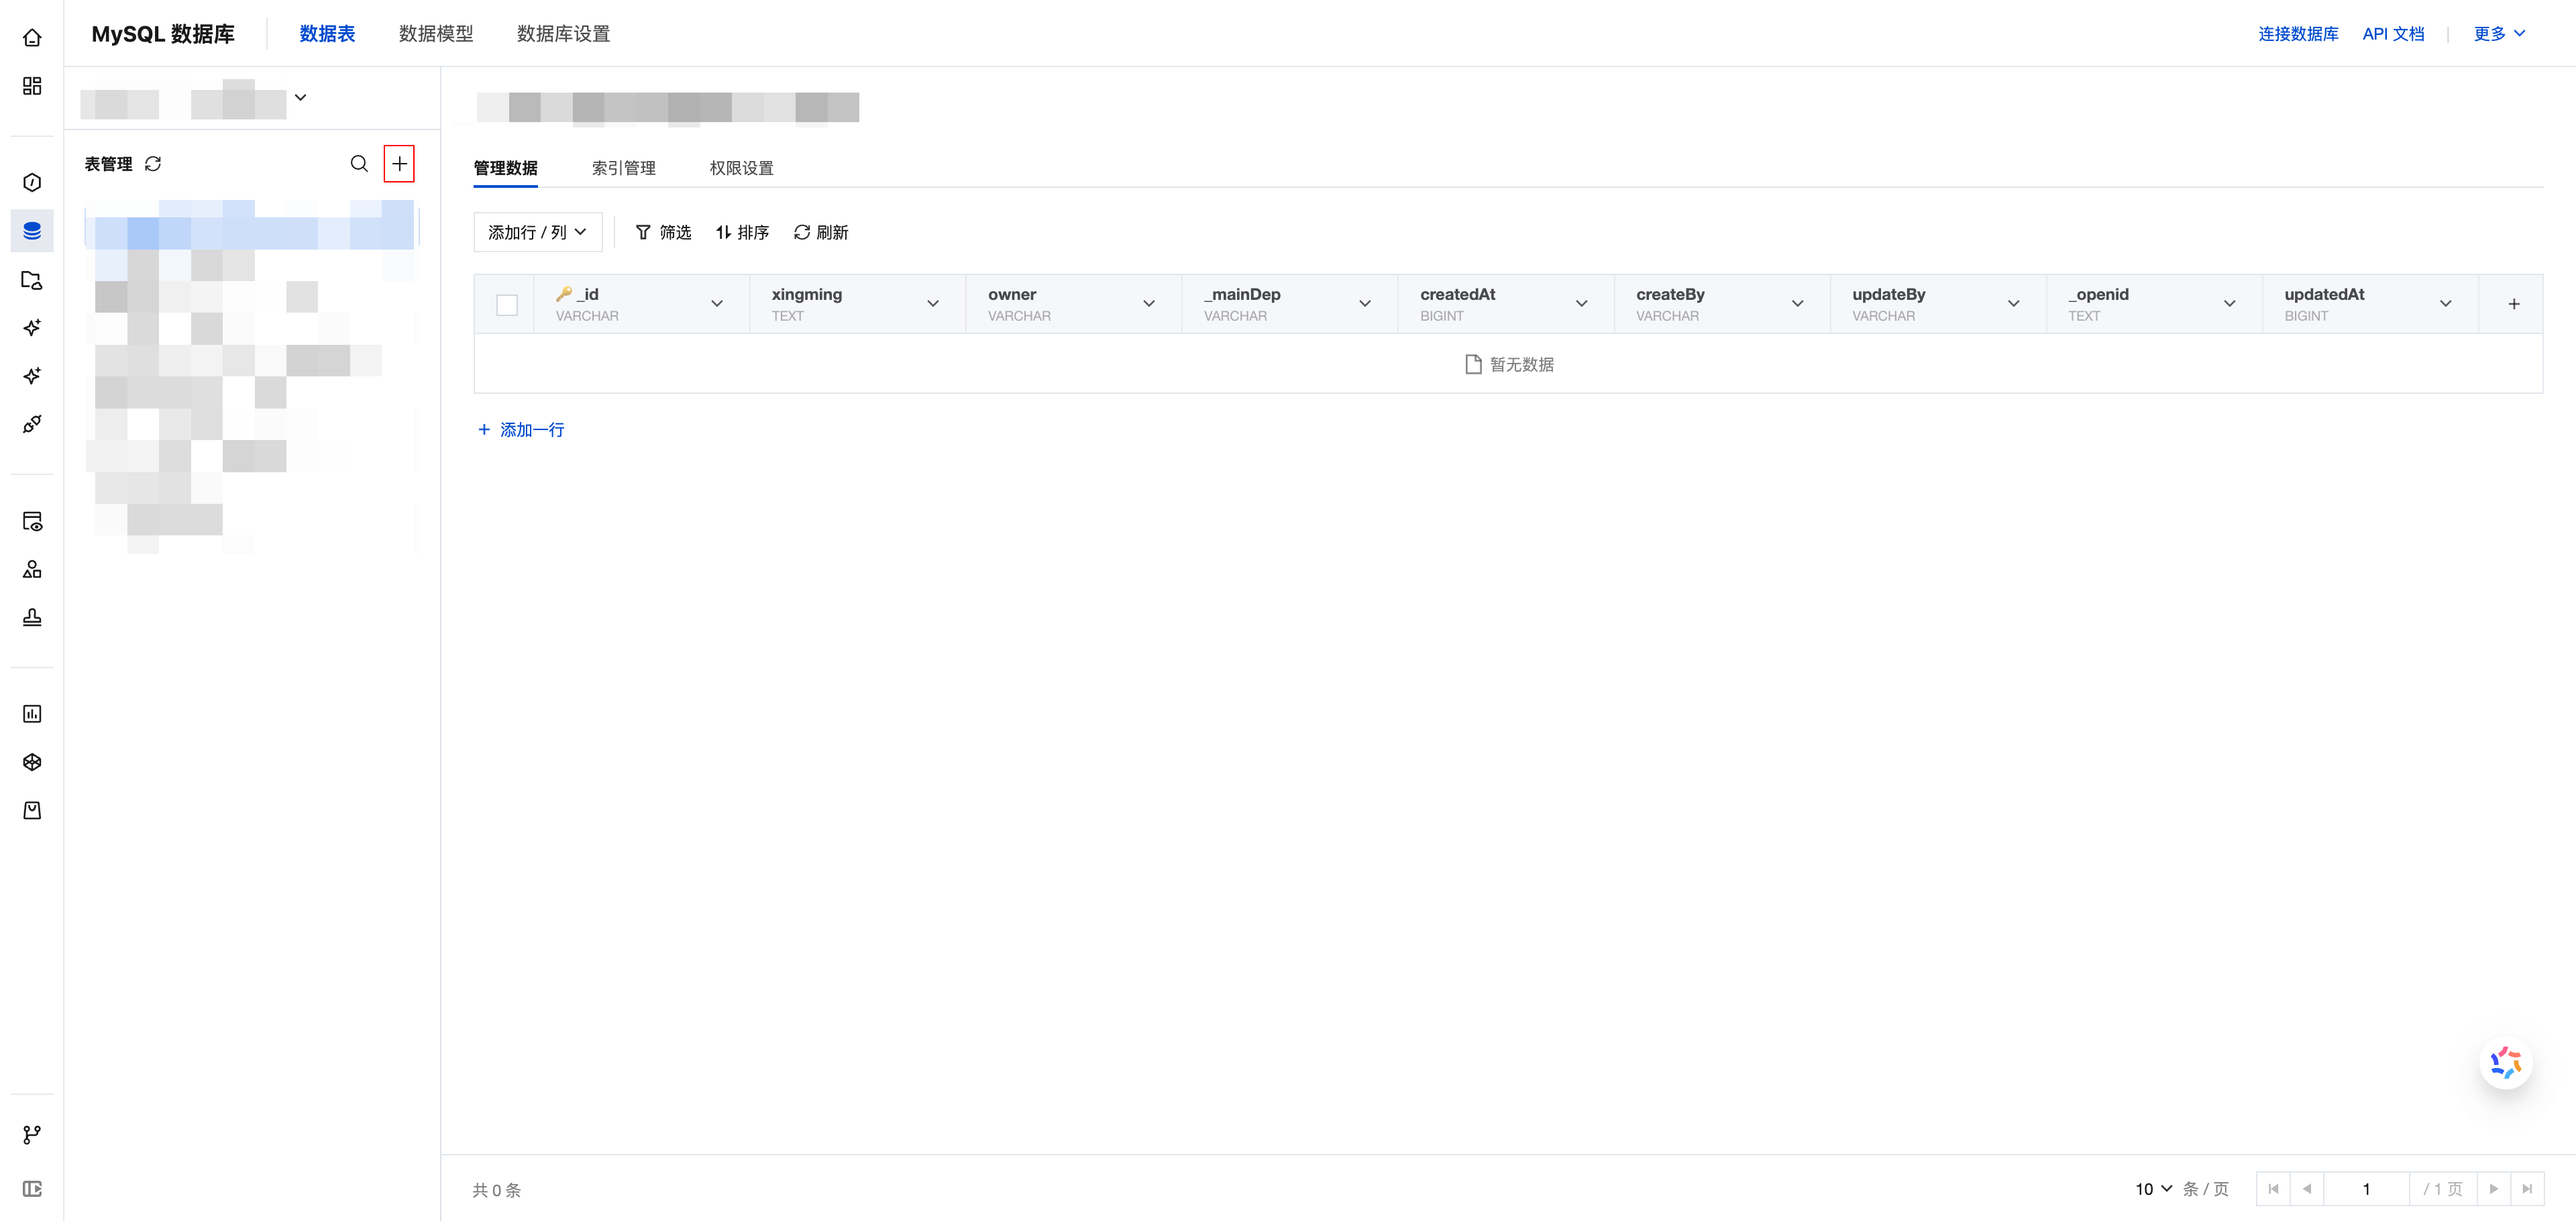
Create Table
After initialization is complete, click the '+' button to create a MySQL table.
Auto-pause Mechanism
MySQL databases are built on a serverless infrastructure and adopt a pay-as-you-go billing model:
- After a compute node starts, it generates CCU billing units.
- After startup, the minimum runtime is 10 minutes.
- If there is no access for 10 consecutive minutes, it will automatically pause to save costs.
Database auto-pause can save resource usage costs, but it may cause a cold start that affects business performance. If you do not want this delay, you can disable the auto-pause feature.
Procedures:
- Go to Cloud Development Platform/MySQL Database/Database Settings
- Disable the auto-pause switch
Data Model
For scenarios such as structured data management, data quality assurance, and team collaborative development, Cloud Development provides the data model feature with the following characteristics:
- Visually define data structures, field types, and relationships
- Automatic data validation
- Relationship management
- Built-in CMS management page
Through the data model feature, developers can quickly build business databases.
For specific usage instructions, please refer to data model.