Connect Your Own MongoDB
You can connect Tencent Cloud MongoDB database to the CloudBase platform, reuse existing database resources, and reduce data migration costs.
After connecting Tencent Cloud database, you can:
- Seamless Integration: Directly manage data in your existing database without data migration
- Data Models: Quickly generate data models based on existing collections for automated data management
- SDK Support: Unified access using CloudBase Web SDK / Node SDK / Mini Program SDK
- Secure and Controllable: Data remains in your database with full control over data security
Currently only supports connecting "Tencent Cloud MongoDB Database in the same region", other cloud service providers or self-built MongoDB databases are not supported yet.
Prerequisites
Before configuring Tencent Cloud MongoDB database connection, please ensure:
| Check Item | Requirements |
|---|---|
| Database Source | Must be a Tencent Cloud MongoDB database instance |
| Network Access | Database has public network access capability or intranet access configured |
| User Permissions | Dedicated database user account has been created with collection operation permissions |
| Firewall Configuration | Database firewall has opened the corresponding port (MongoDB default 27017) |
| IP Whitelist | CloudBase service IP whitelist has been configured (see end of document) |
Create Connection Configuration
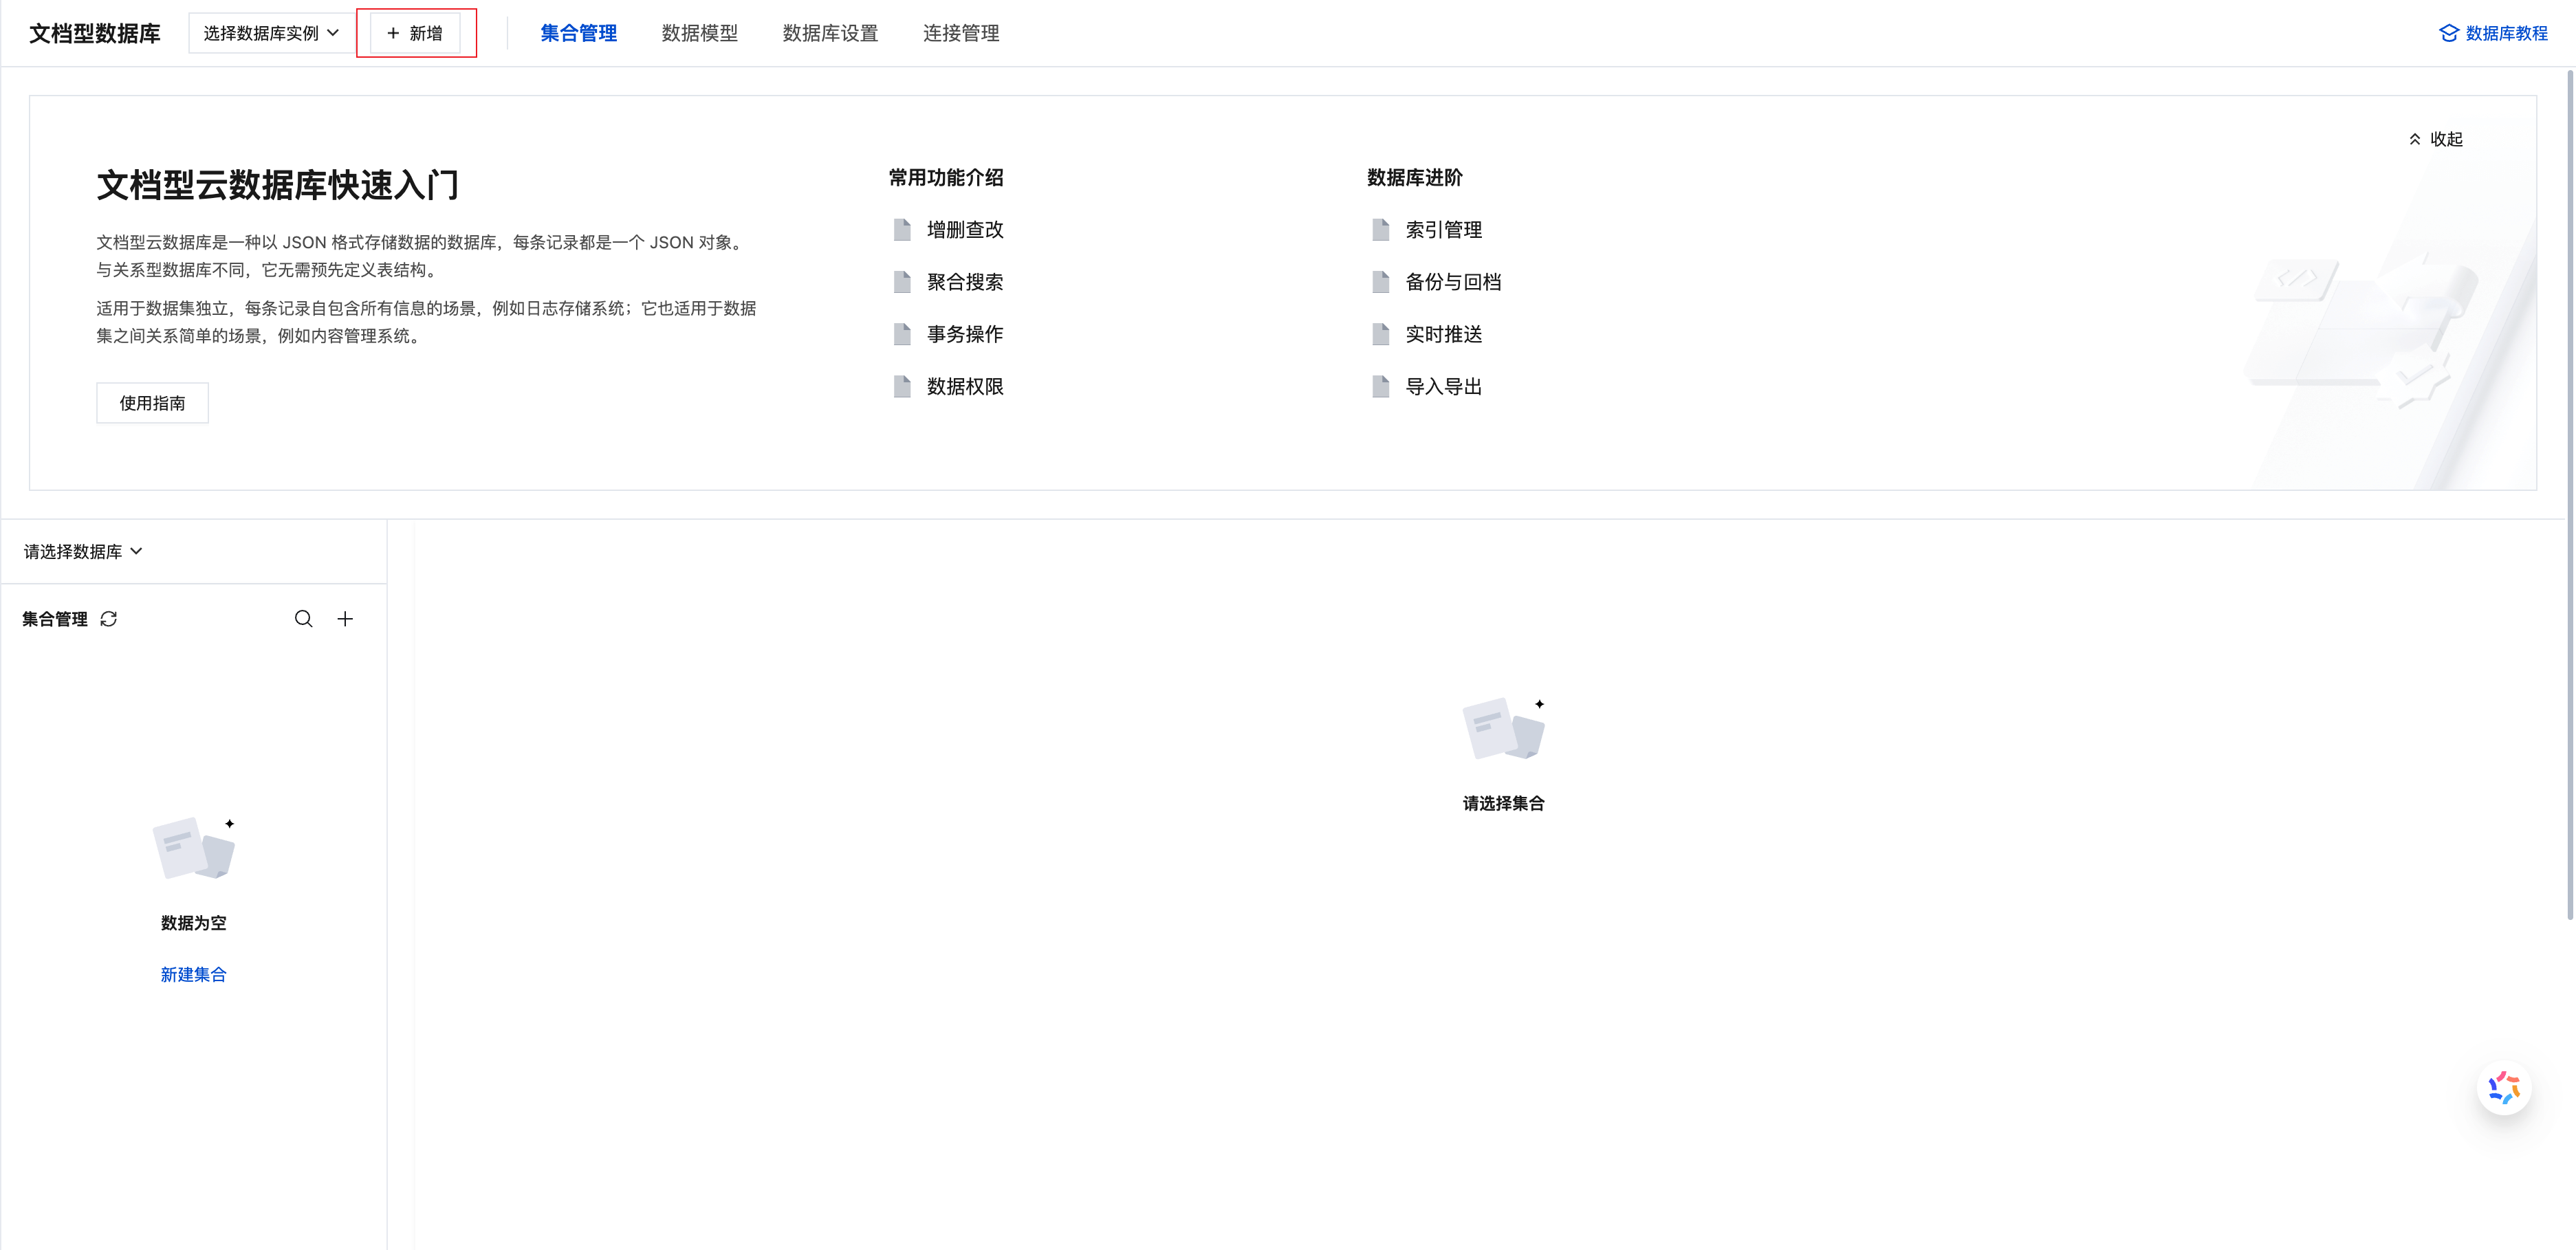
1. Access Configuration Page
Visit CloudBase Platform/Document Database, click the "Add Connection" button at the top
2. Fill in Connection Information
| Parameter | Description | Required |
|---|---|---|
| Configuration Name | Custom name for identifying this connection in the platform | Yes |
| Configuration Identifier | English identifier for specifying the connection in SDK (e.g., my-mongodb) | Yes |
| Database Name | Target database name to connect | Yes |
| Username | Database connection username | Yes |
| Password | Database connection password | Yes |
| Connection Parameters | Additional MongoDB connection parameters (e.g., authSource=admin) | No |
| Timeout | Connection and query timeout (unit: seconds) | No |
3. Set Default Instance (Optional)
After creating a connection configuration, you can set it as the default instance to simplify code calls.
Purpose of Default Instance
- Data Model Support: The default database supports creating data models, which can be operated via data model APIs and used in WeDa low-code platform
- Auto SDK Connection: All SDKs (JavaScript/Node.js/Mini Program) will point to the default instance's default database when calling relevant interfaces without explicitly specifying the target instance and database
How to Set
Visit CloudBase Platform/Document Database/Connection Management, click "Set as Default Instance" button on the target connection configuration.
Switching the default database may affect the calling method of the original database in business code. It is recommended to check the code and perform operations during off-peak business hours.
Affected SDK Call Examples:
- Mini Program:
wx.cloud.database()(without instance parameter) - Web SDK:
app.database()(without instance parameter) - Node SDK:
app.database()(without instance parameter)
Usage Methods
After connecting your own NoSQL database, you can operate data in the following two ways.
Method 1: Direct Database Collection Operations
Perform CRUD operations directly through SDK
- Mini Program
- Web
- Node.js
Method 1: Using Default Instance (wx Native API, available only on the Chinese site)
Using wx.cloud.database() in mini programs calls the default database instance. To access Tencent Cloud MongoDB database, please first set it as the "Default Instance" in CloudBase console.
// Initialize CloudBase
wx.cloud.init({
  env: "your-env-id", // Replace with your environment ID
});

// Auto connect to default instance (no need to specify instance)
const db = wx.cloud.database();

const result = await db
  .collection("users")
  .where({
    status: "active",
  })
  .get();
Method 2: Using JS SDK to Specify Instance
You can explicitly specify the database instance to access via @cloudbase/js-sdk.
import cloudbase from "@cloudbase/js-sdk";

const app = cloudbase.init({
  env: "your-env-id", // Replace with your environment ID
  region: "ap-shanghai", // Default is ap-shanghai if region is not specified
});

// Login authentication
const auth = app.auth();
await auth.signInWithOpenId();

// Specify access to Tencent Cloud MongoDB instance
const db = app.database({
  instance: "my-mongodb", // Configuration identifier
  database: "test",
});

const result = await db
  .collection("users")
  .where({
    status: "active",
  })
  .get();
// Import SDK
import cloudbase from "@cloudbase/js-sdk";

const app = cloudbase.init({
  env: "your-env-id", // Replace with your environment ID
  region: "ap-shanghai", // Default is ap-shanghai if region is not specified
});

// Login authentication
const auth = app.auth();
await auth.signInAnonymously(); // Or use other login methods

// Connect to your own database instance
const db = app.database({
  instance: "my-mongodb", // Configuration identifier (identifier filled when creating the connection)
  database: "test", // Database name
});

// Query data
const result = await db
  .collection("users")
  .where({
    status: "active",
  })
  .get();

if (result.data) {
  console.log("Query result:", result.data);
} else {
  console.error("Query failed:", result.errMsg);
}
// Import SDK
const cloudbase = require("@cloudbase/node-sdk");

const app = cloudbase.init({
  env: "your-env-id", // Replace with your environment ID
});

// Connect to your own database instance
const db = app.database({
  instance: "my-mongodb", // Configuration identifier
  database: "test", // Database name
});

// Query data
const result = await db
  .collection("users")
  .where({
    status: "active",
  })
  .limit(10)
  .get();

console.log(result.data);
Method 2: Using Data Models
Suitable for scenarios requiring structured data management, automatic validation, relational queries, etc.
1. Create Data Model
Visit CloudBase Platform/Document Database/Connection Management, click "Data Model" on the corresponding connection configuration
Select an existing collection, and the system will automatically generate the corresponding data model.
2. Operate Data Models
- Mini Program
- Web
- Node.js
// Import SDK
const { init } = require("@cloudbase/wx-cloud-client-sdk");

wx.cloud.init({
  env: "your-env-id", // Replace with your environment ID
});

const client = init(wx.cloud);
const models = client.models;

// Create data (assuming the todos model has been created)
const { data, error } = await models.todos.create({
  data: {
    title: "Learn CloudBase",
    completed: false,
  },
});

// Query data
const todos = await models.todos.findMany({
  where: {
    completed: false,
  },
  orderBy: {
    createdAt: "desc",
  },
});

console.log(todos);
// Import SDK
import cloudbase from "@cloudbase/js-sdk";

const app = cloudbase.init({
  env: "your-env-id", // Replace with your environment ID
  region: "ap-shanghai", // Default is ap-shanghai if region is not specified
});

// Login authentication
const auth = app.auth();
await auth.signInAnonymously();

// Create data (assuming the todos model has been created)
const { data, error } = await app.models.todos.create({
  data: {
    title: "Learn CloudBase",
    completed: false,
  },
});

// Query data
const todos = await app.models.todos.findMany({
  where: {
    completed: false,
  },
  orderBy: {
    createdAt: "desc",
  },
});

console.log(todos);
const cloudbase = require("@cloudbase/node-sdk");

const app = cloudbase.init({
  env: "your-env-id", // Replace with your environment ID
});

// Create data
const { data } = await app.models.todos.create({
  data: {
    title: "Learn CloudBase",
    completed: false,
  },
});

// Update data
await app.models.todos.update({
  where: {
    id: data.id,
  },
  data: {
    completed: true,
  },
});
For detailed usage, please refer to Data Model Documentation
FAQ
Will data be synchronized to CloudBase?
No. After connecting your own database:
- Data Storage: All data remains in your database
- Access Method: CloudBase SDK directly connects to your database for operations
- Data Control: You have full control over data storage and backup