Quick Start
A cloud function is essentially a piece of code. Here, using Node.js as an example, we introduce how to create a cloud function.
Node.js services typically require an entry file index.js. If you utilize npm packages, a package.json file is also needed to describe dependencies.
Therefore, the most basic Node.js service directory structure is as follows:
└── helloWorld
    ├── index.js
    └── package.json
Creating a Cloud Function
You can create a cloud function in the following three ways. Please choose the appropriate method based on your development environment:
- TCB Console
- Mini Program IDE
- Local Creation
Go to TCB/cloud function, click the Create New Cloud Function button.
- Choose a suitable template. If none is suitable, you can create from scratch.
- Select the runtime environment as Nodejs 18.15 (other versions are also selectable)
- Fill in the function name
- Click the Start Creation button
After the creation is completed, go to the cloud function where you can see a default index.js file.
- Click Save and Install Dependencies below to complete the deployment of the cloud function.
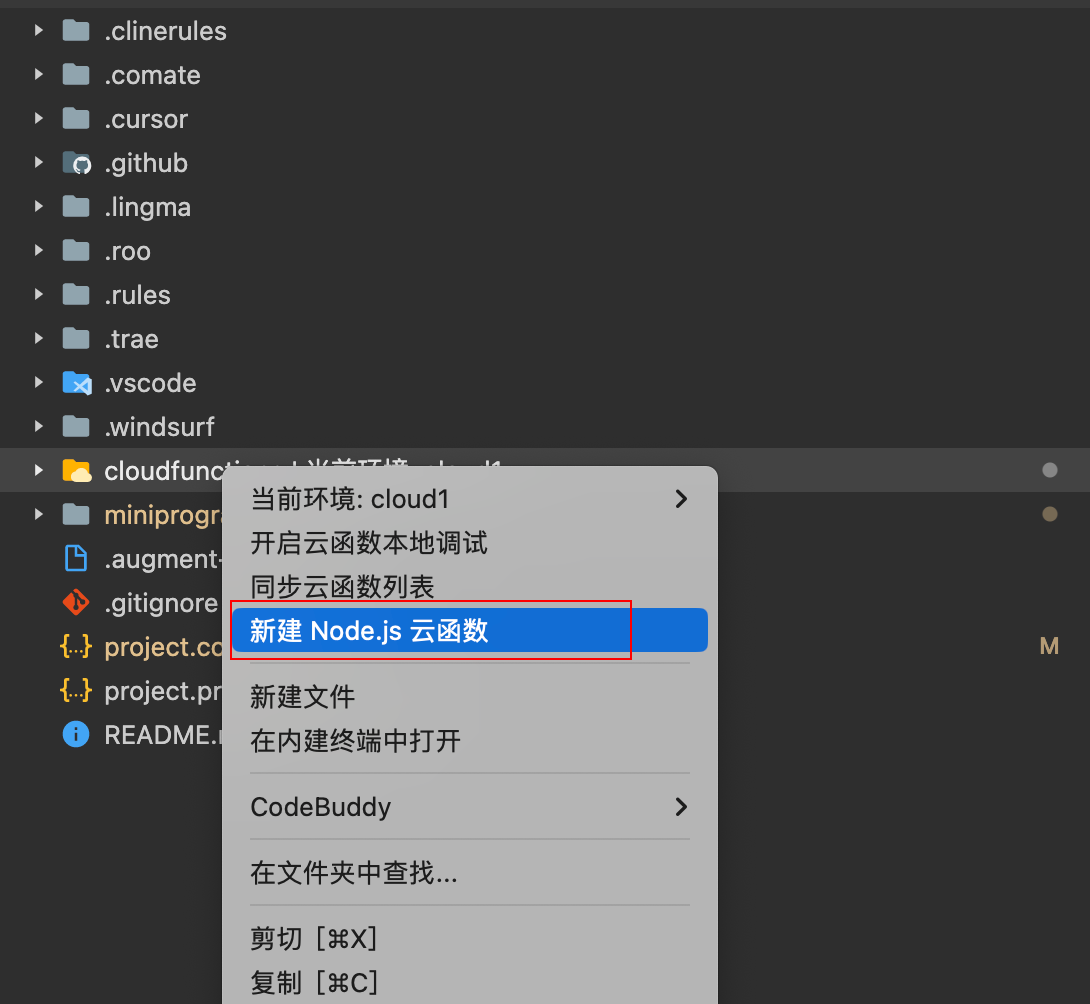
If you are developing cloud functions based on WeChat DevTools, you can create cloud functions directly in WeChat DevTools. Refer to the steps in Getting Started with Cloud Functions.
- Right-click the cloud function directory, select New Node.js Cloud Function, to create a cloud function.
- Write the content of the
index.jsfile as follows:
exports.main = async function () {
    return 'Hello World!';
};
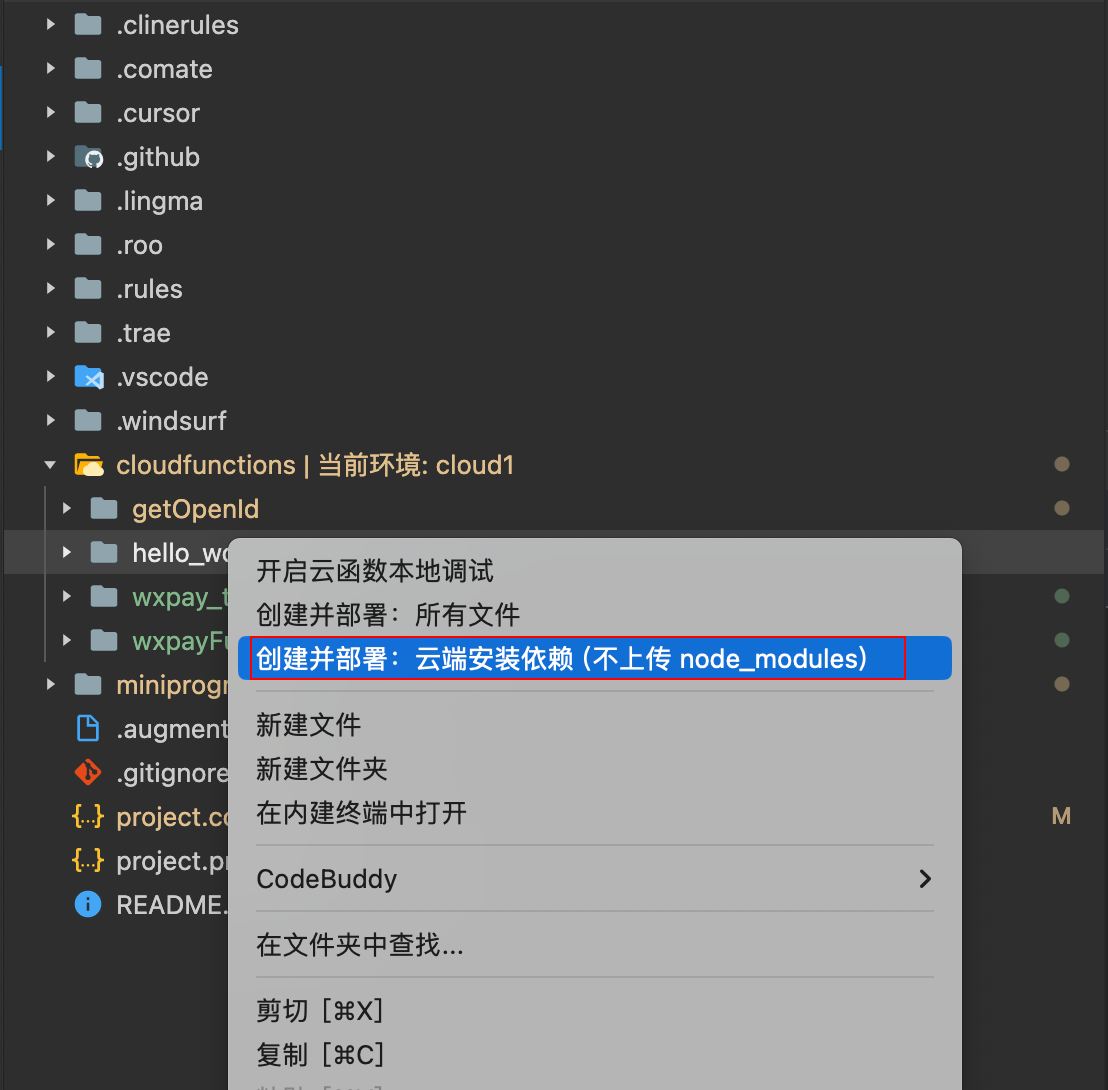
- Select the cloud function directory, right-click, and choose Create and Deploy: Install Dependencies in the Cloud to complete the deployment of the cloud function.
- Create an empty folder locally as the project's root directory, named
cloud-demo(project root directory). - Go to the root directory and create the functions folder (directory for storing cloud functions).
- Create the hello_world folder (specific cloud function directory) under functions.
- Create index.js (cloud function entry file) in the hello_world cloud function.
The directory structure at this point is as follows:
└── cloud-demo          # project root directory
    └── functions        # cloud function directory
        └── hello_world  # cloud function instance
            └── index.js # cloud function entry file
- Write the
index.jsfile content as follows:
exports.main = async function () {
    return 'Hello World!';
};
- Then open the terminal to the current
hello_worlddirectory and run the following command to initialize package.json:
npm init -y
- Install and log in to the CLI tool, then run the following command in the terminal to install the CLI globally:
For specific details about the CLI tool, refer to: CLI Quick Start
npm i -g @cloudbase/cli
After successful installation, enter the following command to check whether the installation is successful:
tcb -v
If you see the version number output, it indicates that the installation was successful.
- Log in to the CLI
Log in to the environment where the cloud function needs to be deployed by running the following command:
tcb login
CloudBase CLI will automatically open the TCB console to obtain authorization. You need to click the Agree to Authorize button to allow CloudBase CLI to obtain authorization. If you are not logged in, you need to log in first to perform this operation.
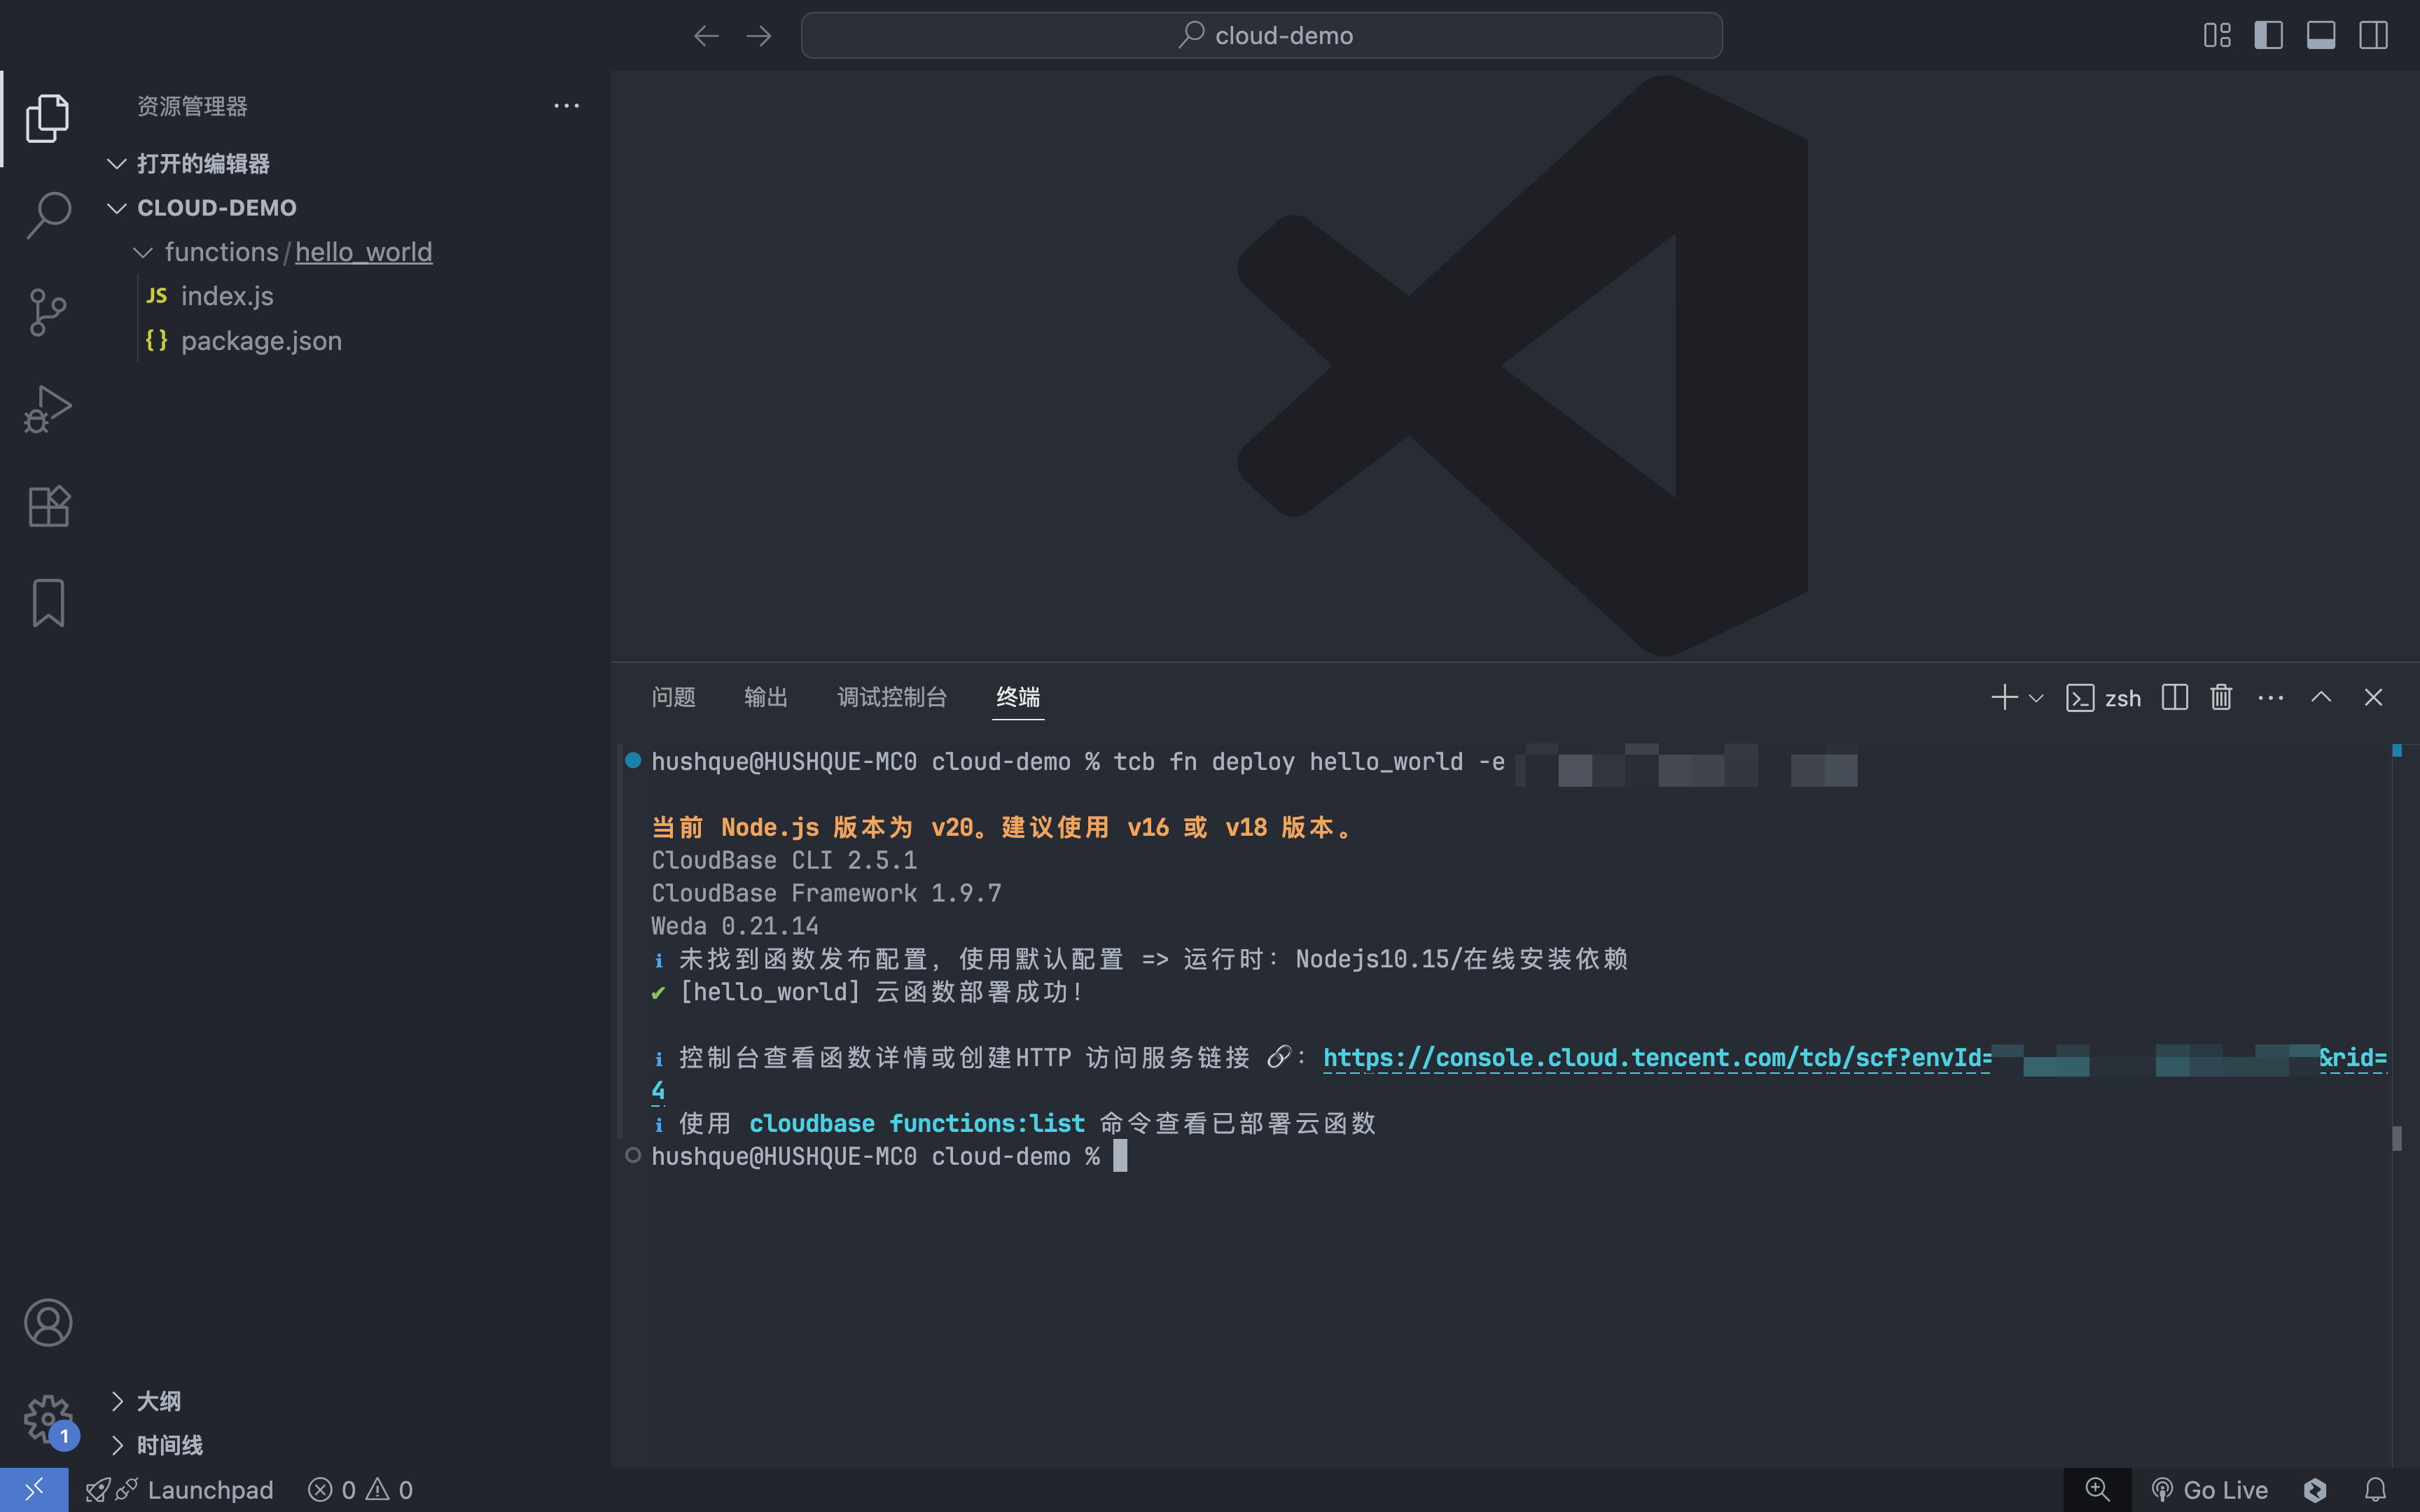
- Run the following command in the project root directory and use the default configuration:
⚠️ Note: You need to obtain the environment ID of the TCB environment
tcb fn deploy hello_world -e <env-id>
Invoking Cloud Functions
There are mainly the following methods to invoke cloud functions:
- Use the TCB SDK
- Use the HTTP access service
- Use the HTTP API
- Use triggers
Using the SDK to Invoke Cloud Functions
- Mini Program
- Web
- Node.js
wx.cloud
    .callFunction({
        // cloud function name
        name: 'hello_world',
        // Parameters passed to the cloud function
        data: {
            a: 1,
        },
    })
    .then((res) => {
        console.log(res); // Hello World!
    })
    .catch(console.error);
import cloudbase from '@cloudbase/js-sdk';
const app = cloudbase.init({
    env: 'xxxx-yyy',
});

app.callFunction({
    // cloud function name
    name: 'hello_world',
    // Parameters passed to the cloud function
    data: {
        a: 1,
    },
})
    .then((res) => {
        console.log(res); // Hello World!
    })
    .catch(console.error);
const cloudbase = require('@cloudbase/node-sdk');
const app = cloudbase.init({
    env: 'xxxx-yyy',
});

app.callFunction({
    // cloud function name
    name: 'hello_world',
    // parameters passed to the cloud function
    data: {
        a: 1,
    },
})
    .then((res) => {
        console.log(res); // Hello World!
    })
    .catch(console.error);
Accessing and Invoking Cloud Functions via HTTP
You can choose to create an HTTP service to access cloud functions and then invoke cloud functions via HTTP.
There are two operation methods:
TCB console
-
Go to TCB/HTTP Access Service
-
Create a new "domain association resource":
- Select cloud function as the associated resource, hello_world
- Select the default domain, or choose your custom domain
- Enter the trigger path, here enter
/hello
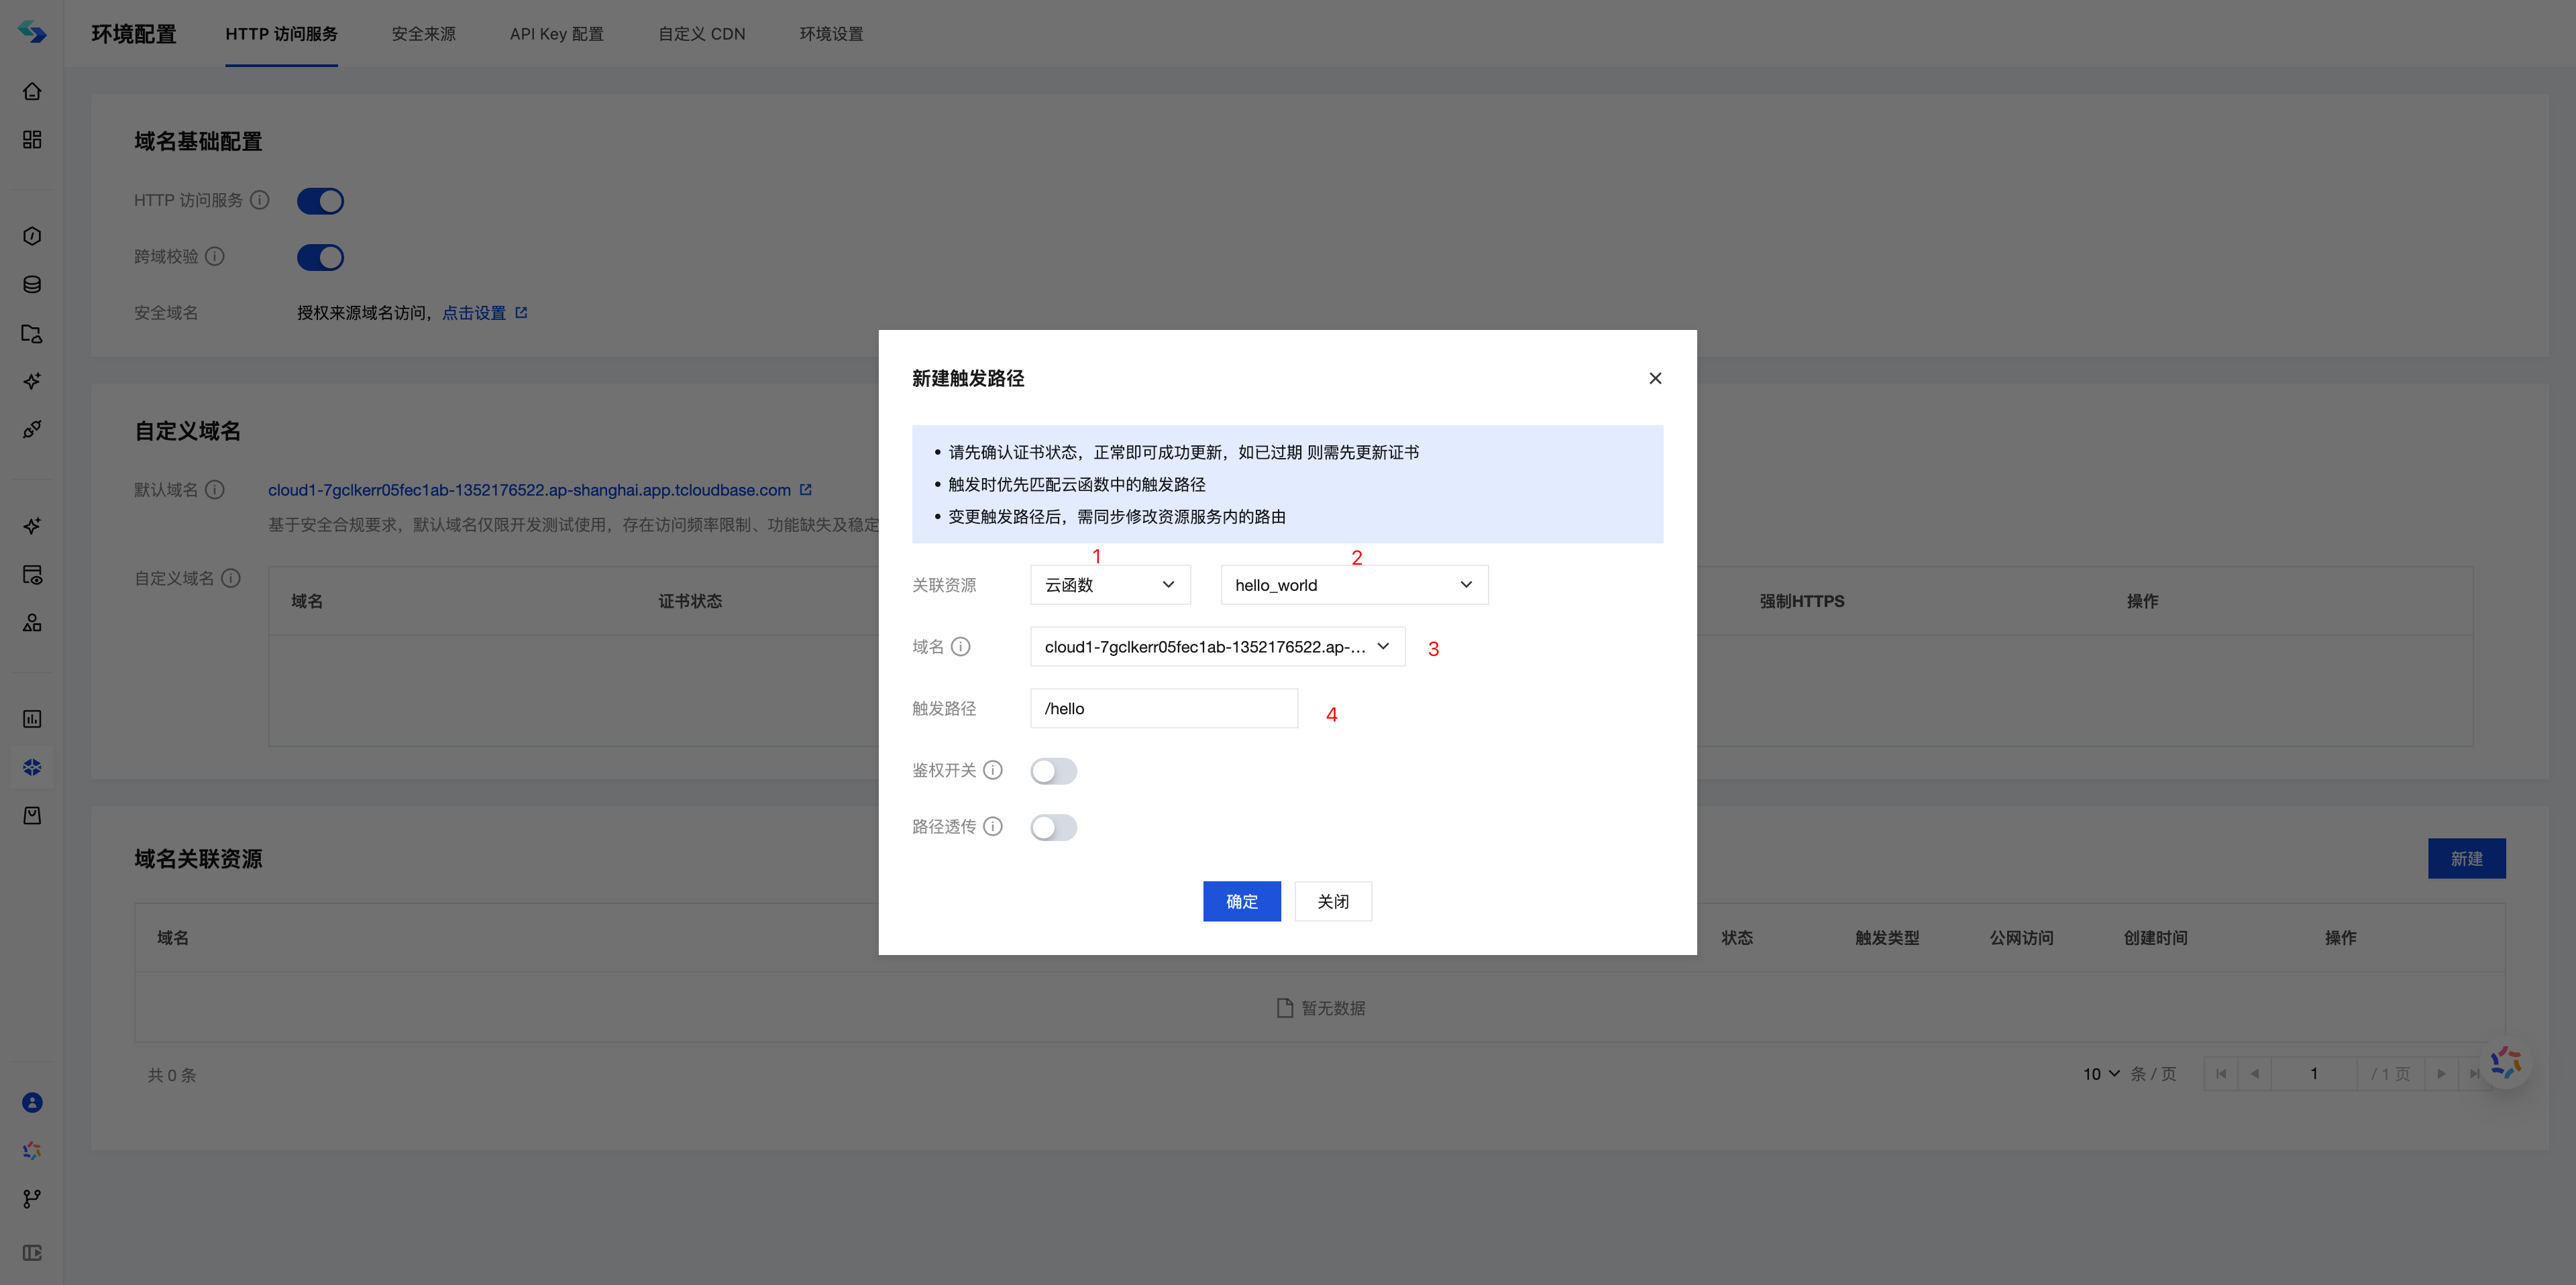
- Click OK, wait for 3-5 minutes, and the HTTP service will be created.

- The HTTP service address is
default domain + trigger path. You can also choose to bind resources using a custom domain.
CLI tool
For details, see HTTP Access Service
Run the following command to create an HTTP service route with the path /hello pointing to the hello_world cloud function:
tcb service create -p hello -f hello_world -e <env-id>
Then you can go to TCB/HTTP Access Service to view the created HTTP service.
Using HTTP API to Invoke Cloud Function
After creating a cloud function, you can invoke it from any client via HTTP API without the need for an SDK.
For details, see HTTP API Invoking Cloud Functions. Accessing the HTTP API requires an ACCESS_TOKEN.
curl -L 'https://your-envId.api.tcloudbasegateway.com/v1/functions/:name' \
  -H 'Content-Type: application/json' \
  -H 'Accept: application/json' \
  -H 'Authorization: Bearer <ACCESS_TOKEN>' \
  -d '{}'