Layer Management
Cloud Function Layer (Layer) is a code sharing mechanism that can independently manage resources such as dependency libraries and public code files, enabling code reuse across multiple functions.
What is a Layer
Layers are an important feature of cloud functions, allowing you to package dependencies, runtime environments, configuration files, etc. into independent layers for shared use across multiple functions. Using layers can:
- Reduce deployment package size: Separate dependency libraries from function code to keep the deployment package lightweight.
- Improve development efficiency: Common code only needs to be maintained in one copy and can be reused by multiple functions.
- Support online editing: For Node.js, Python, and PHP functions, code packages under 10MB can be edited online in the console.
Working Principle
Layer Creation and Version Management
- Each layer has independent version management, and a corresponding version number is generated when a layer is created.
- The content of the layer is stored in the form of a compressed package, supporting version iteration and rollback.
- Layers can be set to compatible runtime environments to ensure they match the function runtime.
Layer Binding Mechanism
- Functions and layers are bound to specific versions to ensure the stability of the runtime environment.
- A single function supports binding to at most 5 layers.
- The loading order of layers can be specified during binding.
Runtime Loading Process
When a function with bound layers is triggered, the system loads them according to the following process:
- Function Code Loading: The function code is decompressed to the
/var/user/directory - Layer Content Loading: All bound layers are decompressed in sequence to the
/optdirectory. - File Access Rules:
- Files in the layer root directory: Accessed via
/opt/filename - Files in layer subdirectories: Accessed via
/opt/directory_name/filename
- Files in the layer root directory: Accessed via
Multi-Layer Loading Sequence
When a function is bound to multiple layers:
- Layers are loaded sequentially in ascending order based on the sequence number set during binding.
- Subsequently loaded layers will overwrite files with identical names in previously loaded layers.
- All layers are loaded before the function instance starts up and are available during function initialization.
Use Cases and Best Practices
Applicable Scenarios
- Dependency Management: Centralized management of third-party libraries, SDKs, and other dependencies.
- Public code reuse: Utility classes and configuration files shared by multiple functions.
- Static Resource Storage: Model files, configuration files, and other infrequently updated resources.
Best Practices
- Python
- Node.js
# 1. Create dependency directory
mkdir python-layer
cd python-layer

# 2. Install dependencies to the specified directory
pip install requests -t python/

# 3. Package into zip file
zip -r python-layer.zip python/

Using in functions:
import requests  # Directly import dependencies in the layer

def main_handler(event, context):
    response = requests.get('https://api.example.com')
    return response.json()
# 1. Create dependency directory
mkdir nodejs-layer
cd nodejs-layer

# 2. Initialize and install dependencies
npm init -y
npm install axios lodash

# 3. Package node_modules
zip -r nodejs-layer.zip node_modules/
Using in functions:
const axios = require('axios');  // Directly reference dependencies in the layer
const _ = require('lodash');

exports.main_handler = async (event, context) => {
    const response = await axios.get('https://api.example.com');
    return _.pick(response.data, ['id', 'name']);
};
Layer Structure Recommendations
layer.zip
├── python/          # Python Dependencies Directory
│   ├── requests/
│   └── urllib3/
├── lib/             # Shared Library Directory
│   └── utils.py
└── config/          # Configuration Files Directory
    └── settings.json
Notes
- Files in the layer are extracted to the
/optdirectory and can be directly accessed during function execution. - When multiple layers are bound, they are merged in numerical order, and files with the same name will be overwritten by the layer with a higher number.
- The total size of a layer is limited to 50MB. It is recommended to plan the layer content appropriately.
- Once a layer version is created, it cannot be modified. When an update is needed, please create a new version.
Operation Guide
Creating a Layer
-
Go to the Layer Management page
Go to the TCB console/layer management (https://tcb.cloud.tencent.com/dev#/scf?tab=layer)
-
Configure layer information
Click "New" and fill in the following information:
Configuration Item Description Layer Name Custom layer name; it is recommended to use a meaningful name Description Describing the purpose and content of the layer to facilitate team collaboration Layer Code Upload a zip package, maximum support 500MB Runtime Environment Select compatible runtime environments, up to 8 -
Upload layer code
Click the "Upload" button, select the prepared zip package, then click "OK" to complete the creation.
Binding Layers to Functions
-
Select target function
Select the function that needs to bind layers in the cloud function list and go to the function details page.
-
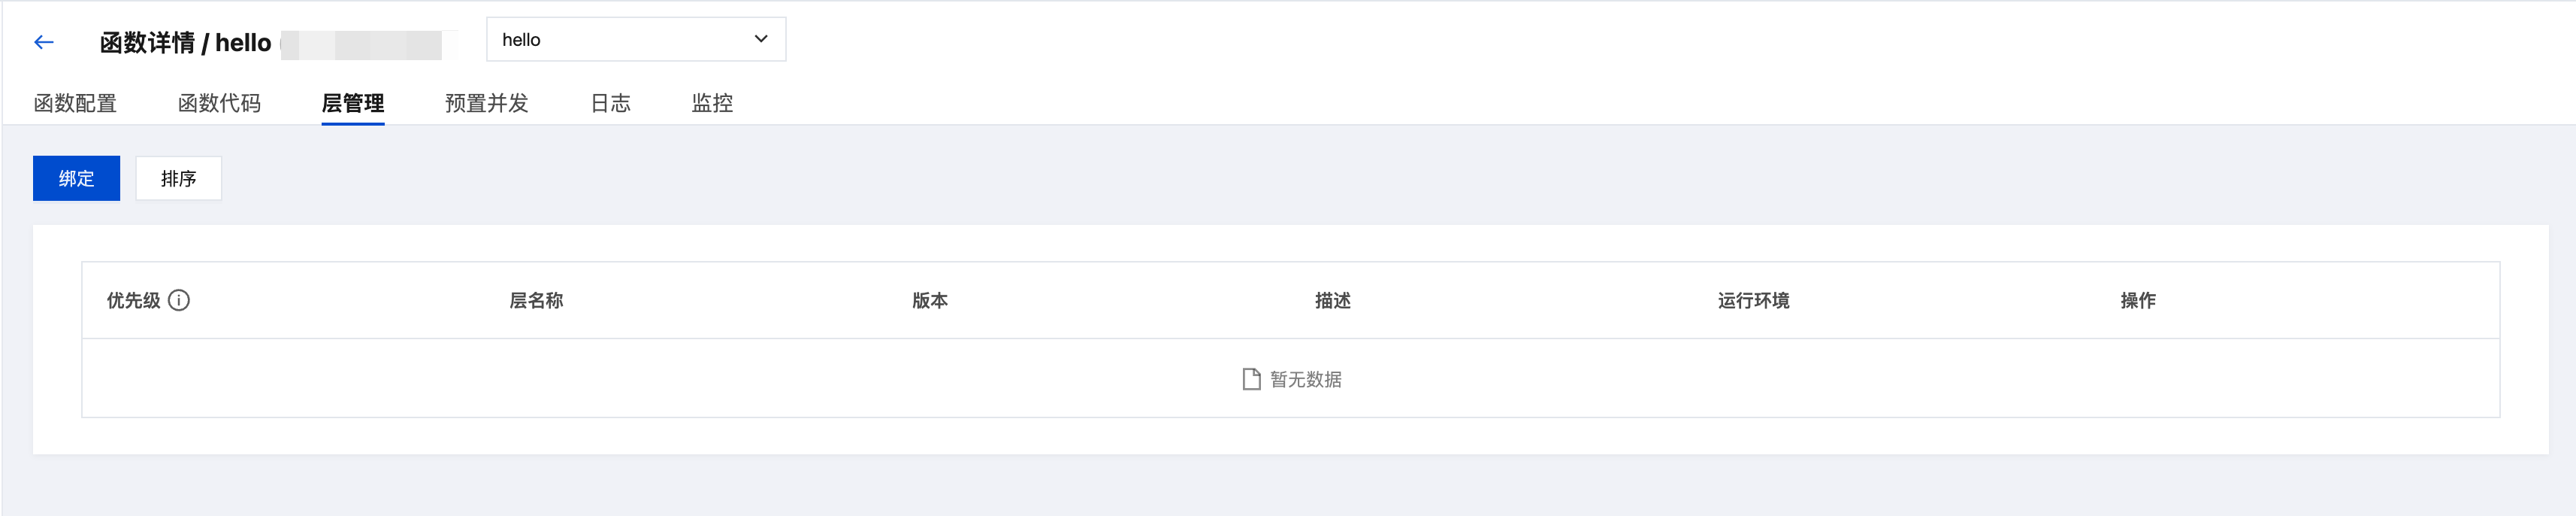
Go to Layer Management
Switch to the "Layer Management" tab and click the "Bind" button.
-
Select layer version
In the pop-up window, select the layer name and version to bind:

- Support binding multiple layers simultaneously (up to 5)
- The loading order of layers can be adjusted.
- It is recommended to select a stable layer version
-
Confirm binding
After confirming that the configuration is correct, click "OK" to complete the binding.
Management Layer Version
- View version history: You can view all historical versions on the Layer Details page.
- Create a new version: Create a new version when modifying layer content to maintain backward compatibility.
- Delete version: Delete unused versions to free up storage space.
Frequently Asked Questions
Layer Fails to Load
Possible causes:
- The runtime environment of the layer does not match that of the function.
- Incorrect layer file structure
- Layer size exceeds the limit
Solution:
- Check the compatible runtime environment settings of the layer.
- Ensure that the layer files are packaged in the correct directory structure.
- Optimize the layer content to keep it within 500MB
Dependency Library Import Failure
Possible causes:
- Python dependencies are not installed to the correct directory
- The Node.js module path is incorrect
Solution:
- Python: Use
pip install -t python/to install into the python directory - Node.js: Ensure that node_modules is in the root directory of the layer
Multi-layer file conflict
Possible causes:
- Different layers contain files with the same name
- Improper layer loading order
Solution:
- Plan the responsibility allocation for layer content appropriately
- Adjust the binding order of layers
- Use different directories to avoid filename conflicts