Quick Start
This document guides you to quickly get started with CloudBase Static Website Hosting. Based on your project type, Static Hosting provides two usage modes:
| Usage Mode | Use Case | Deployment Features |
|---|---|---|
| 📁 File Management | Pre-built static files (HTML/CSS/JS), images/fonts, artifacts from third-party tools | Upload files directly, zero build process |
| 🚀 Application Deployment | Frontend projects with dependencies + build workflow (React / Vue / Next.js / Nuxt / Vite, etc.) | Automatically completes install dependencies → build → upload artifacts → bind routes |
💡 How to choose? If you only need to host existing static files, choose "File Management"; if you have frontend source code that needs to be built before deployment, choose "Application Deployment".
Prerequisites
Before you begin, make sure you have:
- A Tencent Cloud account with real-name authentication completed
- Created a CloudBase environment at the CloudBase Console
Mode 1: File Management (Static Resource Hosting)
Suitable for hosting pre-built static files or static resources.
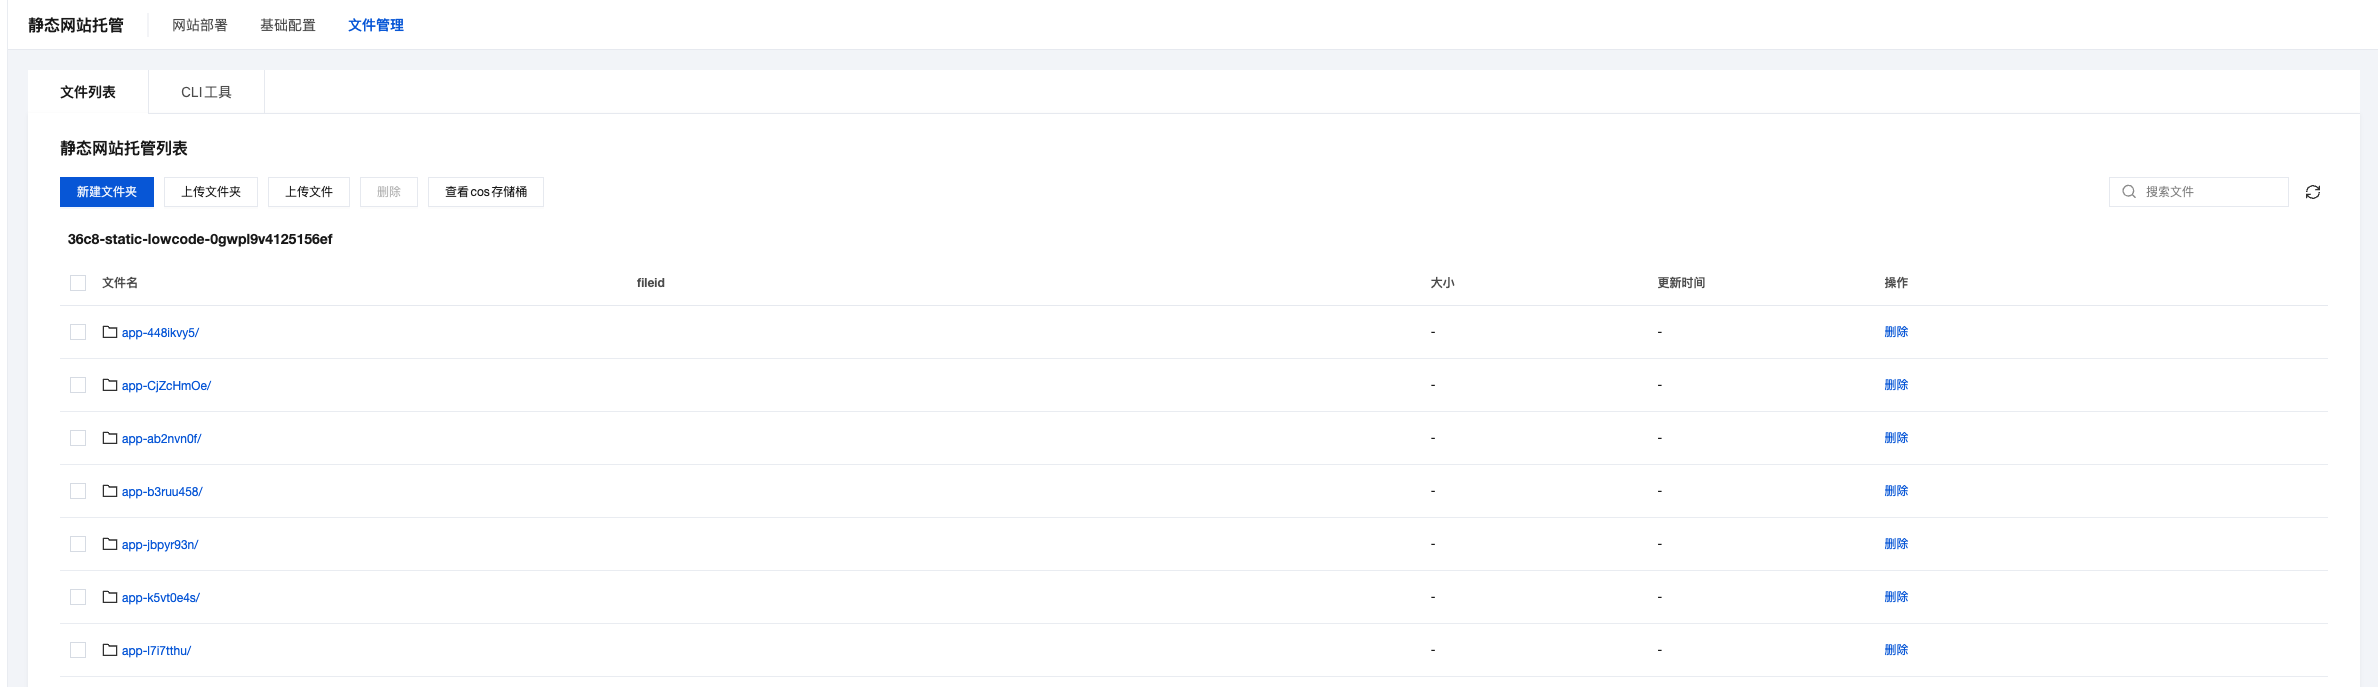
Step 1: Go to Static Website Hosting
Go to CloudBase Console - Static Website Hosting
Step 2: Prepare Website Files
Create a simple HTML file as an example and name it index.html:
<!DOCTYPE html>
<html lang="zh-CN">
<head>
<meta charset="UTF-8">
<meta name="viewport" content="width=device-width, initial-scale=1.0">
<title>Welcome to CloudBase Static Website Hosting</title>
<style>
body {
font-family: -apple-system, BlinkMacSystemFont, 'Segoe UI', Roboto, sans-serif;
margin: 0;
padding: 40px;
background: linear-gradient(135deg, #667eea 0%, #764ba2 100%);
color: white;
text-align: center;
min-height: 100vh;
display: flex;
align-items: center;
justify-content: center;
flex-direction: column;
}
.container {
max-width: 600px;
}
h1 {
font-size: 2.5em;
margin-bottom: 20px;
}
p {
font-size: 1.2em;
line-height: 1.6;
margin-bottom: 30px;
}
.btn {
display: inline-block;
padding: 12px 24px;
background: rgba(255, 255, 255, 0.2);
border: 2px solid white;
border-radius: 25px;
color: white;
text-decoration: none;
transition: all 0.3s ease;
}
.btn:hover {
background: white;
color: #667eea;
}
</style>
</head>
<body>
<div class="container">
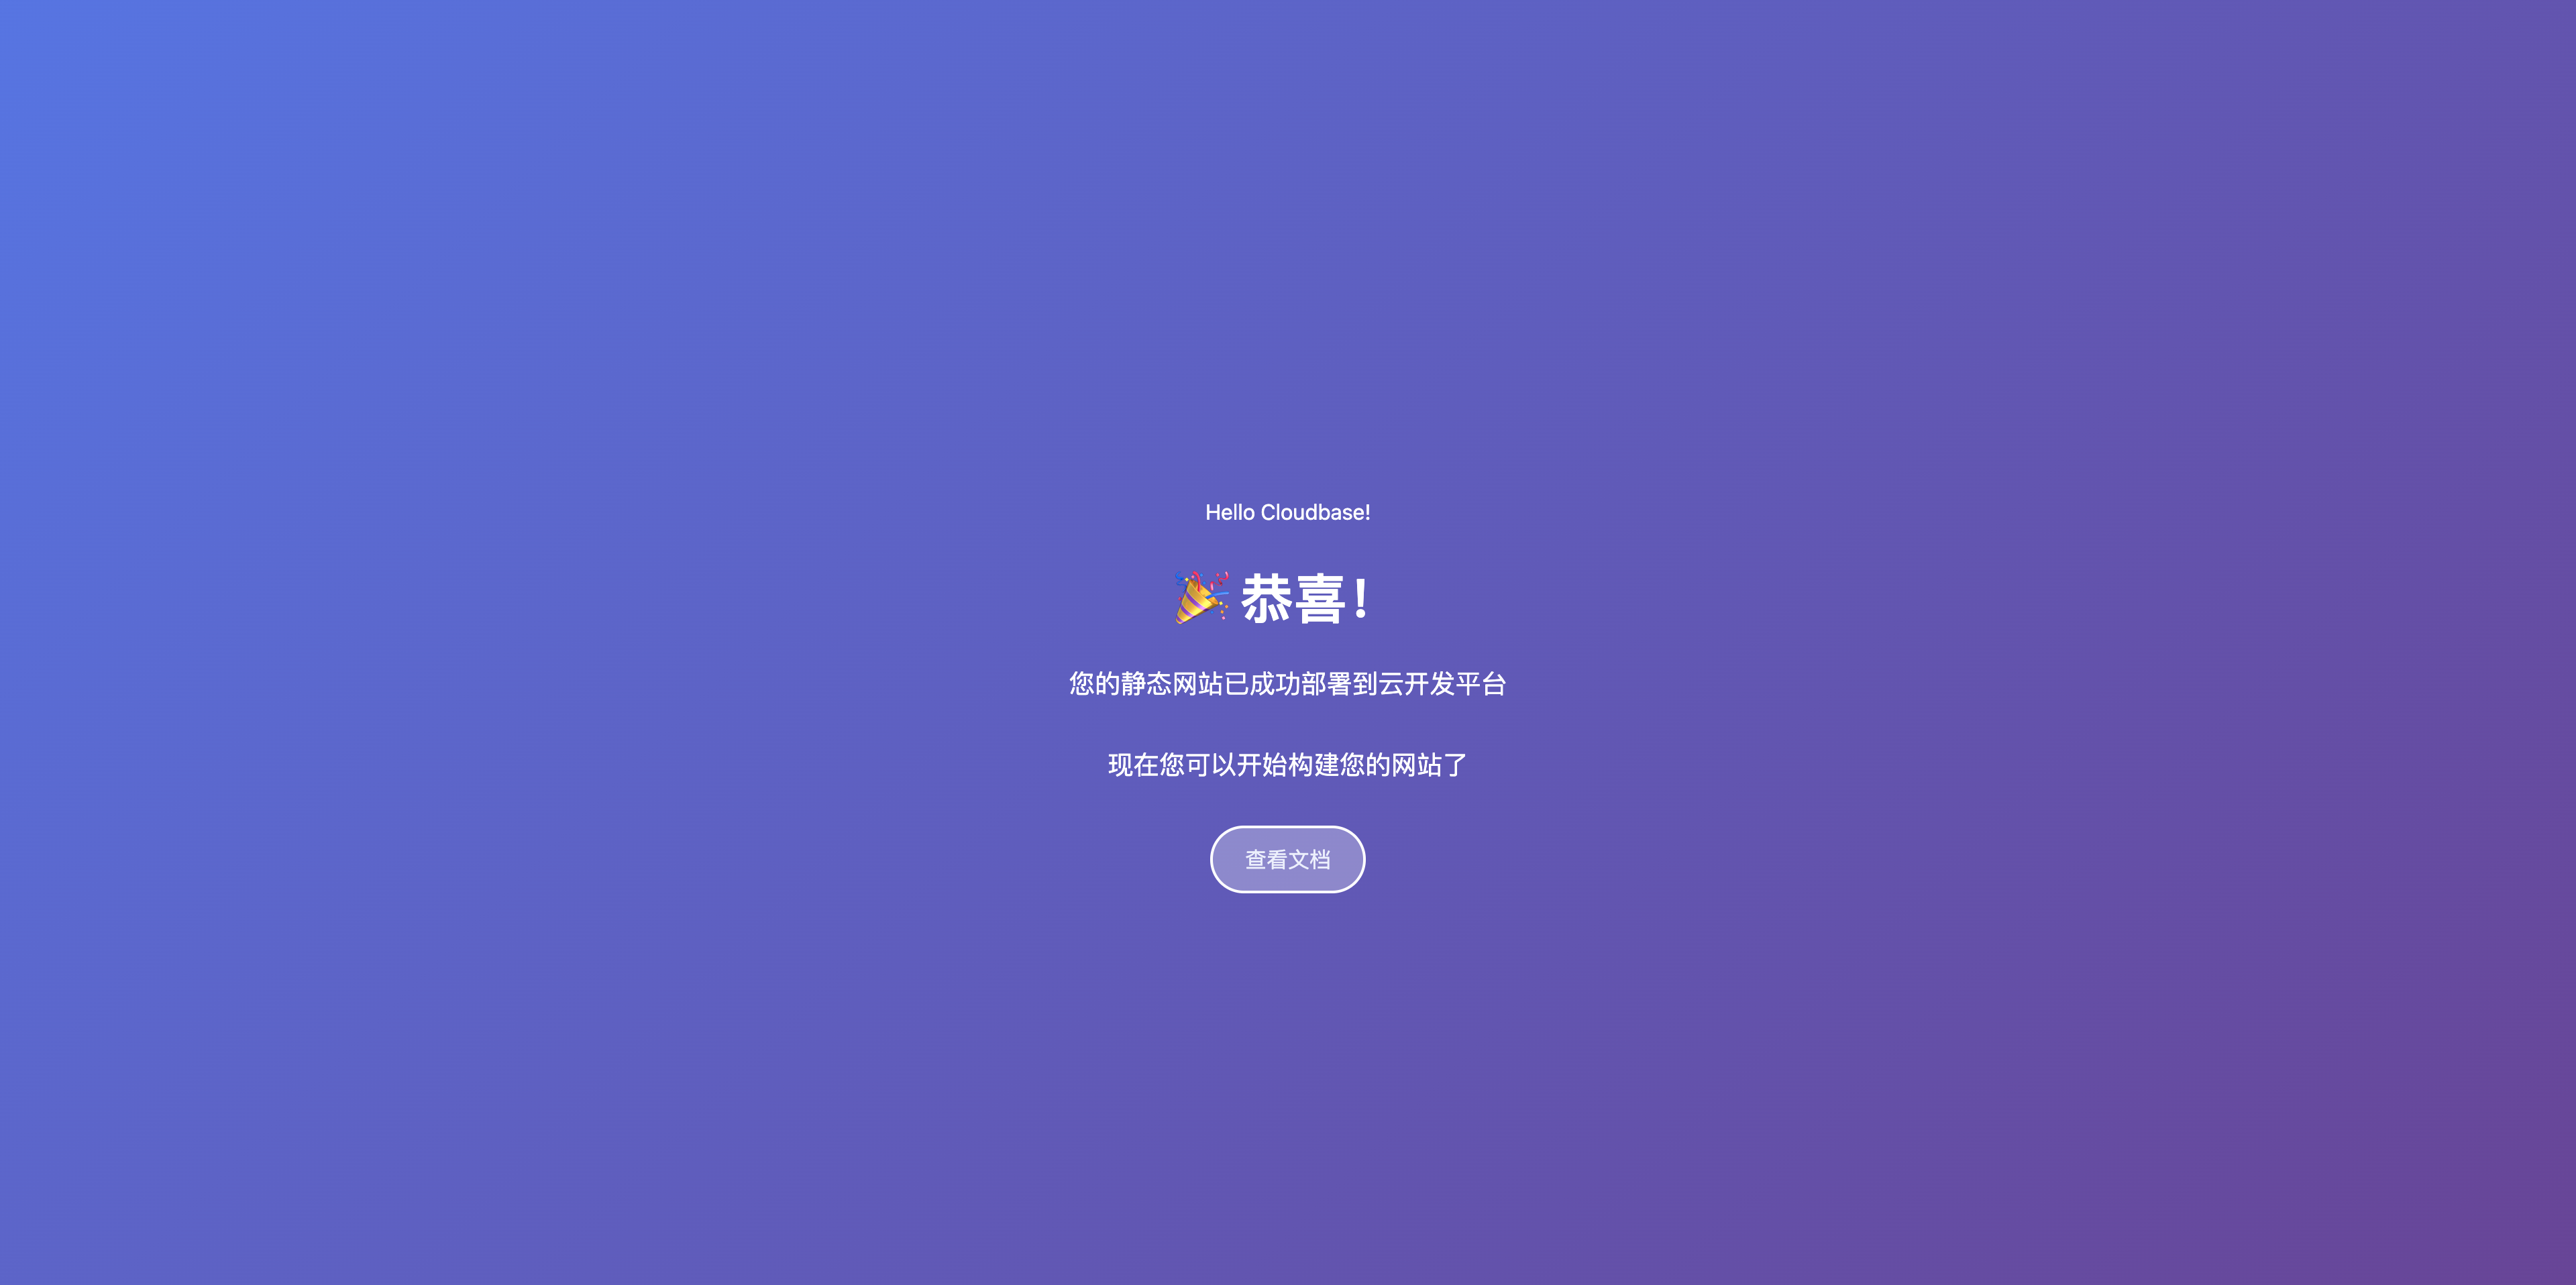
<h1>🎉 Congratulations!</h1>
<p>Your static website has been successfully deployed to CloudBase</p>
<p>Now you can start building your website</p>
<a href="https://docs.cloudbase.net/" class="btn" target="_blank">View Documentation</a>
</div>
</body>
</html>
You can also prepare other types of files: CSS files, JavaScript files, images, fonts and other static resources, or the build output of a Single Page Application (SPA).
Step 3: Upload Files
Method A: Upload via Console
- On the Static Website Hosting page, click the "Upload File" or "Upload Folder" button
- Select your prepared
index.htmlfile or an entire folder containing website files - Click "OK" to complete the upload (when uploading a folder, the system preserves the original directory structure)
Method B: Upload via CLI Commands
Use CloudBase CLI to manage and deploy static website files via the command line. Ideal for batch uploads, automated deployment, and CI/CD integration.
# Install globally and log in (see CLI Installation Guide for details)
npm i -g @cloudbase/cli
tcb login

# Deploy all files in the current directory
tcb hosting deploy . -e <environment ID>

# Deploy specified files or folders
tcb hosting deploy index.html -e <environment ID>
tcb hosting deploy dist/ -e <environment ID>
For more commands (
list/delete/detail, etc.), see CLI Static Hosting Commands → and CLI Installation Guide →
- Single file size is limited to 50MB
- File names cannot contain special characters. It is recommended to use letters, numbers, underscores, and hyphens
- Uploads will overwrite existing files with the same name. Proceed with caution
Mode 2: Application Deployment (Frontend Project Build & Deploy)
Suitable for frontend projects with dependencies + build workflow (React / Vue / Next.js / Nuxt / Vite / Angular, etc.). The platform automatically completes the full workflow: install dependencies → build → upload artifacts → bind routes.
Step 1: Select Deployment Entry
Go to CloudBase Console - Static Website Hosting and choose any of the following methods based on your project source:
- Upload Code Package / Folder: Upload local frontend project source code (ZIP or folder)
- Create from Official Template: Quickly create new projects based on React / Vue / Next.js / Nuxt templates
- Git Repository Deployment: Connect to GitHub / GitLab / Gitee / Tencent Working repositories; code updates automatically trigger deployment
- CLI Command Deployment: Deploy locally or in CI/CD pipelines using CloudBase CLI
Step 2: Configure Build Parameters
On the deployment configuration page:
- Project Framework: Select from the dropdown (supports 10 mainstream frameworks including React, Vue.js, Angular, Next.js, Nuxt.js, VitePress, Astro, Hugo, Hexo). The platform will automatically fill the corresponding install command, build command, and target directory
- Node.js Version: Choose the build environment version (16 / 18 / 20 / 22 / 24)
- Build Output Directory: e.g.,
./dist,./build,./out, etc. - Deploy Path: Default is
/; for multi-project scenarios, use subpaths like/app1
For detailed configuration, refer to the Deployment Guide.
Step 3: One-click Deployment via CLI (Optional)
If you prefer to deploy via the command line locally or in CI/CD, use tcb app deploy:
# Install globally and log in
npm i -g @cloudbase/cli
tcb login

# Deploy in one command from project root (auto-installs, builds, uploads, binds routes)
tcb app deploy --framework vite -e <environment ID>

# Bare command: interactive guided deployment
tcb
For more parameters and
cloudbaserc.jsonzero-parameter deployment configuration, see CLI Application Deployment Commands →
Step 4: Access Your Website
After deployment via either mode, you can access the site through the default domain.
Access Rules
The access URL for static resources is in the format: default domain/file path
- Default domain:
EnvironmentID.xxx.tcloudbaseapp.com - Default index document:
index.html
Access Example
Assume your environment ID is my-env-123.xxx, then the access URL is as follows:
| File Path | Access Link | Description |
|---|---|---|
/index.html | https://my-env-123.xxx.tcloudbaseapp.com | Default page for root directory |
/about/index.html | https://my-env-123.xxx.tcloudbaseapp.com/about | Default page for subdirectory |
/css/style.css | https://my-env-123.xxx.tcloudbaseapp.com/css/style.css | CSS file |
/images/logo.png | https://my-env-123.xxx.tcloudbaseapp.com/images/logo.png | Image file |
Verify Deployment
- Copy your default domain
- Open the link in your browser
- If you see the page content you uploaded, the deployment was successful
Next Steps
Congratulations! You have successfully deployed your first static website. Next, you can:
- Online Deployment Guide - Learn more about deployment methods and build configurations
- Deployment Configuration Details - Build parameters, deploy paths, and environment variable configuration for each framework
- CLI Application Deployment - Automate deployment via the command line
- Configure Custom Domain - Use your own domain to access the website
- Configure CDN Acceleration - Optimize website access speed
- Configure HTTPS - Enable a secure connection for your website