Using Redis Extension in Cloud Functions
When should you use Redis?
Redis applicable scenarios include but are not limited to:
Counter: Because Redis operations are atomic, it can handle high-concurrency data counting through atomic increment or decrement, such as like counts, favorite counts, share counts, inventory during flash sales, total number of product articles, comment counts, etc.
Leaderboard: Redis supports data structures such as sets and sorted sets, and runs in memory, thus it can store data similar to leaderboards, such as articles, products, users that are most recent, hottest, highest click-through rate, highest activity, most commented, etc.
Hash Table: user follower list, user like list, user favorite list, user following list, etc.;
Automatic sorting: Stores timestamps and automatically sorts lists such as the latest activities of followed users over time.
Session Cache: Use Redis for session caching to store web sessions in Redis;
Full Page Cache (FPC): Can cache server-side rendering results in Redis;
Recording user operation information: whether the user has liked, whether the user has favorited, whether the user has shared, etc.
Installing Redis Extension
1. Install Extension
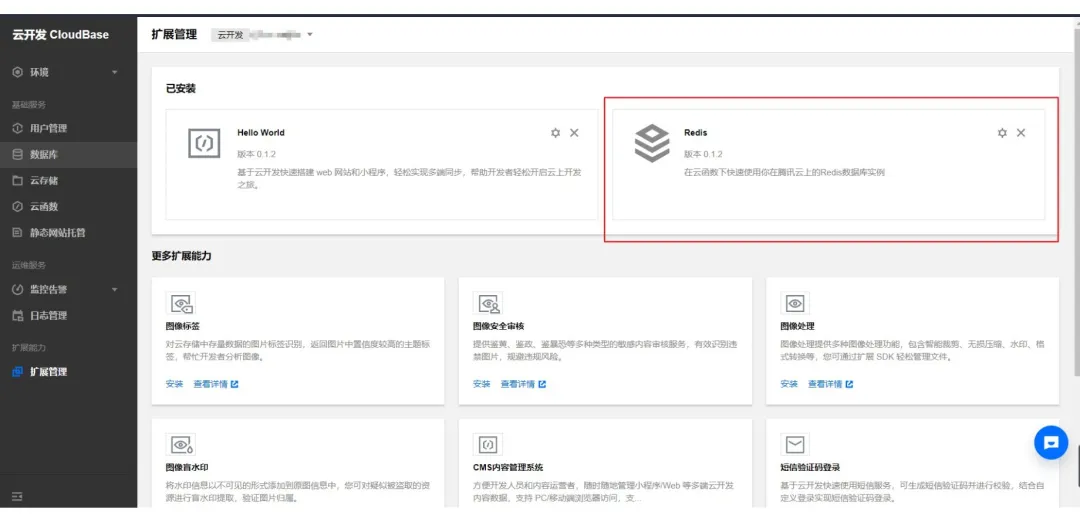
Open the Tencent Cloud console, navigate to the Environment Details page, click "Extension Management" on the left to access the Extension Management details page, and install the Redis extension.

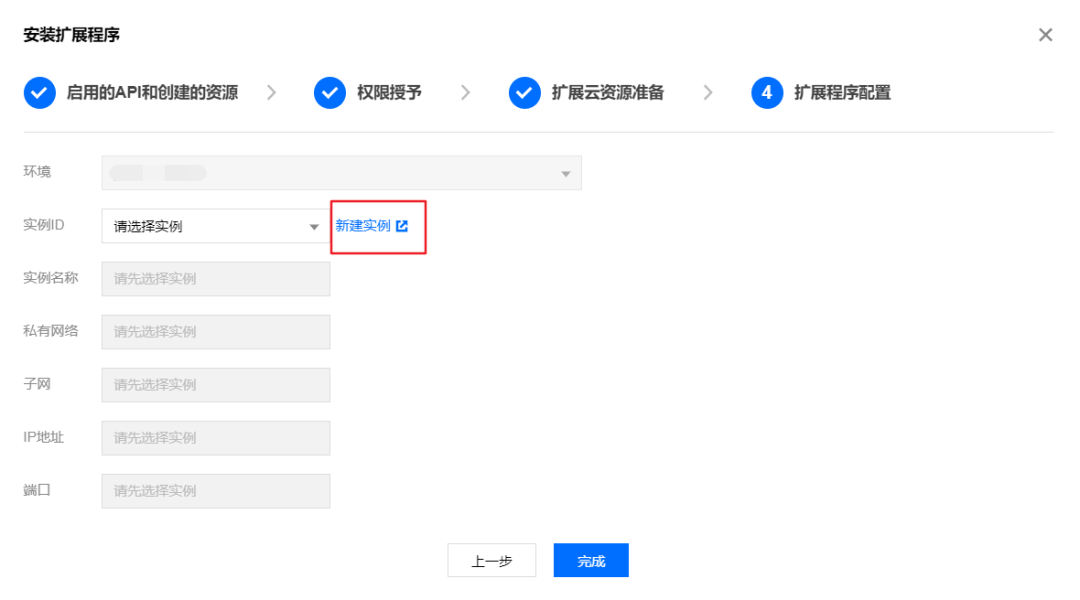
2. Create Redis Instance
If no instance is available during installation (meaning you haven't purchased a Redis database, click to create a new instance), you can skip this step and proceed to the next one if you already have an instance.
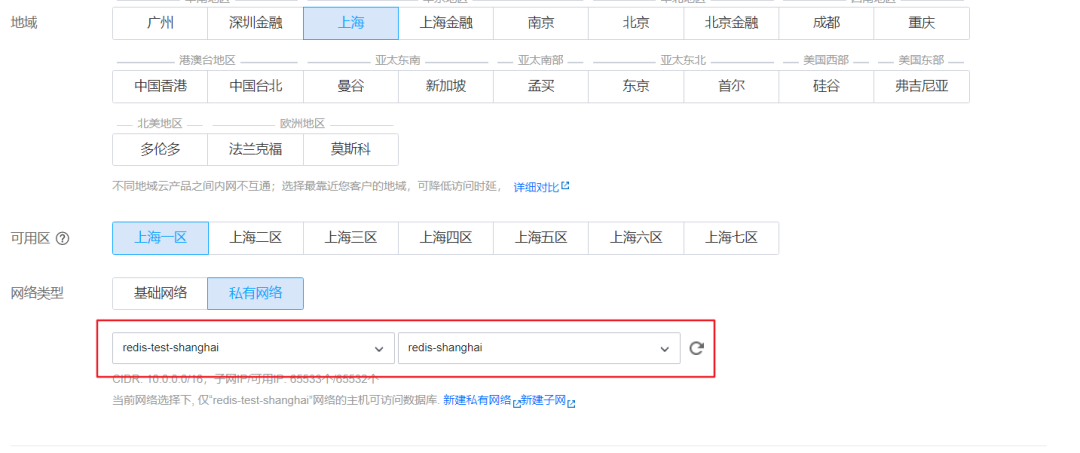
Purchase a Redis database, create an instance, and configure a VPC.
After creating the instance, return to the extension and select the newly created (or existing) instance:
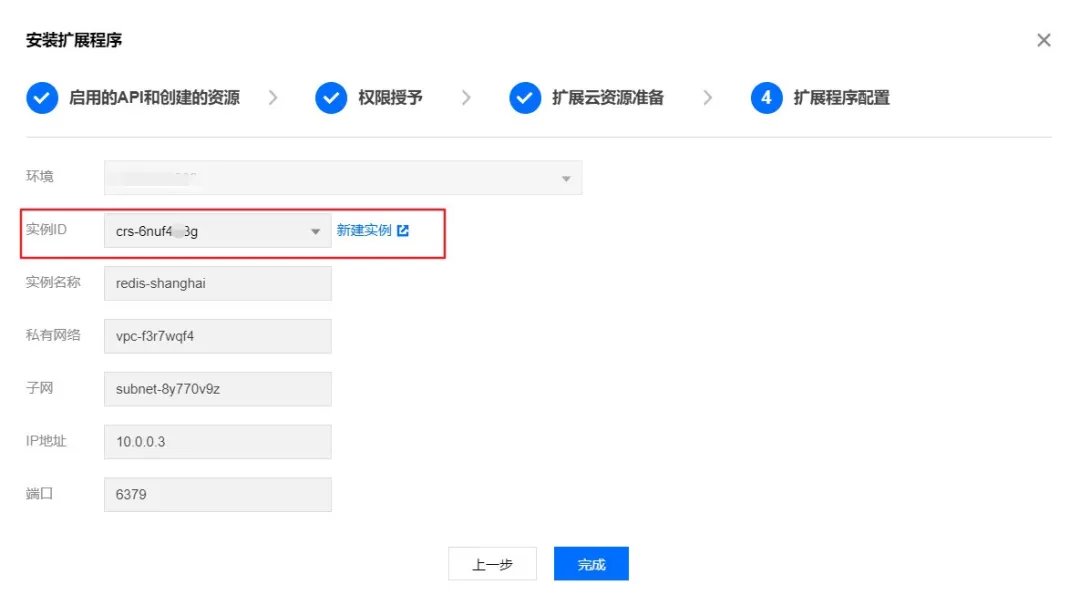
Click to complete creation:
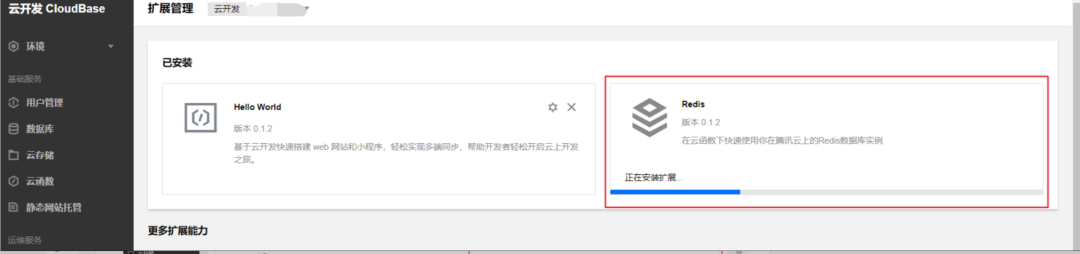
You will see the following extensions, indicating a successful installation:
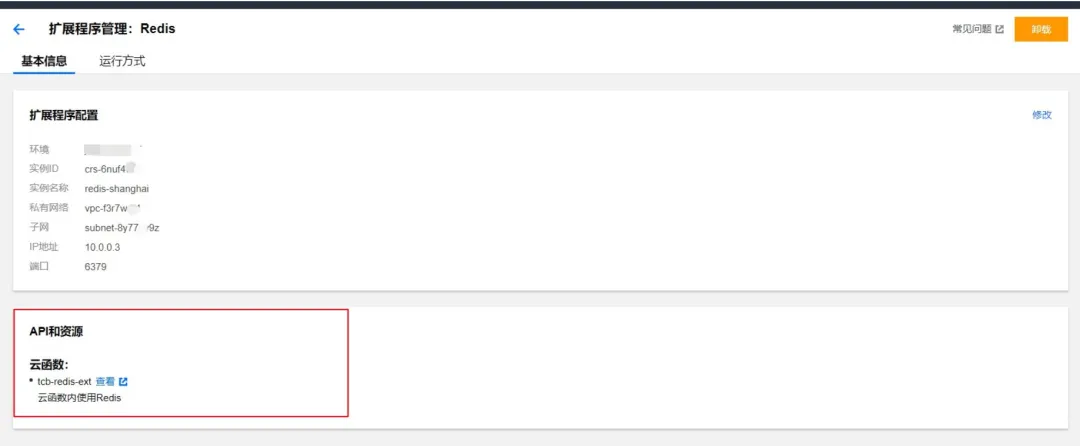
3. Get Redis Information
Once created, view the extension-related information (here you can see the cloud function created along with it):
Using Redis in Cloud Functions
Within cloud functions, you can connect to and operate Redis instances using a Redis client. We recommend using redis.
1. Install Dependencies
First, navigate to the directory of the Redis cloud function, then execute the command npm init -y to initialize a configuration file.
Then run npm install --save redis to install the corresponding dependencies.
After installation is complete, the package.json file will appear in the cloud function directory, with content similar to the following:
{
  "name": "redis",
  "version": "1.0.0",
  "description": "",
  "main": "index.js",
  "scripts": {
    "test": "echo \"Error: no test specified\" && exit 1"
  },
  "keywords": [],
  "author": "",
  "license": "ISC",
  "dependencies": {
    "redis": "^3.0.2"
  }
}
2. Access Redis
Now you can access the Redis database in your code.
Since the CloudBase Redis extension is used, the corresponding configuration will be automatically included in the system runtime environment. You can directly use the relevant environment variables to connect to the Redis database.
'use strict';

const redis = require('redis')

let client = redis.createClient({
  host: process.env.HOST,
  port: process.env.PORT,
  // Fill in the actual password
  password: 'xxx'
})

exports.main = async (event, context, callback) => {
  let res = await new Promise((resolve, reject) => {
    client.get('test', function (err, reply) {
      if (err) {
        resolve({
          err
        })
      }
      resolve({
        data: reply.toString()
      })
    })
  })
  return { res }
}