Chapter 3: Implementing Custom Business Logic
This chapter guides you on how to implement custom business logic using "Run JS Script".
- Update CloudBase database data.
- Calling third-party services via HTTP request.
Writing Business Logic
After selecting and adding the "Run JS Script" node to the canvas from the node list, edit the script code.
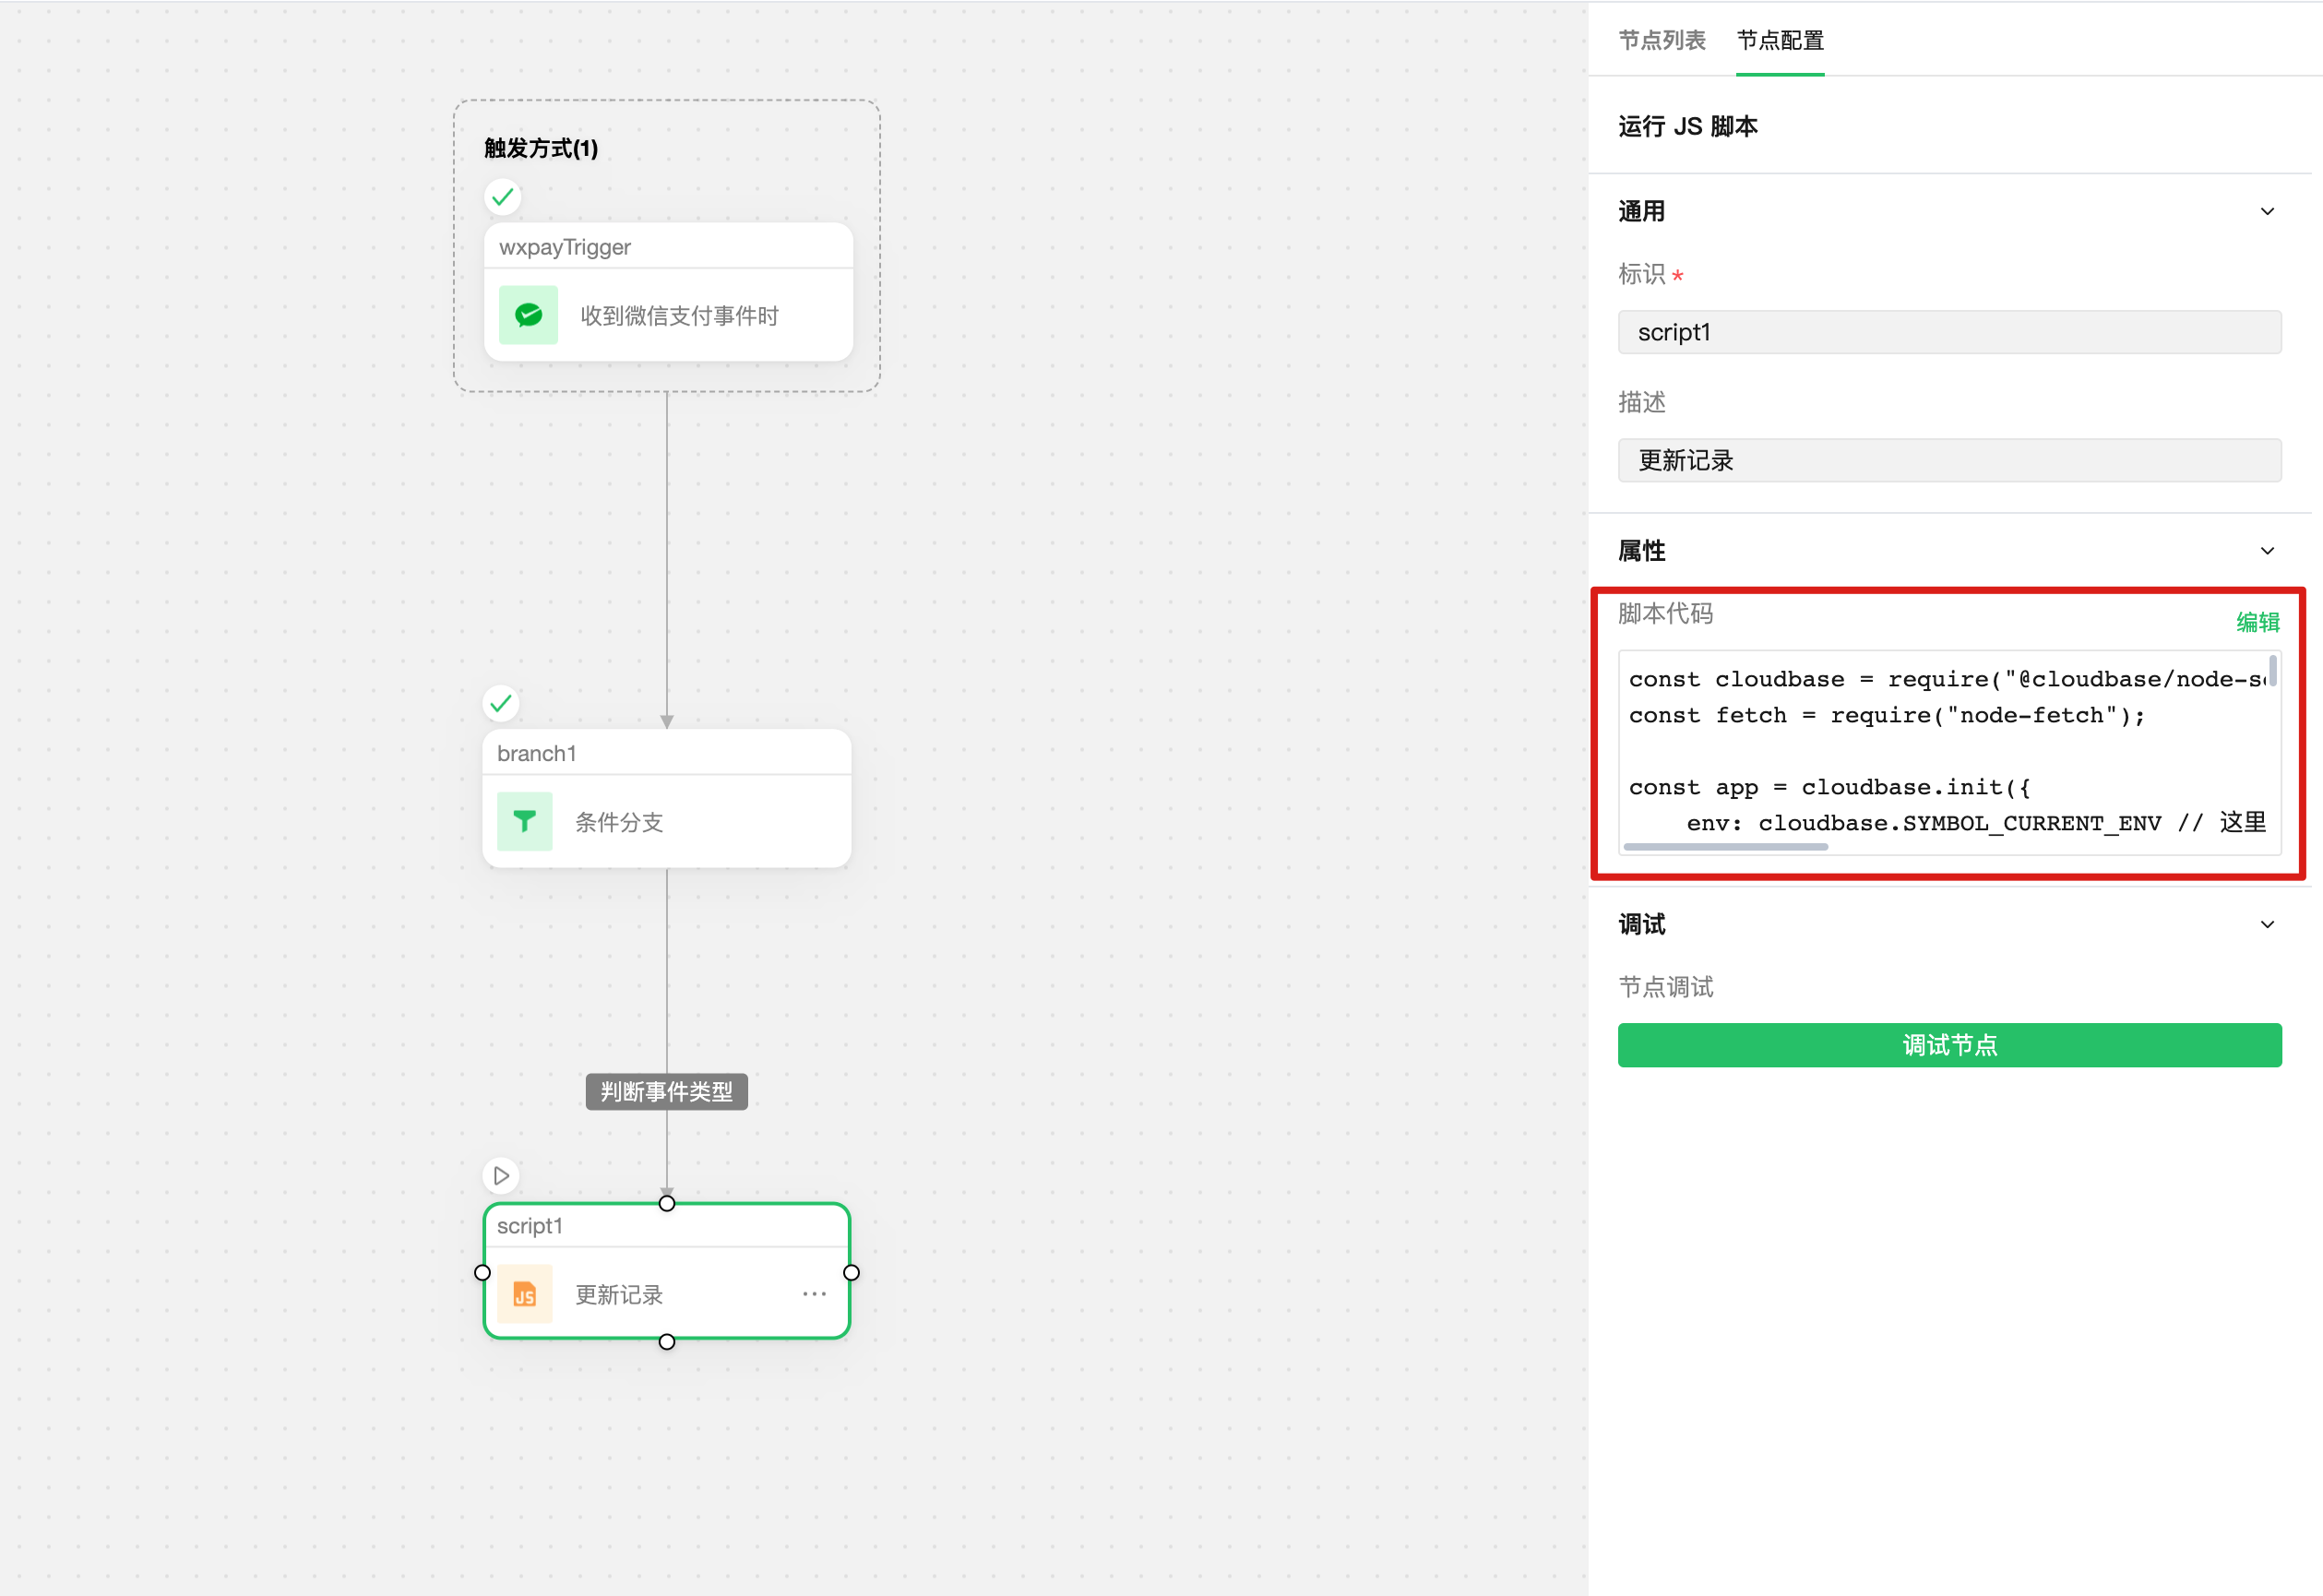
In the code editor, you can view and select global and node variables on the left. After writing, click the "Debug Node" button on the right to quickly debug the code. You can also view relevant guidance documentation at the bottom:
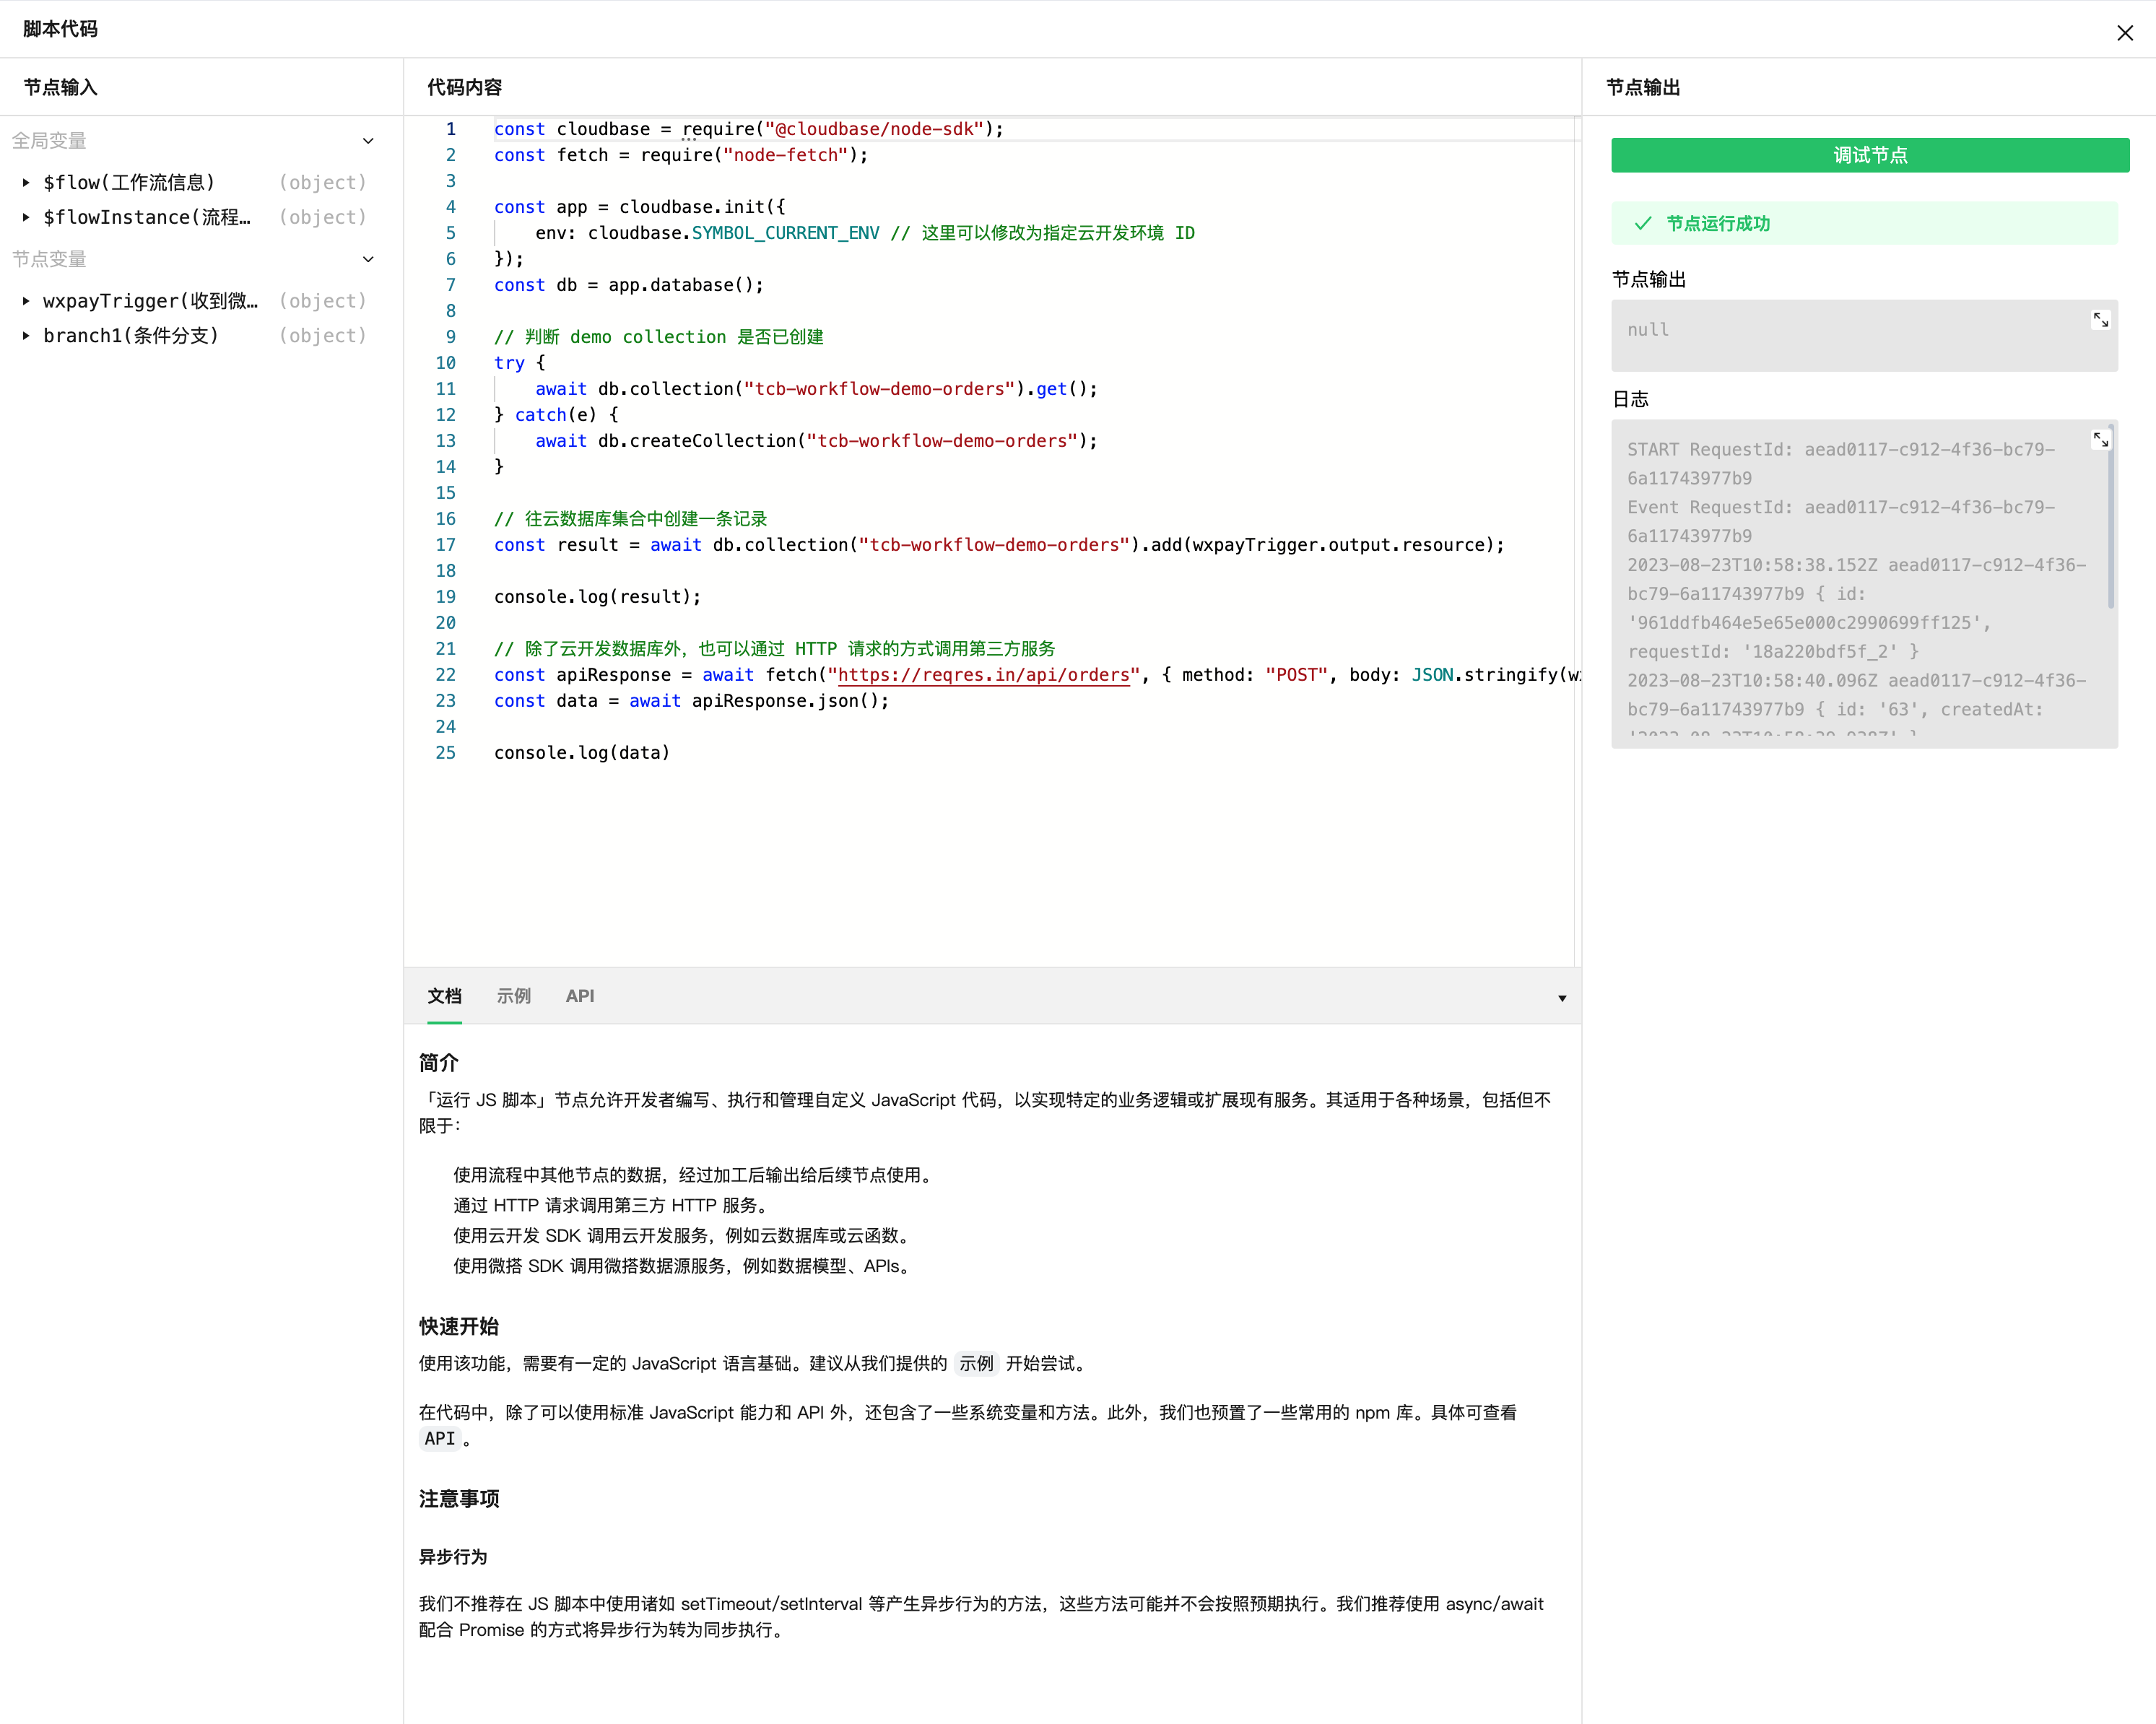
The sample code is as follows:
const cloudbase = require("@cloudbase/node-sdk");
const fetch = require("node-fetch");

const app = cloudbase.init({
    env: cloudbase.SYMBOL_CURRENT_ENV // Here you can modify it to the specified CloudBase environment ID
});
const db = app.database();

// Check if the demo collection has been created
try {
    await db.collection("tcb-workflow-demo-orders").get();
} catch(e) {
    await db.createCollection("tcb-workflow-demo-orders");
}

// Create a record in the database collection
const result = await db.collection("tcb-workflow-demo-orders").add(wxpayTrigger.output.resource);

console.log(result);

// In addition to the CloudBase database, you can also call third-party services via HTTP requests.
const apiResponse = await fetch("https://reqres.in/api/orders", { method: "POST", body: JSON.stringify(wxpayTrigger.output.resource) });
const data = await apiResponse.json();

console.log(data)
Follow-up
Next, we will learn how to perform complete workflow debugging. Please proceed to Section 4: Process Debugging