Web Application Quick Start
Through this guide, you will learn how to use cloud development to build and deploy Web applications, including various forms such as static websites and dynamic websites.
Preparation
Before you begin, ensure that you have completed the following preparations:
- Activate Cloud Development environment: Activate Cloud Development environment
- Install Node.js: Download Node.js (LTS version recommended)
- Install CLI tool: Install CloudBase CLI
Use AI to develop web applications and static hosting
Step 1: Use the Official Template
Selecting a Tech Stack
We provide templates for multiple mainstream frameworks:
- React + Vite:cloudbase-react-template
- Vue + Vite:cloudbase-vue-template
Clone the template project
Take the React template as an example:
# Clone the project
git clone https://github.com/TencentCloudBase/awesome-cloudbase-examples.git

# Go to the project
cd awesome-cloudbase-examples/web/cloudbase-react-template

# Install dependency.
npm install
Configure the environment
- Configure environment ID:
Replace the
ENV_IDinsrc/utils/cloudbase.jswith your environment ID.
// src/utils/cloudbase.js
const ENV_ID = "your-env-id"; // Replace with your environment ID
- Configure Deployment Domain:
Replace the
basepath invite.config.jswith your CloudBase environment domain.
// vite.config.js
export default {
    base: '/react-temp/', // Custom root path. After deployment, access via $ip/react-temp/
    // ... Other configurations
}
Step 2: Configure Secure Domains
Before using the CloudBase JS SDK, it is necessary to configure secure domains.
- Log in to Cloud Development Platform / Security Sources
- Add your domain in the "Secure Domains" section:
- Local development:
localhost:3000,127.0.0.1:3000 - Production environment: Your actual domain
- Local development:
Only domains listed in the secure domains can use the CloudBase JS SDK to protect your data security.
Step 3: Local Development
Use Template Projects
# Start the development server
npm run dev
The project will start at http://localhost:5173 (the port may vary).

Step 4: Deploy to CloudBase
- CLI Deployment (Recommended)
- Console Manual Upload
- Build project:
npm run build
- Log in to CLI:
cloudbase login
Enable Static Hosting: Activate the Static Website Hosting service on the CloudBase Platform
Deploy application:
# Deploy Build Artifacts to Static Hosting
cloudbase hosting deploy dist -e your-env-id
Build project: Generate the
distdirectoryUpload files:
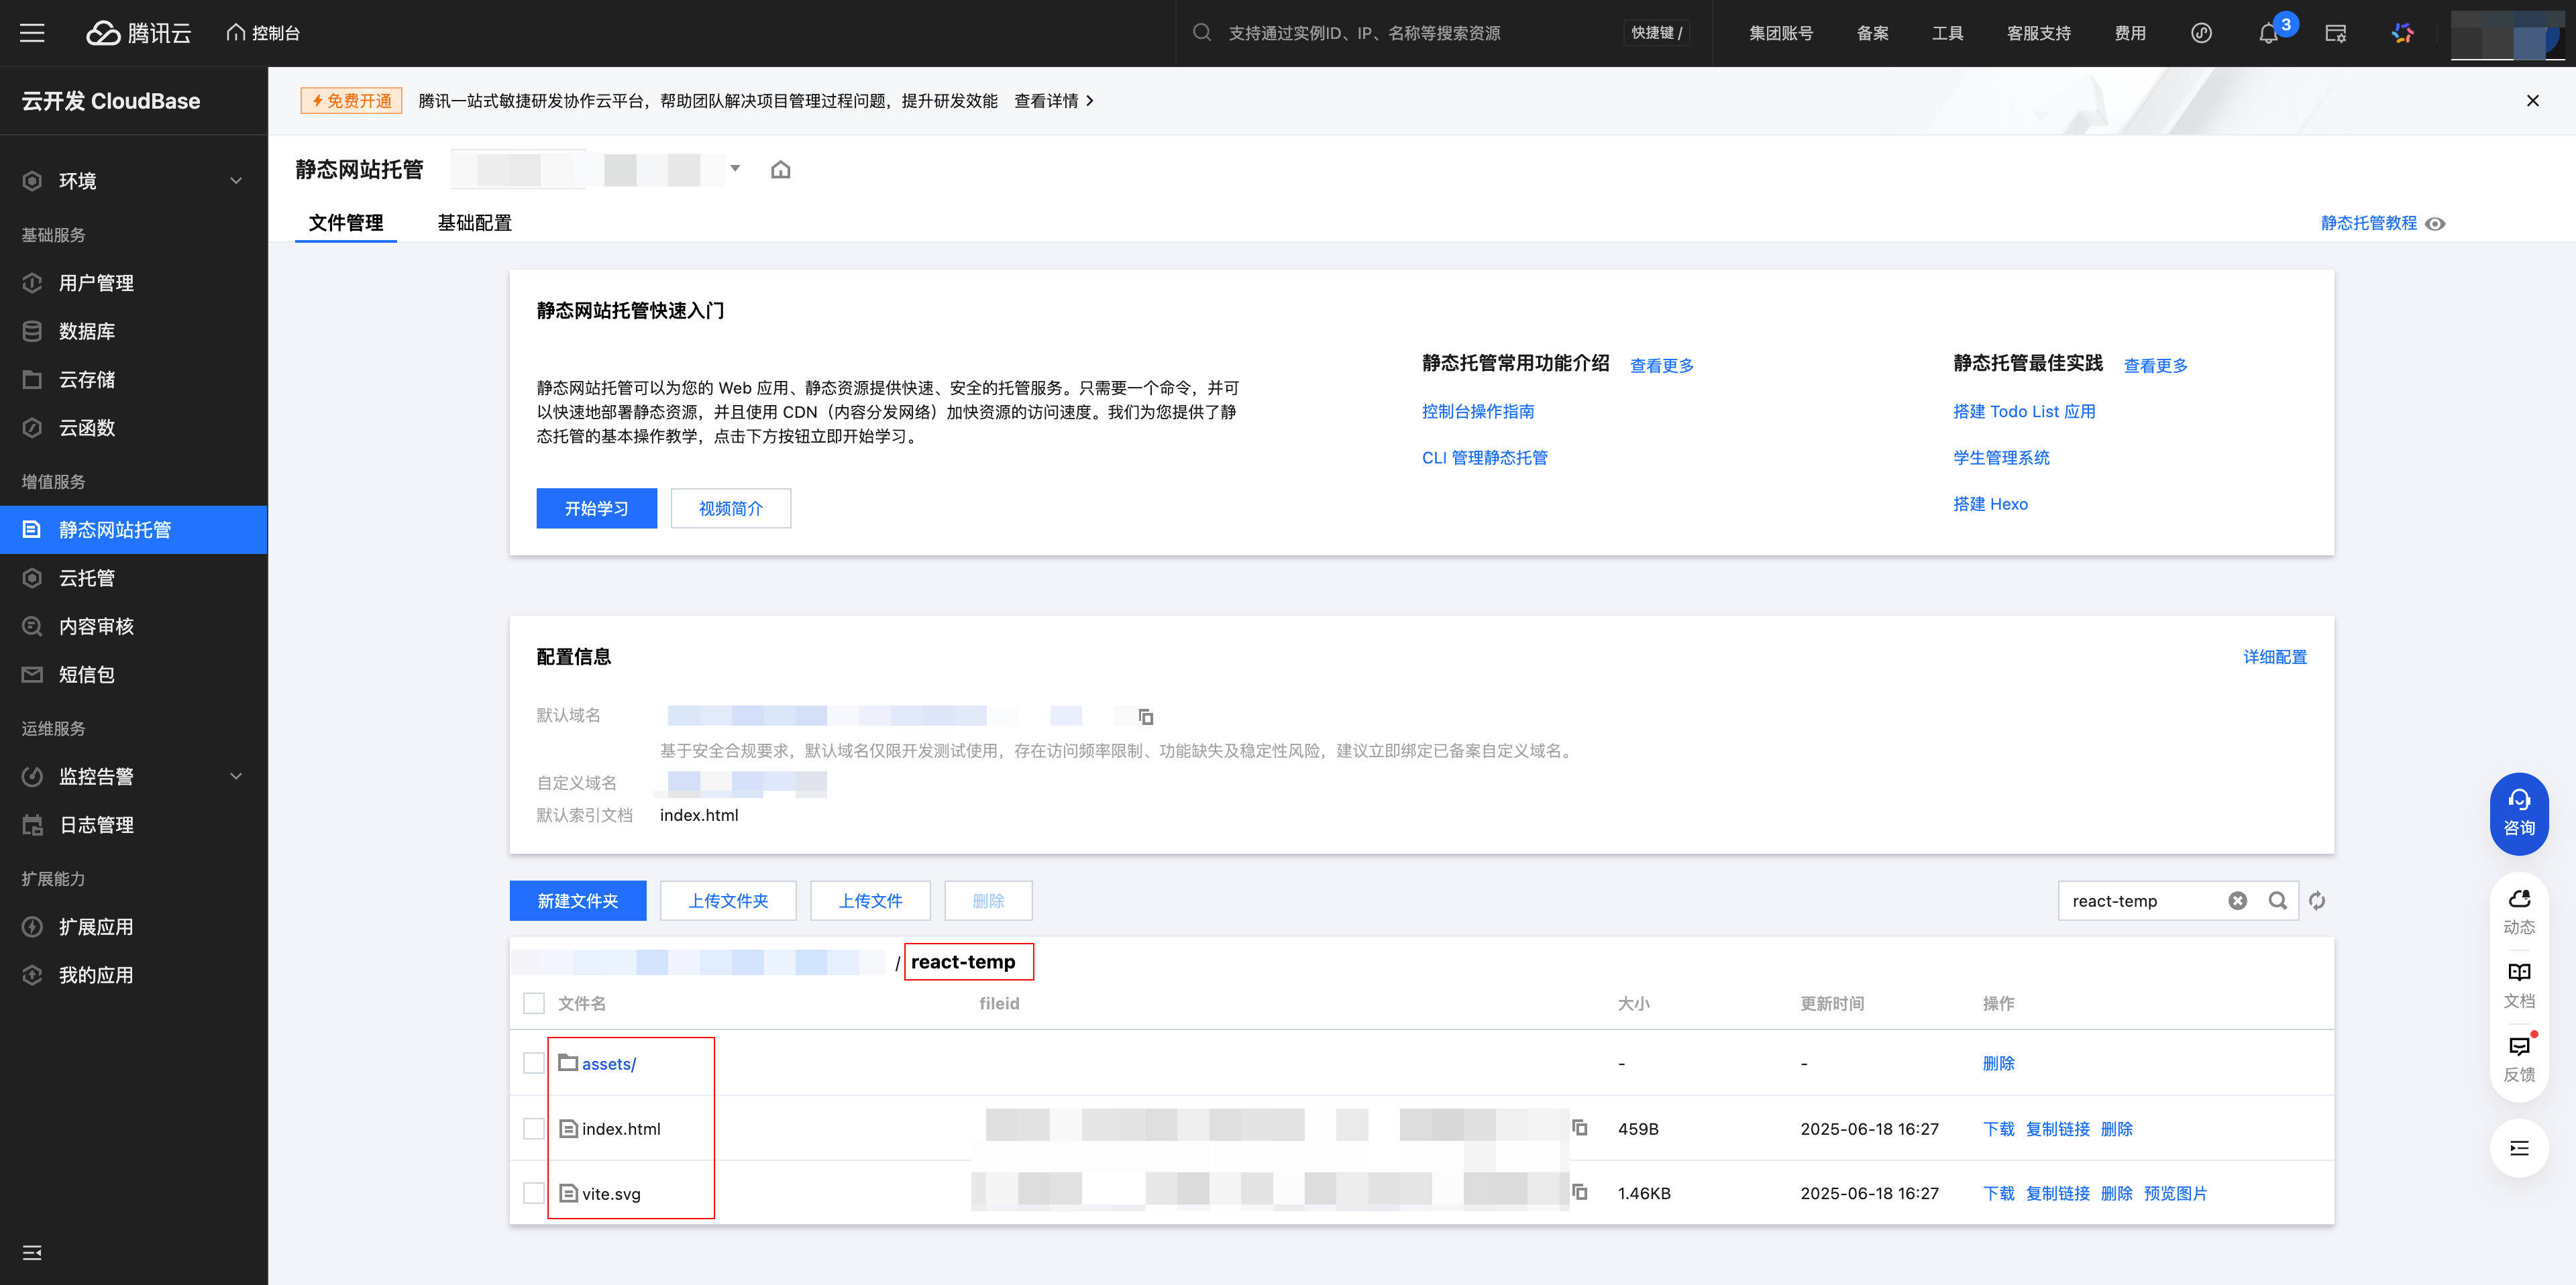
- Log in to CloudBase Platform/Static Website Hosting
- Upload all files in the
distdirectory to the path matching thebaseinvite.config.js

Access application:
Use the assigned default domain name + upload path to access your application

Step 5: Add CloudBase functionality
Add robust backend capabilities
Database example
import cloudbase from '@cloudbase/js-sdk';

const app = cloudbase.init({
    env: 'your-env-id', // Replace with your environment ID
});

// Obtain database reference.
const db = app.database();

// Query data.
async function getData() {
    try {
        const result = await db.collection('todos').get();
        console.log('Query result', result.data);
    } catch (error) {
        console.error('Query failed', error);
    }
}
Advanced Guides
- Database - Storing and querying data
- Cloud Storage - File storage and management
- Cloud Function Development - Server-side logic