Captcha Handling Guide
This document describes how to handle captcha-related logic in Tencent Cloud's identity authentication, including trigger conditions, error handling, and the complete implementation process.
Trigger Conditions
Captcha will be required to be entered under the following circumstances:
- After 5 failed username and password login attempts
- When sending SMS or email verification codes reaches the rate limit
Error Information
When a captcha is required, the API will return the corresponding error message:
error == captcha_required: Indicates that the request has triggered captcha-related logic and requires machine verificationerror == captcha_invalid: Indicates that the captcha is invalid and needs to be re-obtained.
After the captcha process is completed, if the business interface returns error equal to captcha_required, it indicates that the request requires the captcha_token parameter, and locally unexpired captcha should be used as much as possible. When error equals captcha_invalid, it indicates that the captcha is invalid and needs to be re-obtained. Within the same verification process, captcha_invalid can be attempted at most once.
// Example of error message:
{
  data: {
    error: "captcha_required",
    error_code: 4001,
    error_description: "captcha_token required"
  }
}
Process Flow
Complete Process Flow
The complete process for captcha handling is as follows:
- User attempts to log in or send a verification code
- If a captcha requirement is triggered, the SDK throws a
captcha_requirederror - Write an SDK adapter to catch errors and trigger
openURIWithCallback - In the
openURIWithCallbackmethod, obtain the captcha parameters and send them to the frontend for display viaEVENT_BUS. - The frontend displays the captcha image and waits for user input
- User enters the captcha and submits it
- The system verifies and returns the result
- Determine whether to retry the original operation based on the verification result
For the SDK adapter in Step 3 and the openURIWithCallback method, refer to the Adapter Guide
Adapter Implementation
function genAdapter(options) {
  const adapter: SDKAdapterInterface = {
    captchaOptions: {
      openURIWithCallback: async (url: string) => {
        // Parse the captcha parameters in the URL.
        const { captchaData, state, token } = cloudbase.parseCaptcha(url);

        // Send the captcha data via EVENT_BUS for frontend caching and display
        options.EVENT_BUS.emit("CAPTCHA_DATA_CHANGE", {
          captchaData, // Base64-encoded captcha image
          state, // captcha status flag
          token, // captcha token
        });

        // Listen for the captcha verification result
        return new Promise((resolve) => {
          console.log("Waiting for the captcha verification result...");
          options.EVENT_BUS.once("RESOLVE_CAPTCHA_DATA", (res) => {
            // Verification result of auth.verifyCaptchaData
            resolve(res);
          });
        });
      },
    },
  };
  return adapter;
}
Initialize the SDK
import cloudbase from '@cloudbase/js-sdk'

// Create an event bus instance. For specific EventBus implementations, refer to online samples.
const EVENT_BUS = new EventBus();

// Configure and use the adapter to inject EVENT_BUS into genAdapter
cloudbase.useAdapters(adapter, { EVENT_BUS });

const app = cloudbase.init({
  env: 'Environment ID',
  appSign: 'Application Identifier',
  appSecret: {
    appAccessKeyId: 'Application Credential Version Number',
    appAccessKey: 'Application Credential'
  }
});

const auth = app.auth();
Verification Code Page Implementation
// Store the current captcha status
let captchaState = {
  captchaData: "", // Base64-encoded captcha image
  state: "",       // captcha status flag
  token: "",       // captcha token
};

// Listen for captcha data changes
EVENT_BUS.on("CAPTCHA_DATA_CHANGE", ({ captchaData, state, token }) => {
  console.log("Received captcha data", { captchaData, state, token });

  // Update local captcha status
  captchaState = { captchaData, state, token };

  // Display the captcha image in the page, for example, using an img tag in a Web environment
  const captchaImage = document.getElementById('captcha-image');
  if (captchaImage) {
    captchaImage.src = captchaData;
  }
});

// Called when the user clicks to refresh the captcha
const refreshCaptcha = async () => {
  try {
    // Obtain the latest captcha information
    const result = await auth.createCaptchaData({
      state: captchaState.state
    });

    // Update local captcha status
    captchaState = {
      ...captchaState,
      captchaData: result.data,
      token: result.token,
    };

    // Update the displayed captcha image
    const captchaImage = document.getElementById('captcha-image');
    if (captchaImage) {
      captchaImage.src = result.data;
    }
  } catch (error) {
    console.error("Failed to refresh the captcha", error);
  }
};

// Called when the user submits the captcha
const verifyCaptchaData = async (userCaptcha) => {
  try {
    // Verify the Captcha.
    const verifyResult = await auth.verifyCaptchaData({
      token: captchaState.token,
      key: userCaptcha
    });

    // Notify the adapter of the verification result
    EVENT_BUS.emit("RESOLVE_CAPTCHA_DATA", verifyResult);

    console.log("Captcha verification successful");
  } catch (error) {
    console.error("Captcha verification failed", error);
    // When verification fails, you can choose to refresh the captcha
    await refreshCaptcha();
  }
};
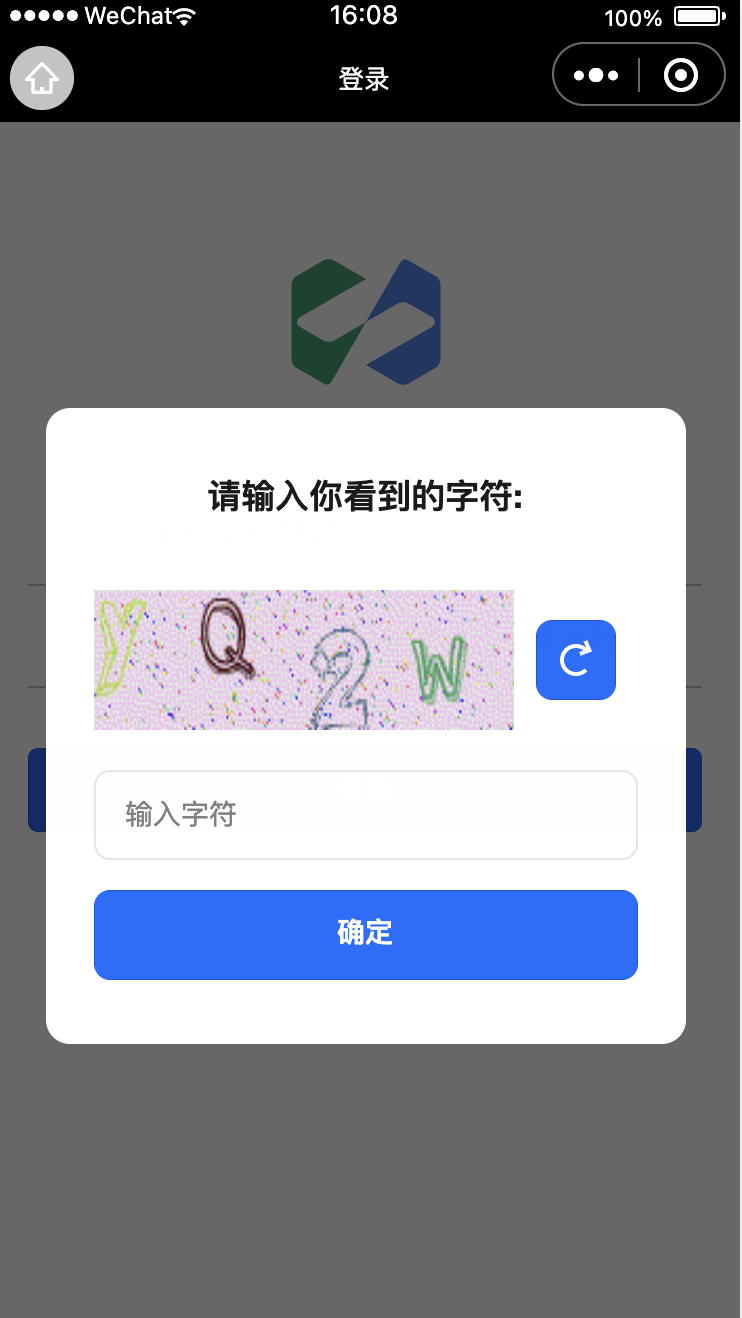
Captcha Display Effect
Sample code address: Sample Code
Related APIs
auth.createCaptchaData(options)- create captcha dataauth.verifyCaptchaData(options)- verify captchacloudbase.parseCaptcha(url)- Parse captcha URL parameters
Notes
- The captcha is time-sensitive; it is recommended to use it promptly after obtaining it.
- Within the same verification process, captcha verification can be retried at most once upon failure.
- It is recommended to provide a feature for refreshing the captcha after verification failure.
- Ensure the proper initialization of the event bus and event listening.