Visual Component Multi-Agent Example
For basic usage of the Agent UI block, refer to Agent UI WeDa Visual Component.
The following example demonstrates how to achieve free switching between multiple agents using Agent UI.
Create Agent List
First, add the Agent UI block to the current page.
Create a variable agentList in the bottom-left code area to store the Agent list. Change the variable type to array and enter the default value. Replace the id and name in the default value with your own agent information, and adjust the quantity as needed.

Modify Block Configuration
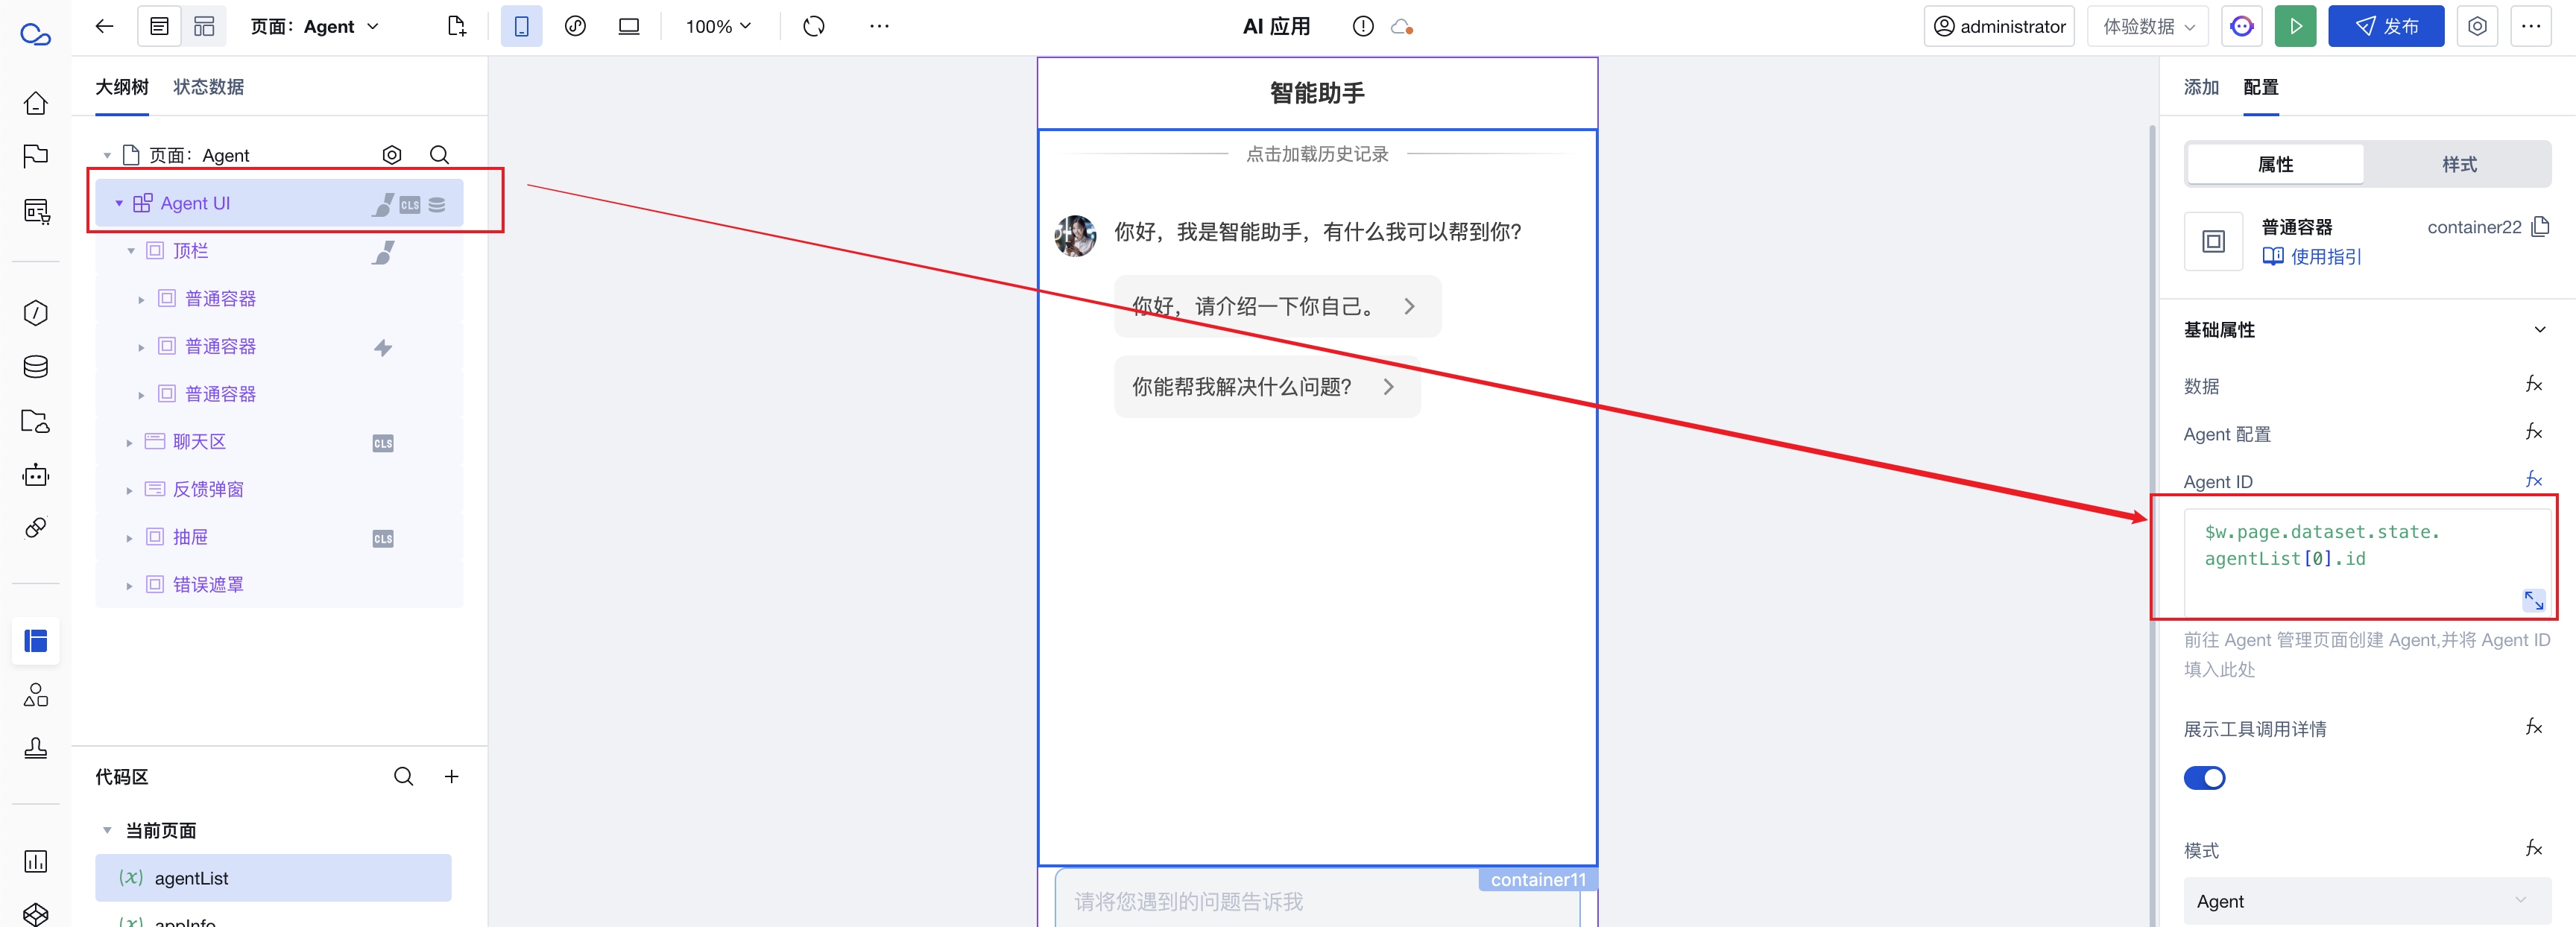
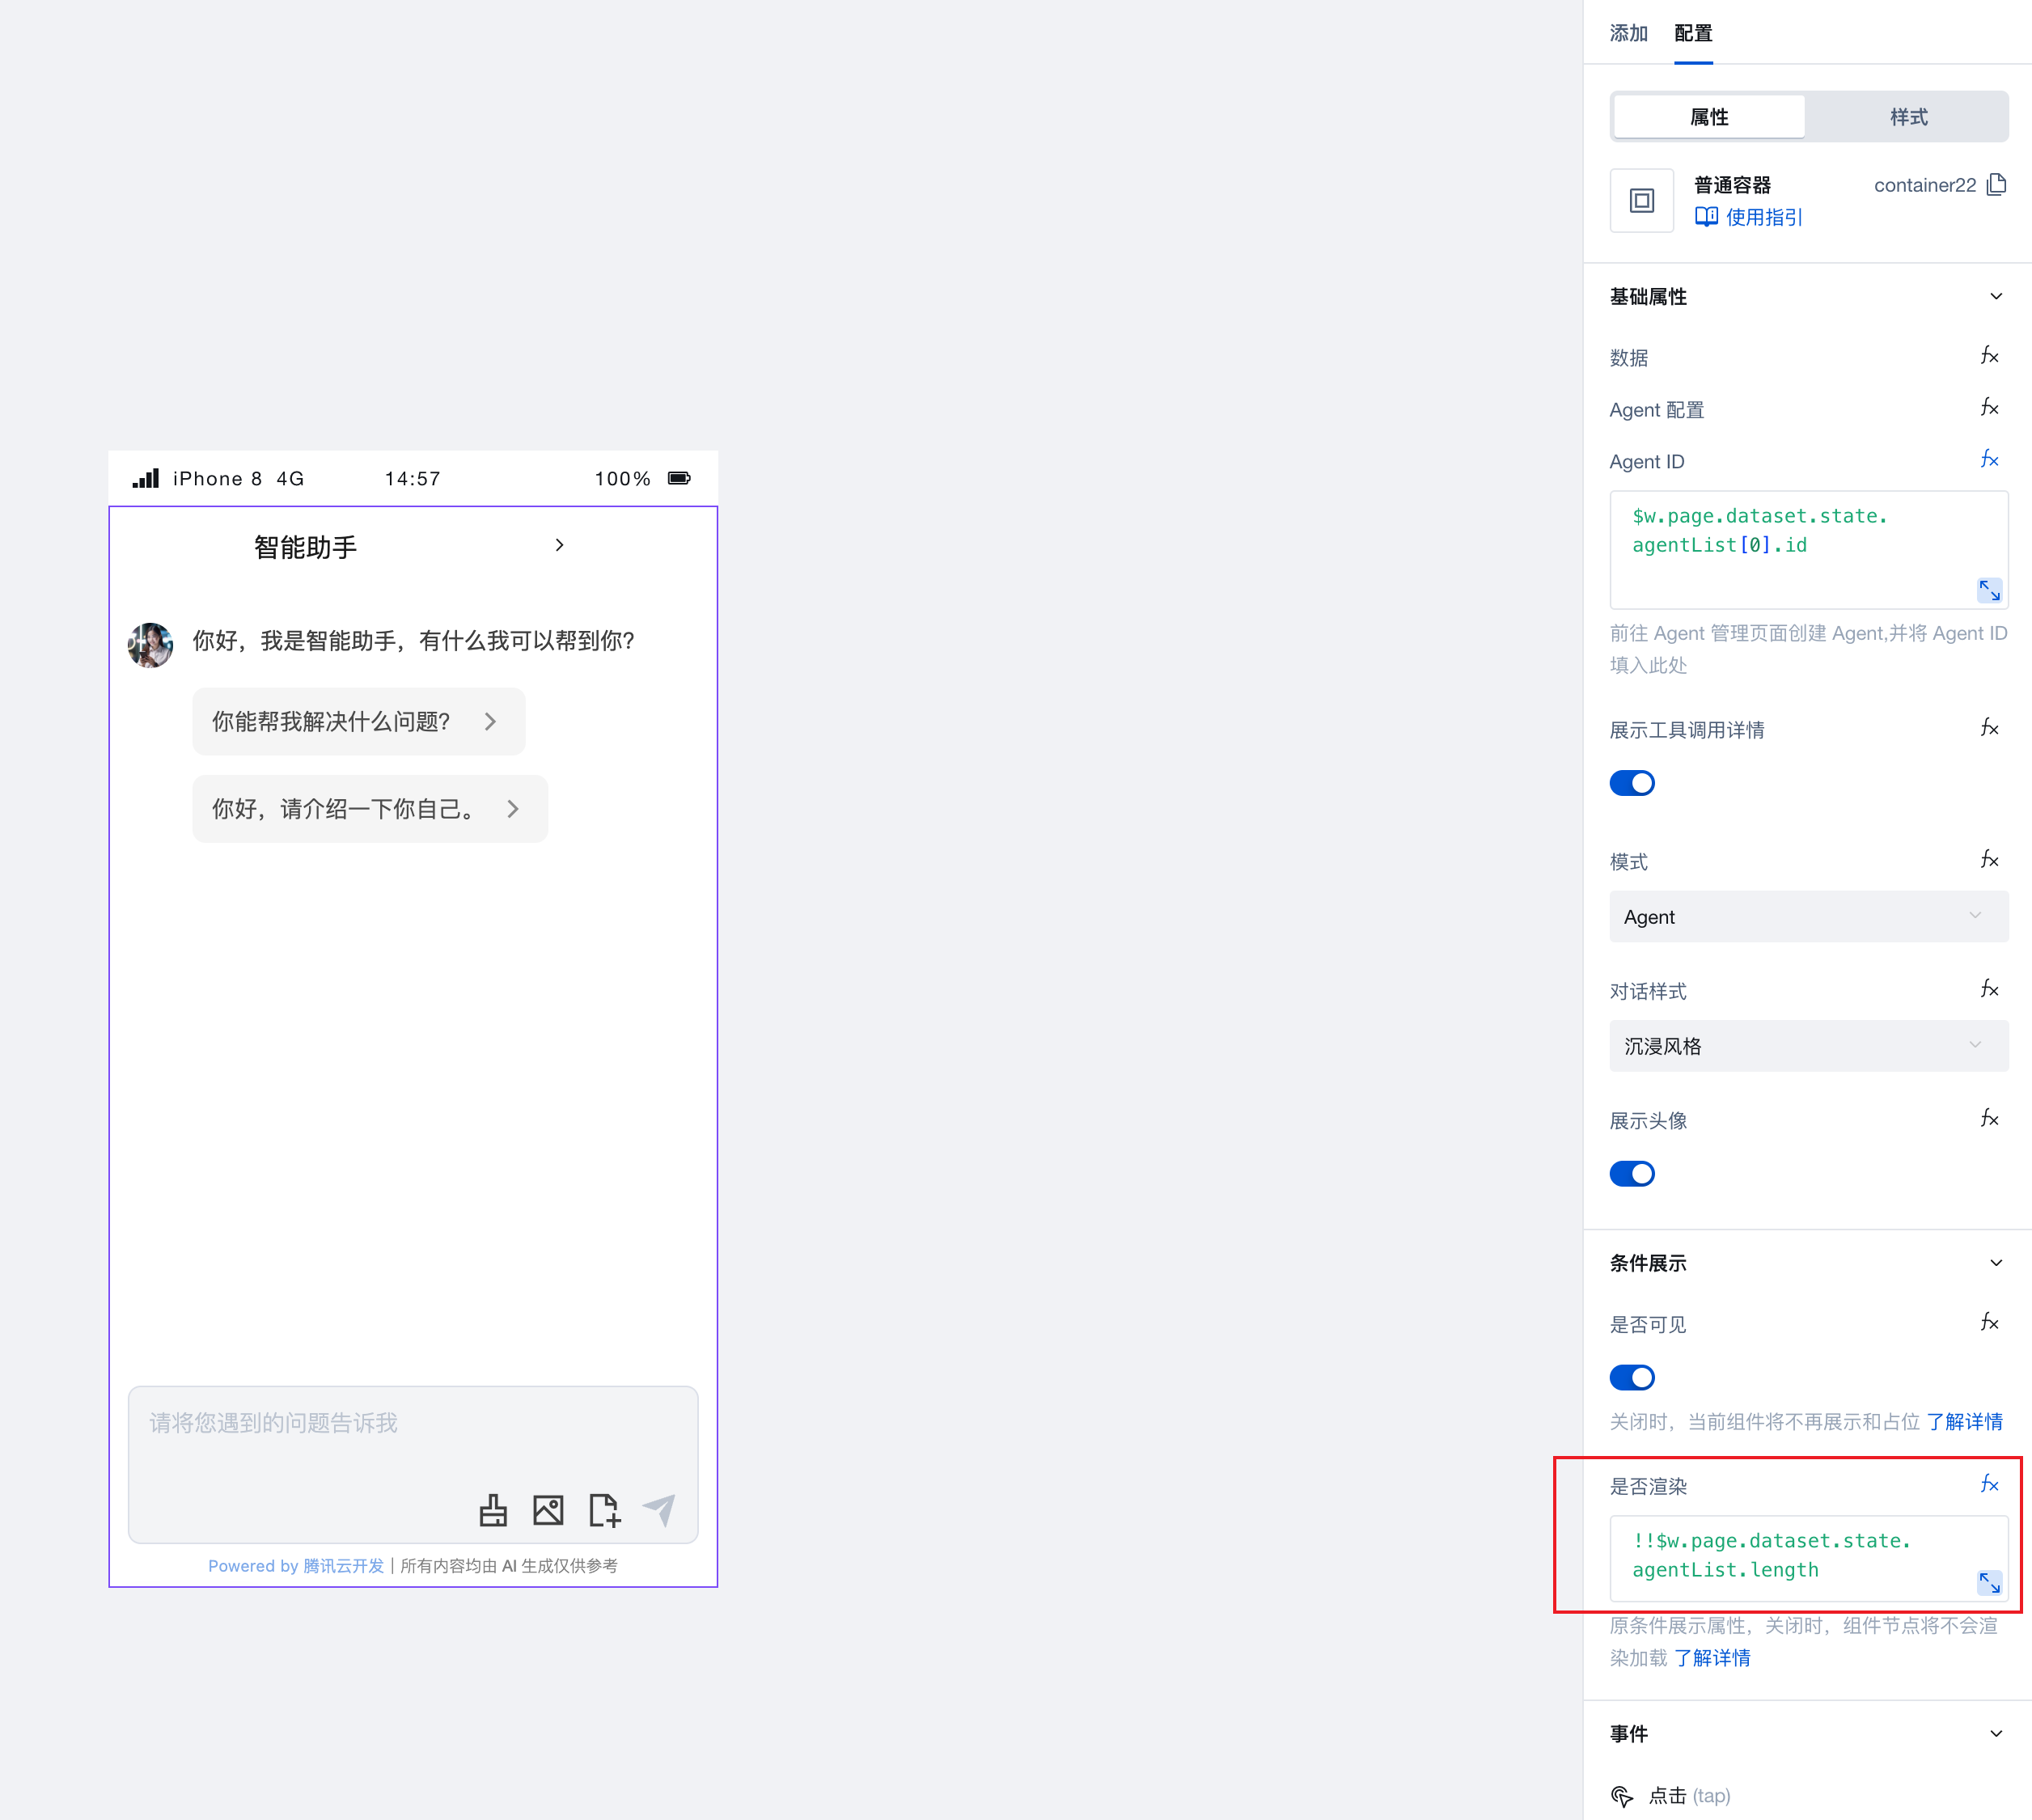
Modify the block's default Agent ID to $w.page.dataset.state.agentList[0].id, i.e., using the first agent by default.
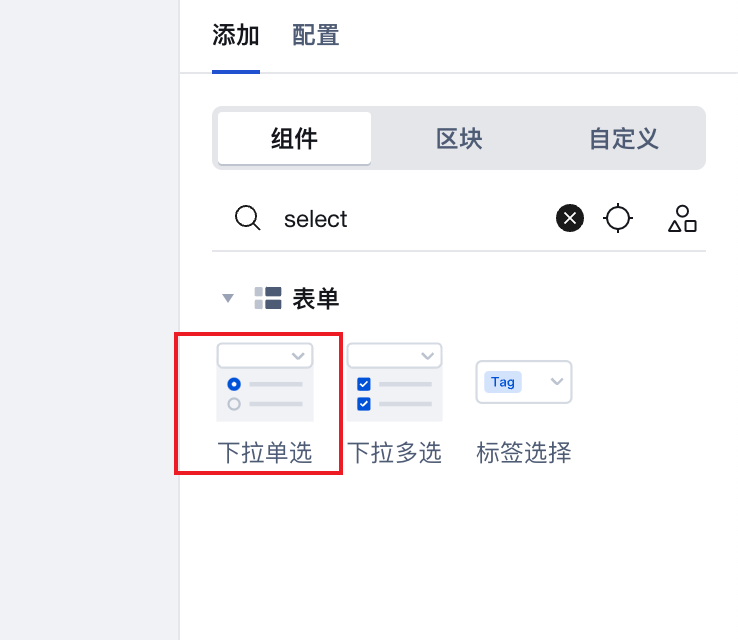
Add Dropdown Radio Component
Reference the Component
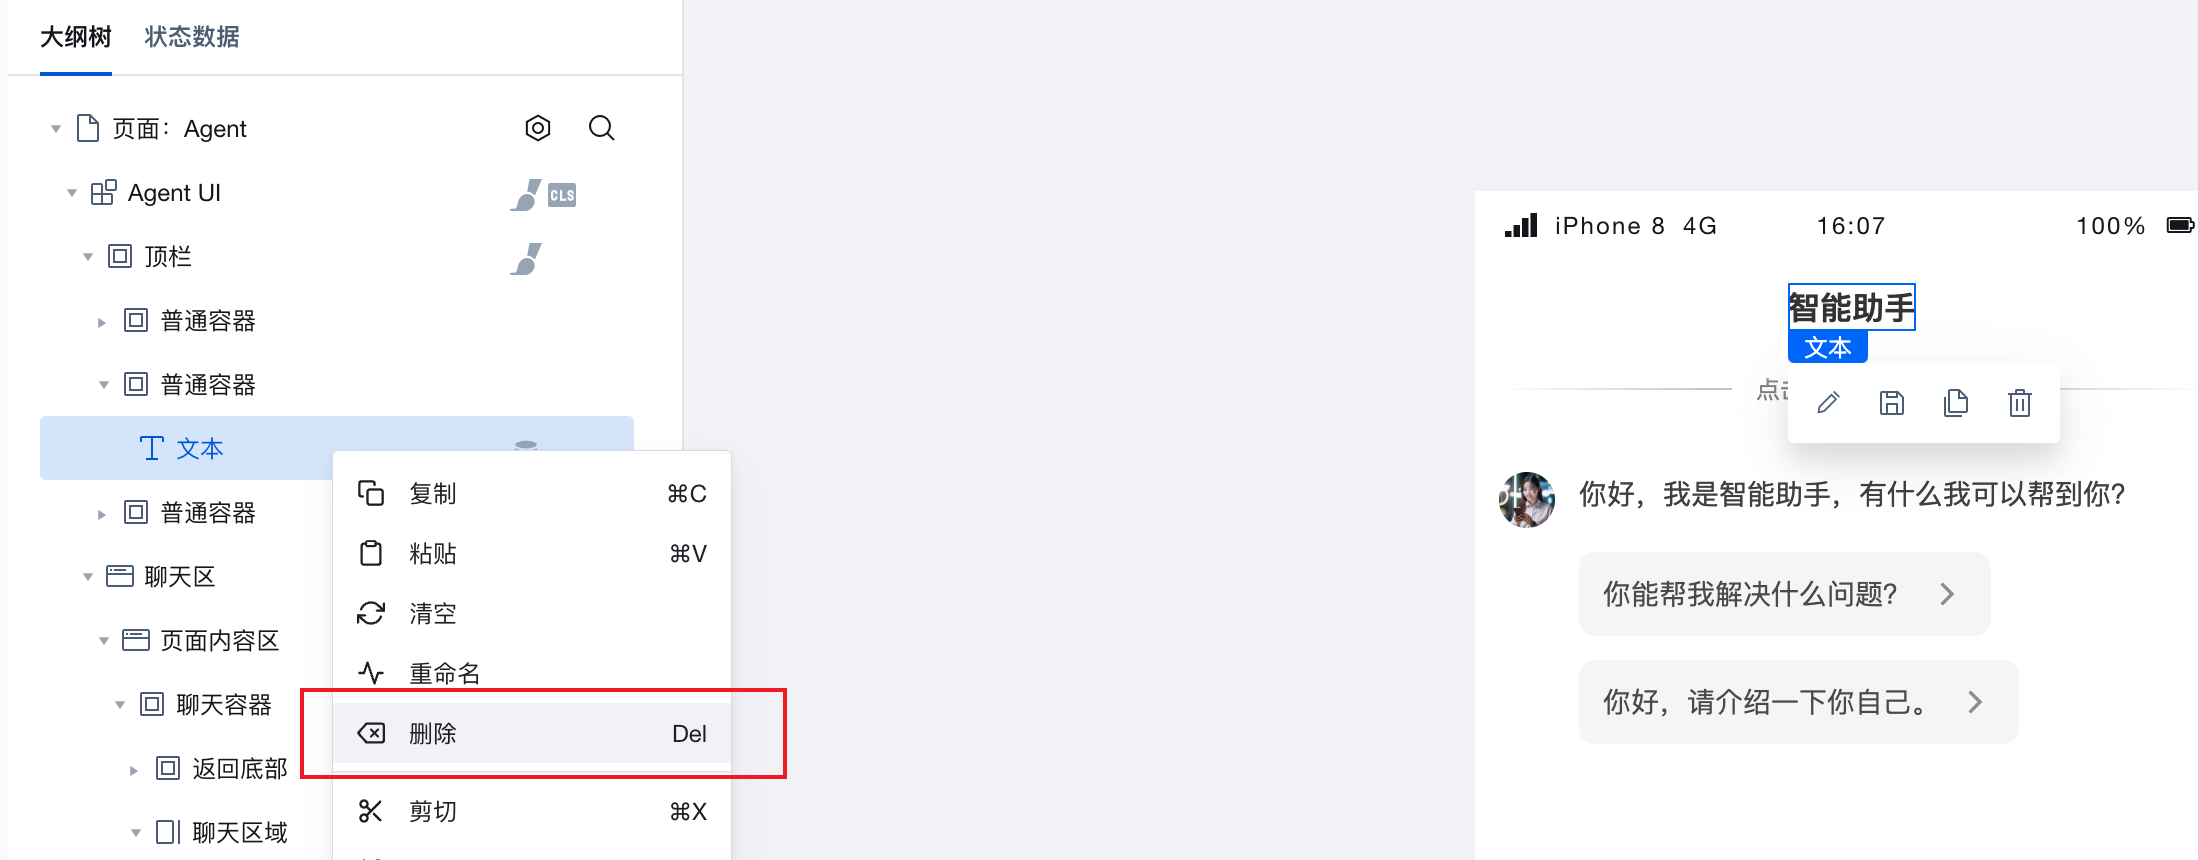
Delete the original top bar title, locate the dropdown radio component in the right-side Add-Components section, and add it to the position of the original title.
Modify Configuration
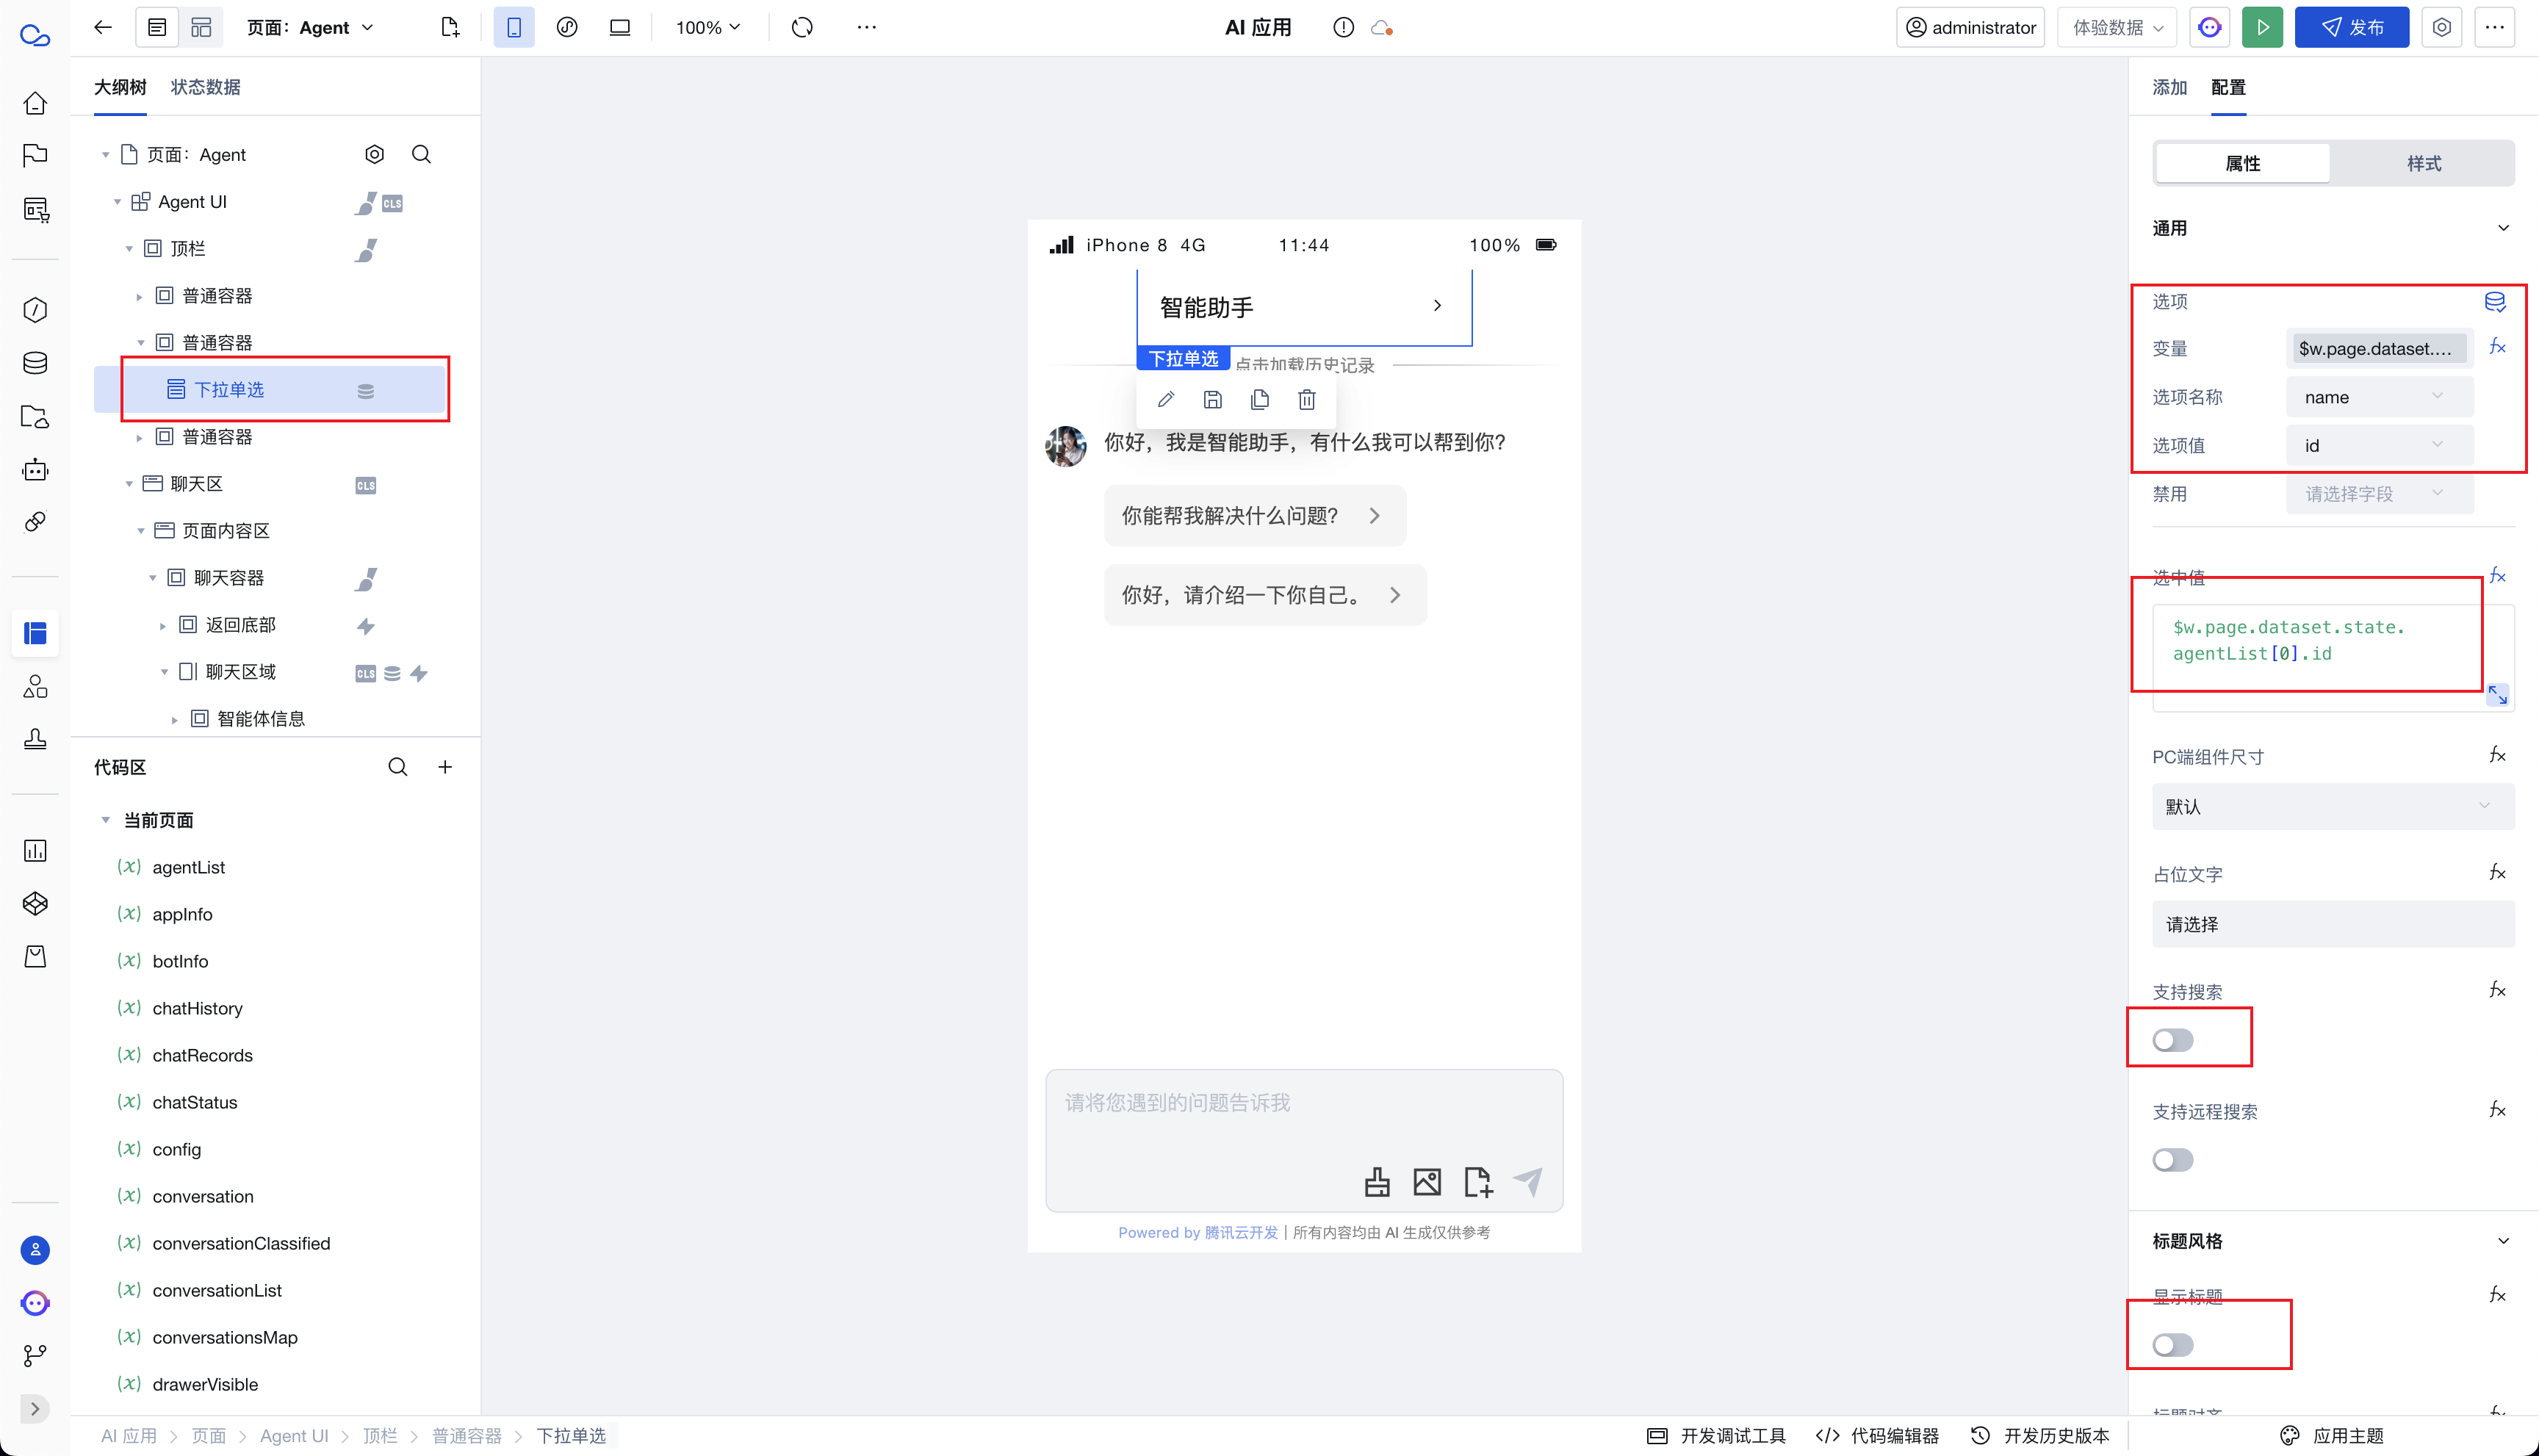
Select the dropdown radio component on the left, bind the previously defined agentList variable in the configuration area on the right, modify the Option Name and Option Value, and set the Selected Value to $w.page.dataset.state.agentList[0].id, meaning the first agent is selected by default. Adjust other configurations as needed. For detailed usage, refer to Dropdown Radio Component.
Bind Events
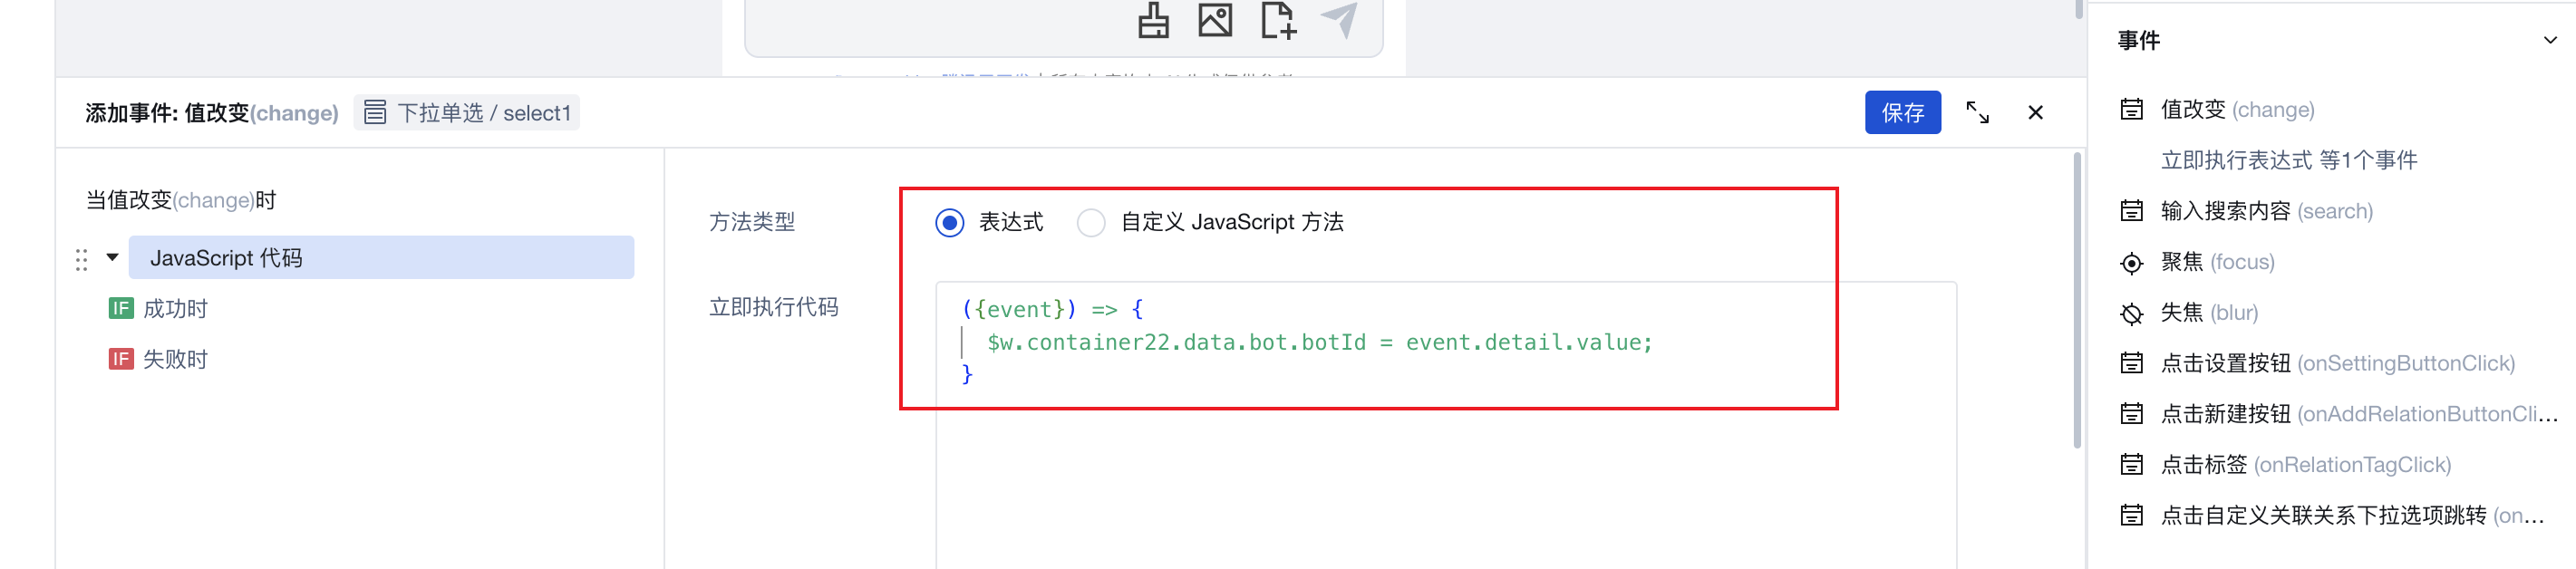
Click value change at the bottom right and select JavaScript code for the action.

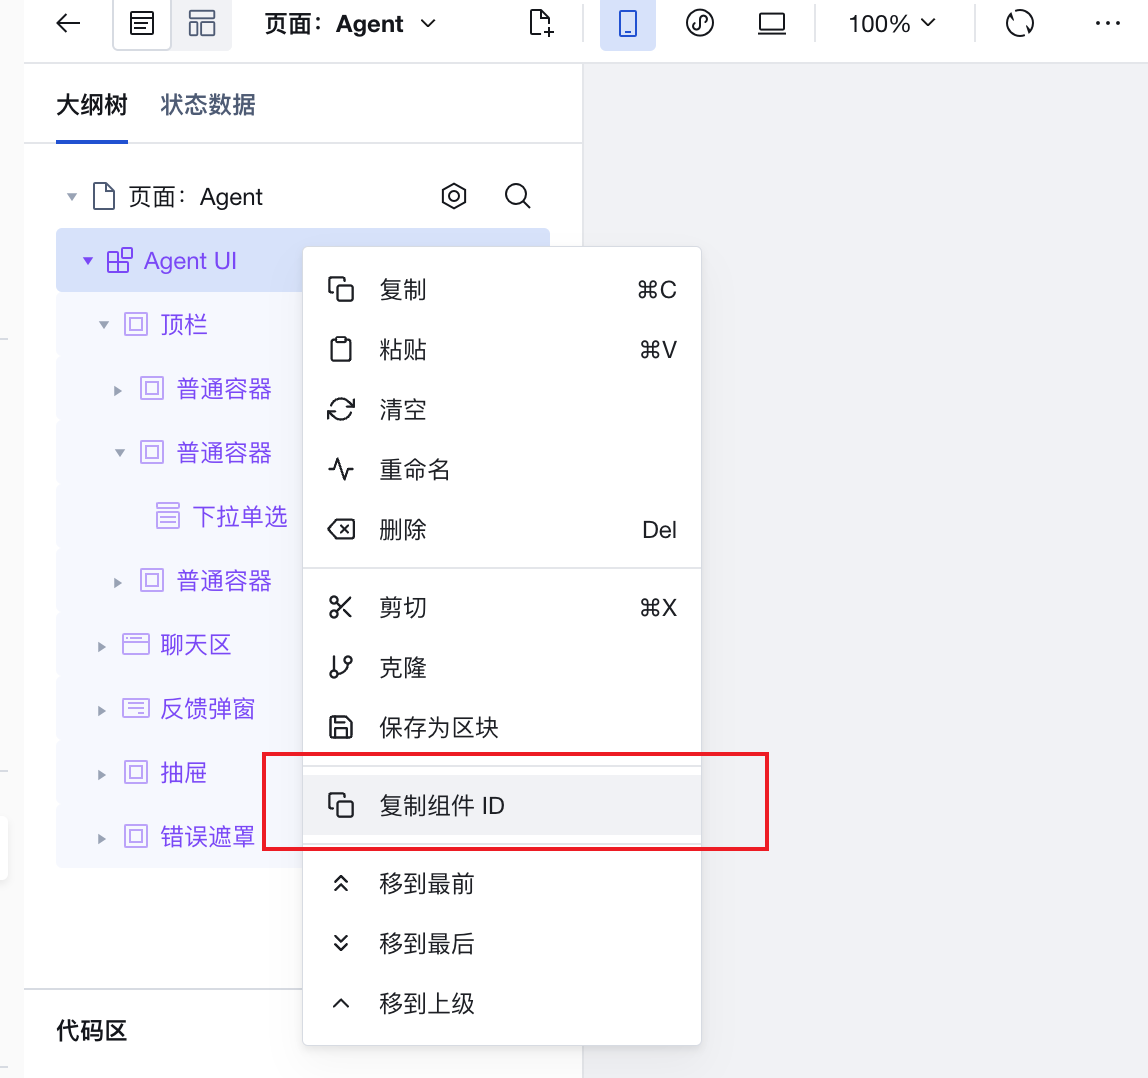
Enter the code below. Note: Replace container22 with your own block component ID. Right-click the component to copy its ID.
({ event }) => {
  // Here, container22 needs to be replaced with your own block component id.
  $w.container22.data.bot.botId = event.detail.value;
};
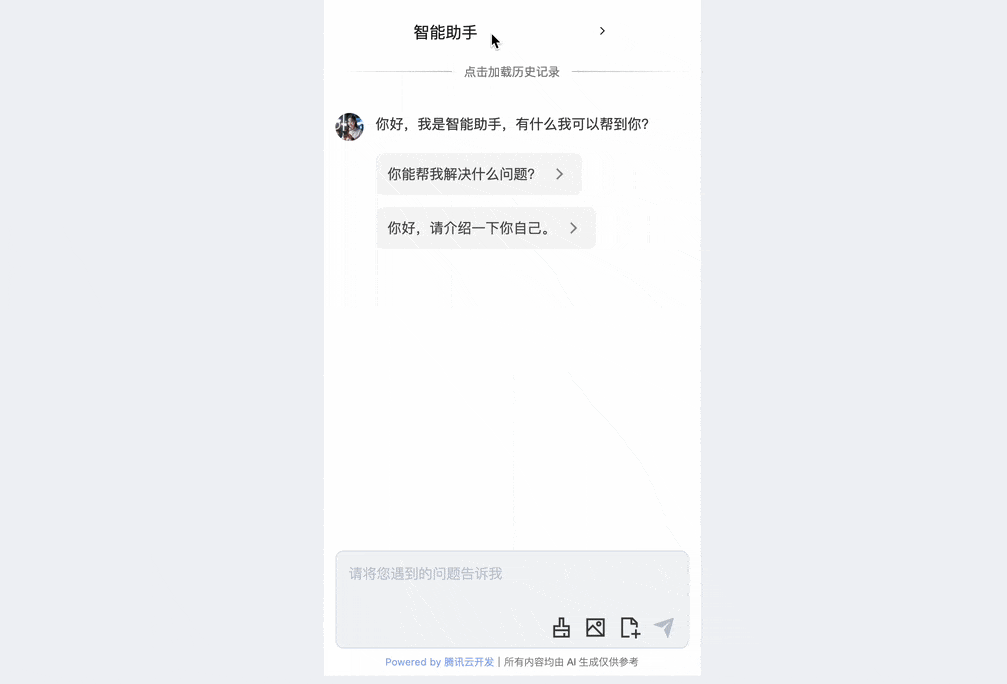
Now, click the dropdown radio component to freely switch between different agents.
Extension/Optimization
Style Optimization
After completing the above steps, the title bar is not center-aligned. This is because the dropdown radio component uses the input tag to render options, and the input tag does not automatically adjust its width based on content, resulting in a mismatch between the component's actual width and the text width.
This issue cannot be directly resolved with width: auto. It requires using a placeholder element to expand the parent box's width, then setting the dropdown radio component's width to 100% and positioning it to cover the placeholder. Refer to the following approach:
<div style="display: flex;">
  <div style="position: relative;">
    <!-- placeholder element -->
    <div style="visibility: hidden;">This is a piece of text</div>
    <!-- input -->
    <input
      style="position: absolute; top: 0; left: 0; width: 100%;"
      value="This is a piece of text"
    />
  </div>
</div>
The example uses dropdown selection to switch agents. In actual use, it can be replaced with other forms as needed, such as menu lists, sidebars, etc.
Dynamic Data
In the above example, agentList and the id and name of each item are static. This means that every time you update an Agent name, you have to manually modify the variable.
To avoid this issue, you can record only the ID of each agent and manually query the agent information list after each page entry.
// sample code
async () => {
  const ids = [
    'botid-1',
    'botid-2',
  ]

  const agentList = await Promise.all(
    ids.map((botId) => $w.app.ai.bot.get({ botId })),
  )

  if (agentList.some((item) => !!item.code)) {
    console.log('Fetch failed', agentList)
    return
  }

  console.log('Fetch succeeded', agentList)
}
Similarly, if you want to manage and maintain the available Agent list in the backend, you can retrieve it via a custom cloud function.
When fetching data asynchronously, agentList is an empty array before the request completes. At this point, the Agent UI will report an error about a missing Agent ID. To prevent this error, you can add conditional rendering to the Agent UI:
Summary
To implement multi-agent switching based on Agent UI, the process is divided into two main steps:
- Get the Agent list.
- Switch the Agent and update the block's Agent ID.
More custom styles and business logic can be adjusted as needed.