Chapter 5: Publish Workflow
This chapter will guide you on how to publish and use workflows.
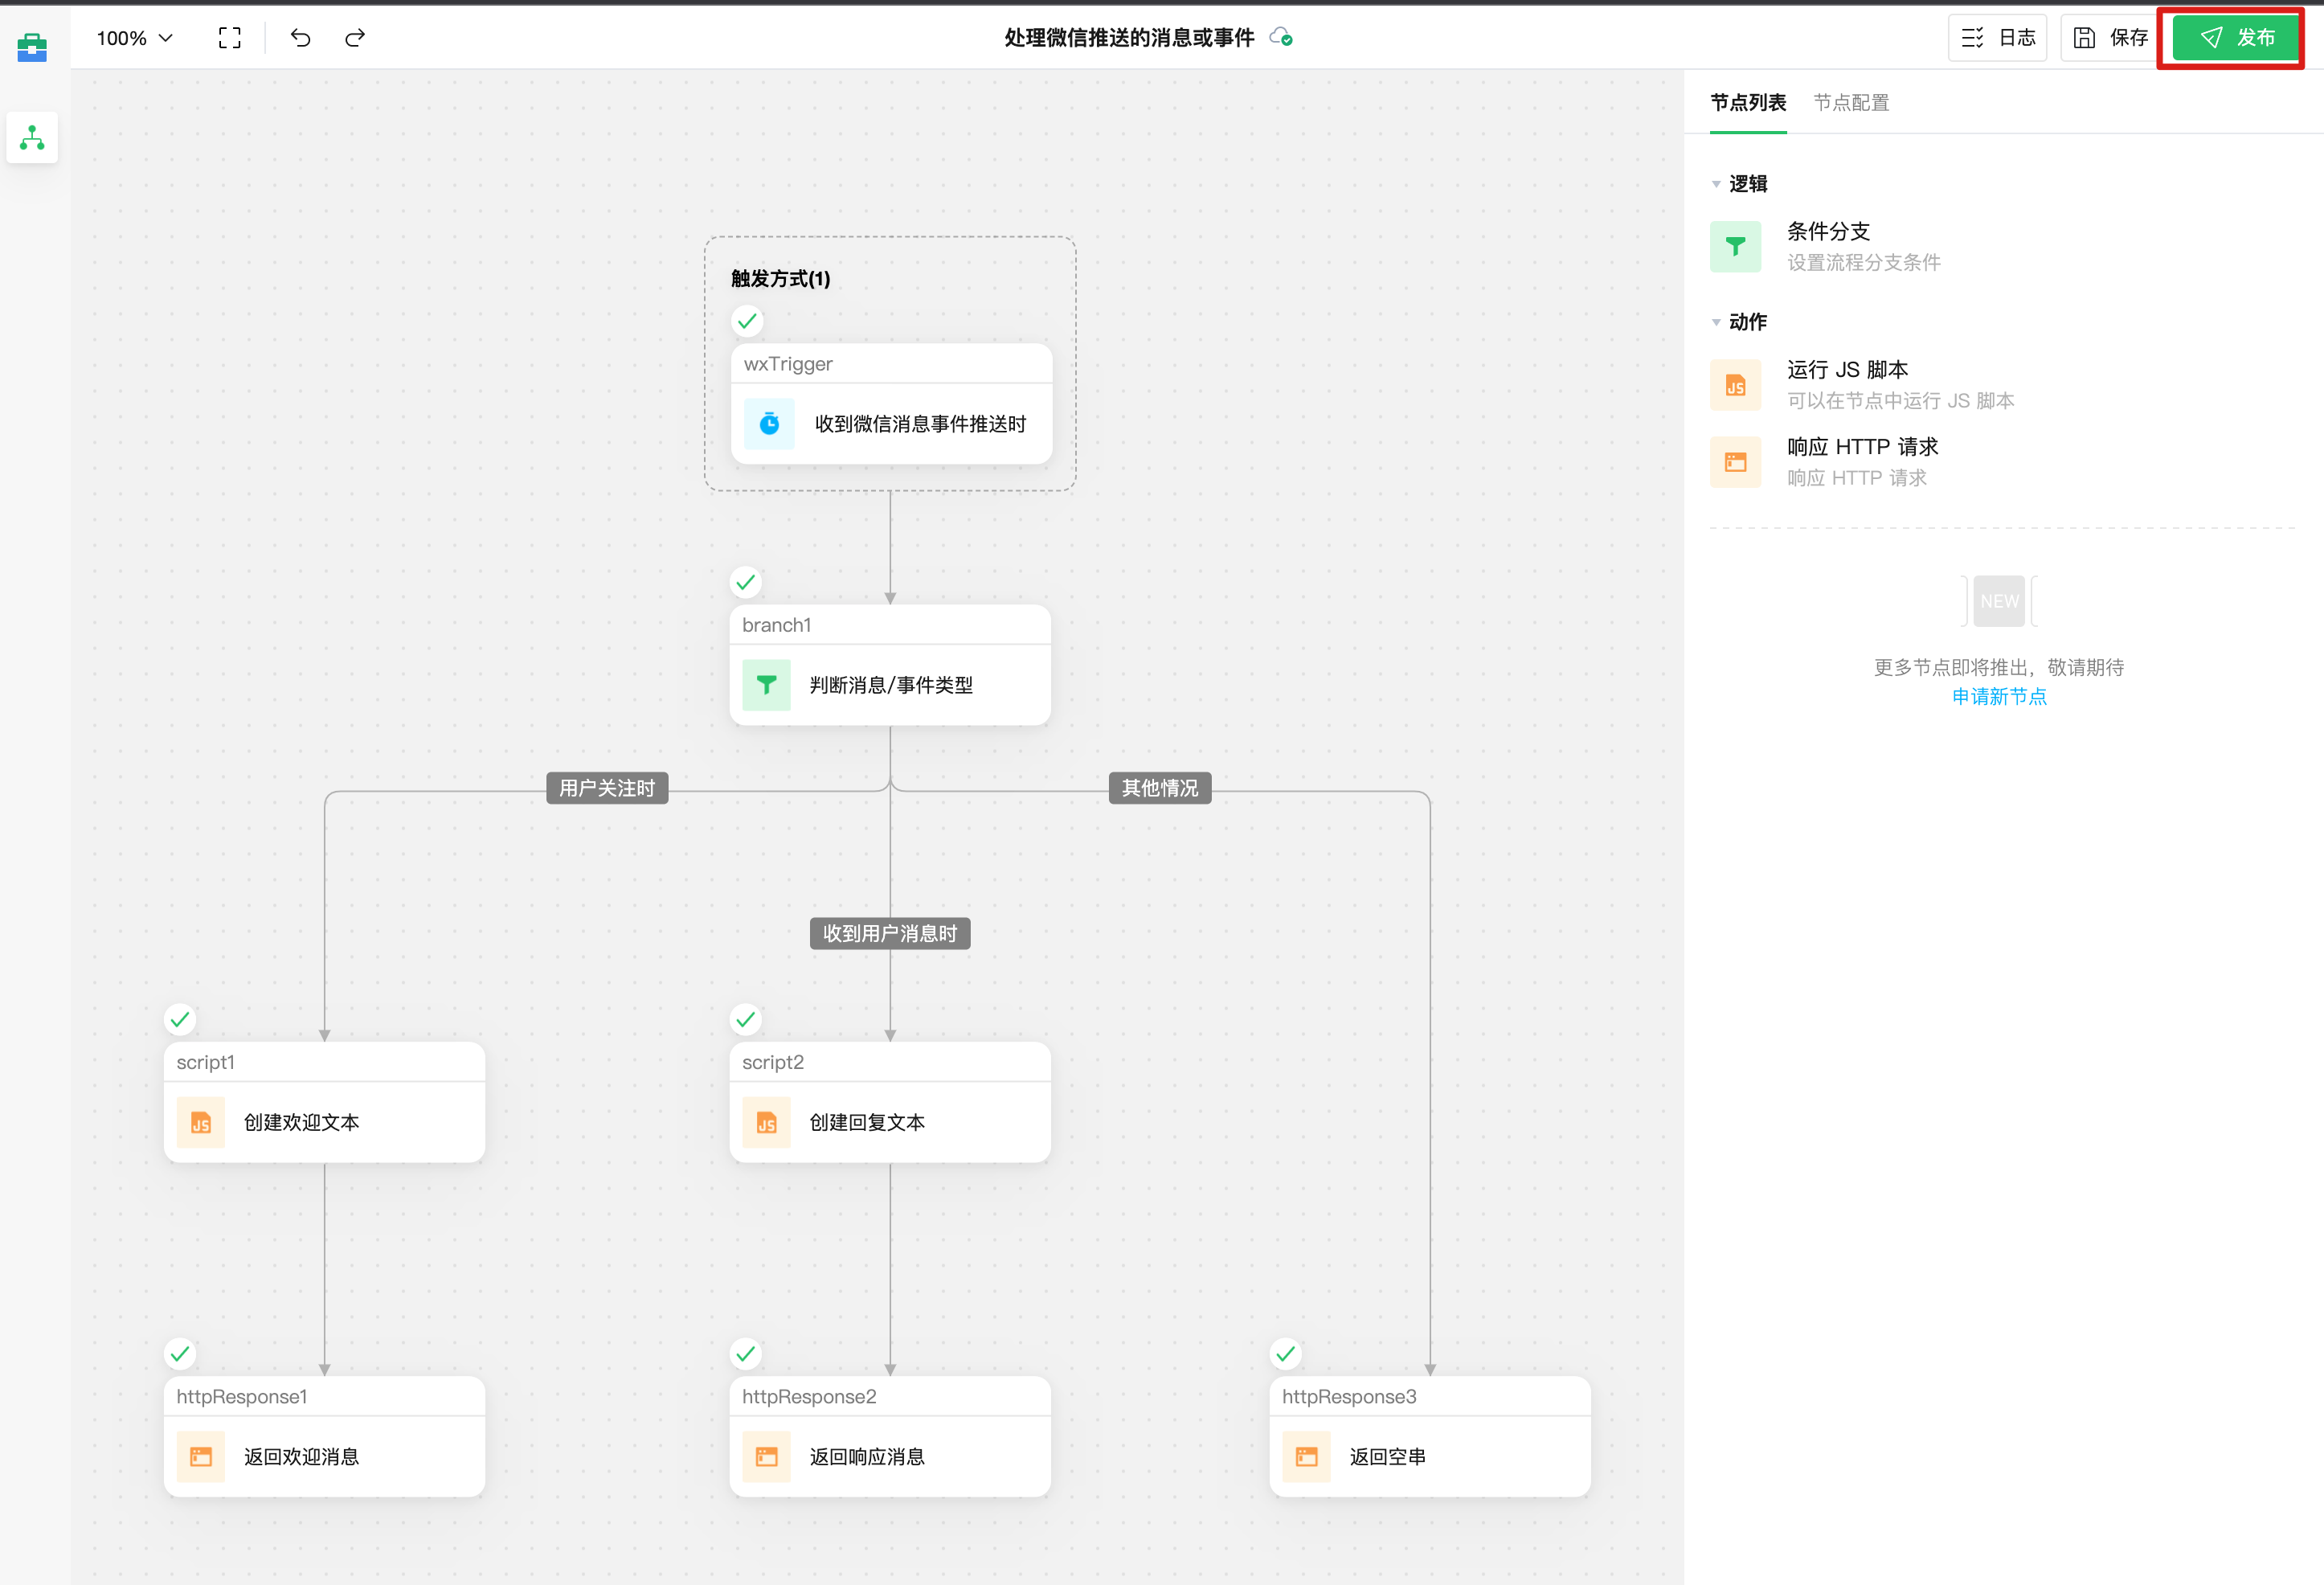
Step 1: Publish Workflow
After completing all debugging work, click the "Publish" button in the upper-right corner of the editor to publish.
Step 2: Configure Server Address Using Official URL
Copy the "Receive Push URL" from the trigger method node, and fill it in to the WeChat Official Account server configuration, for example, test account:
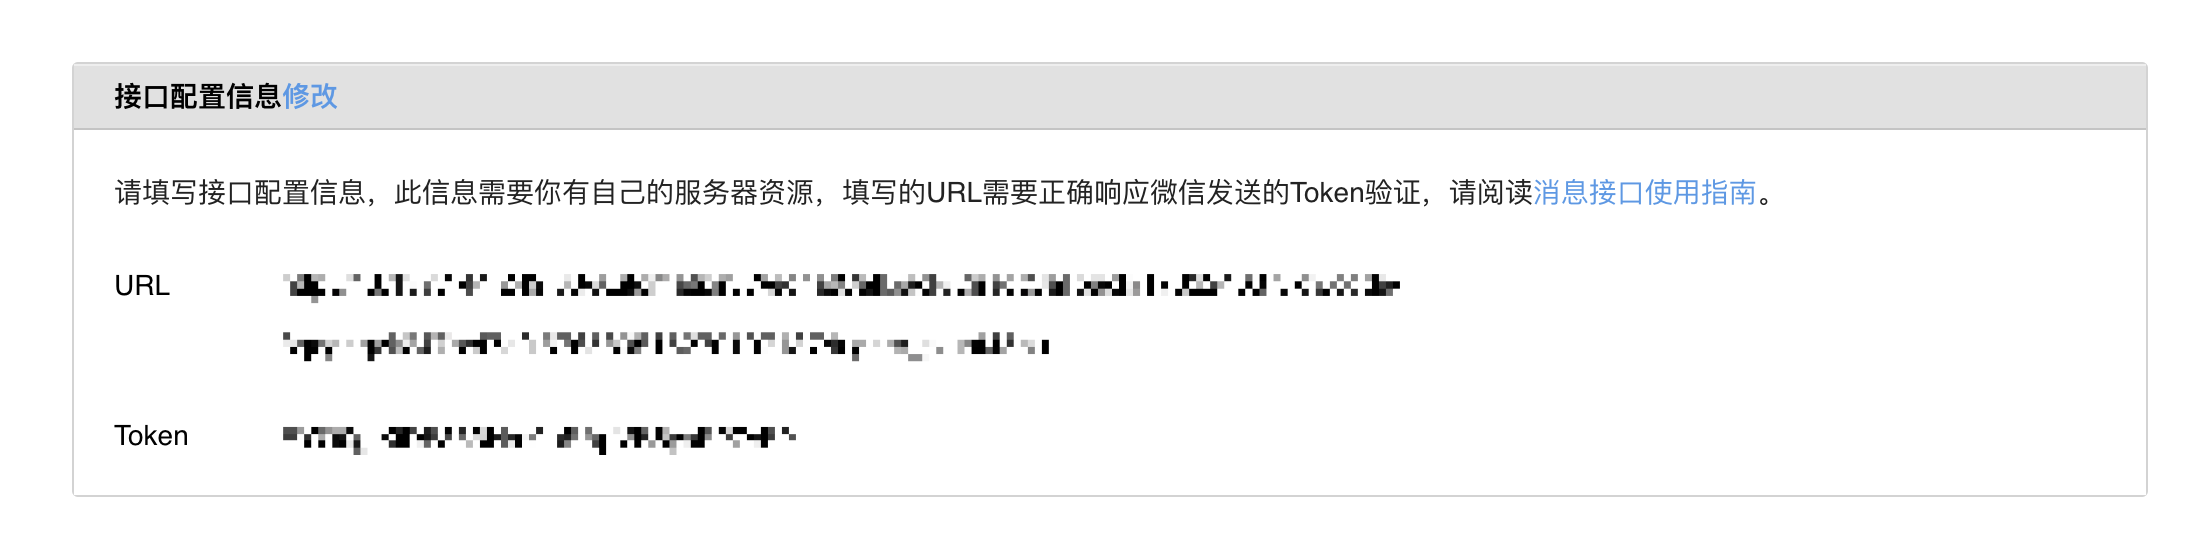
If you forget how to fill it in, you can refer to Chapter 1 - Step 3: Configure WeChat Server Settings
Step 3: Go Live
After completing the setup, you can test functions such as following/unfollowing/sending messages in the Official Account/Mini Program.

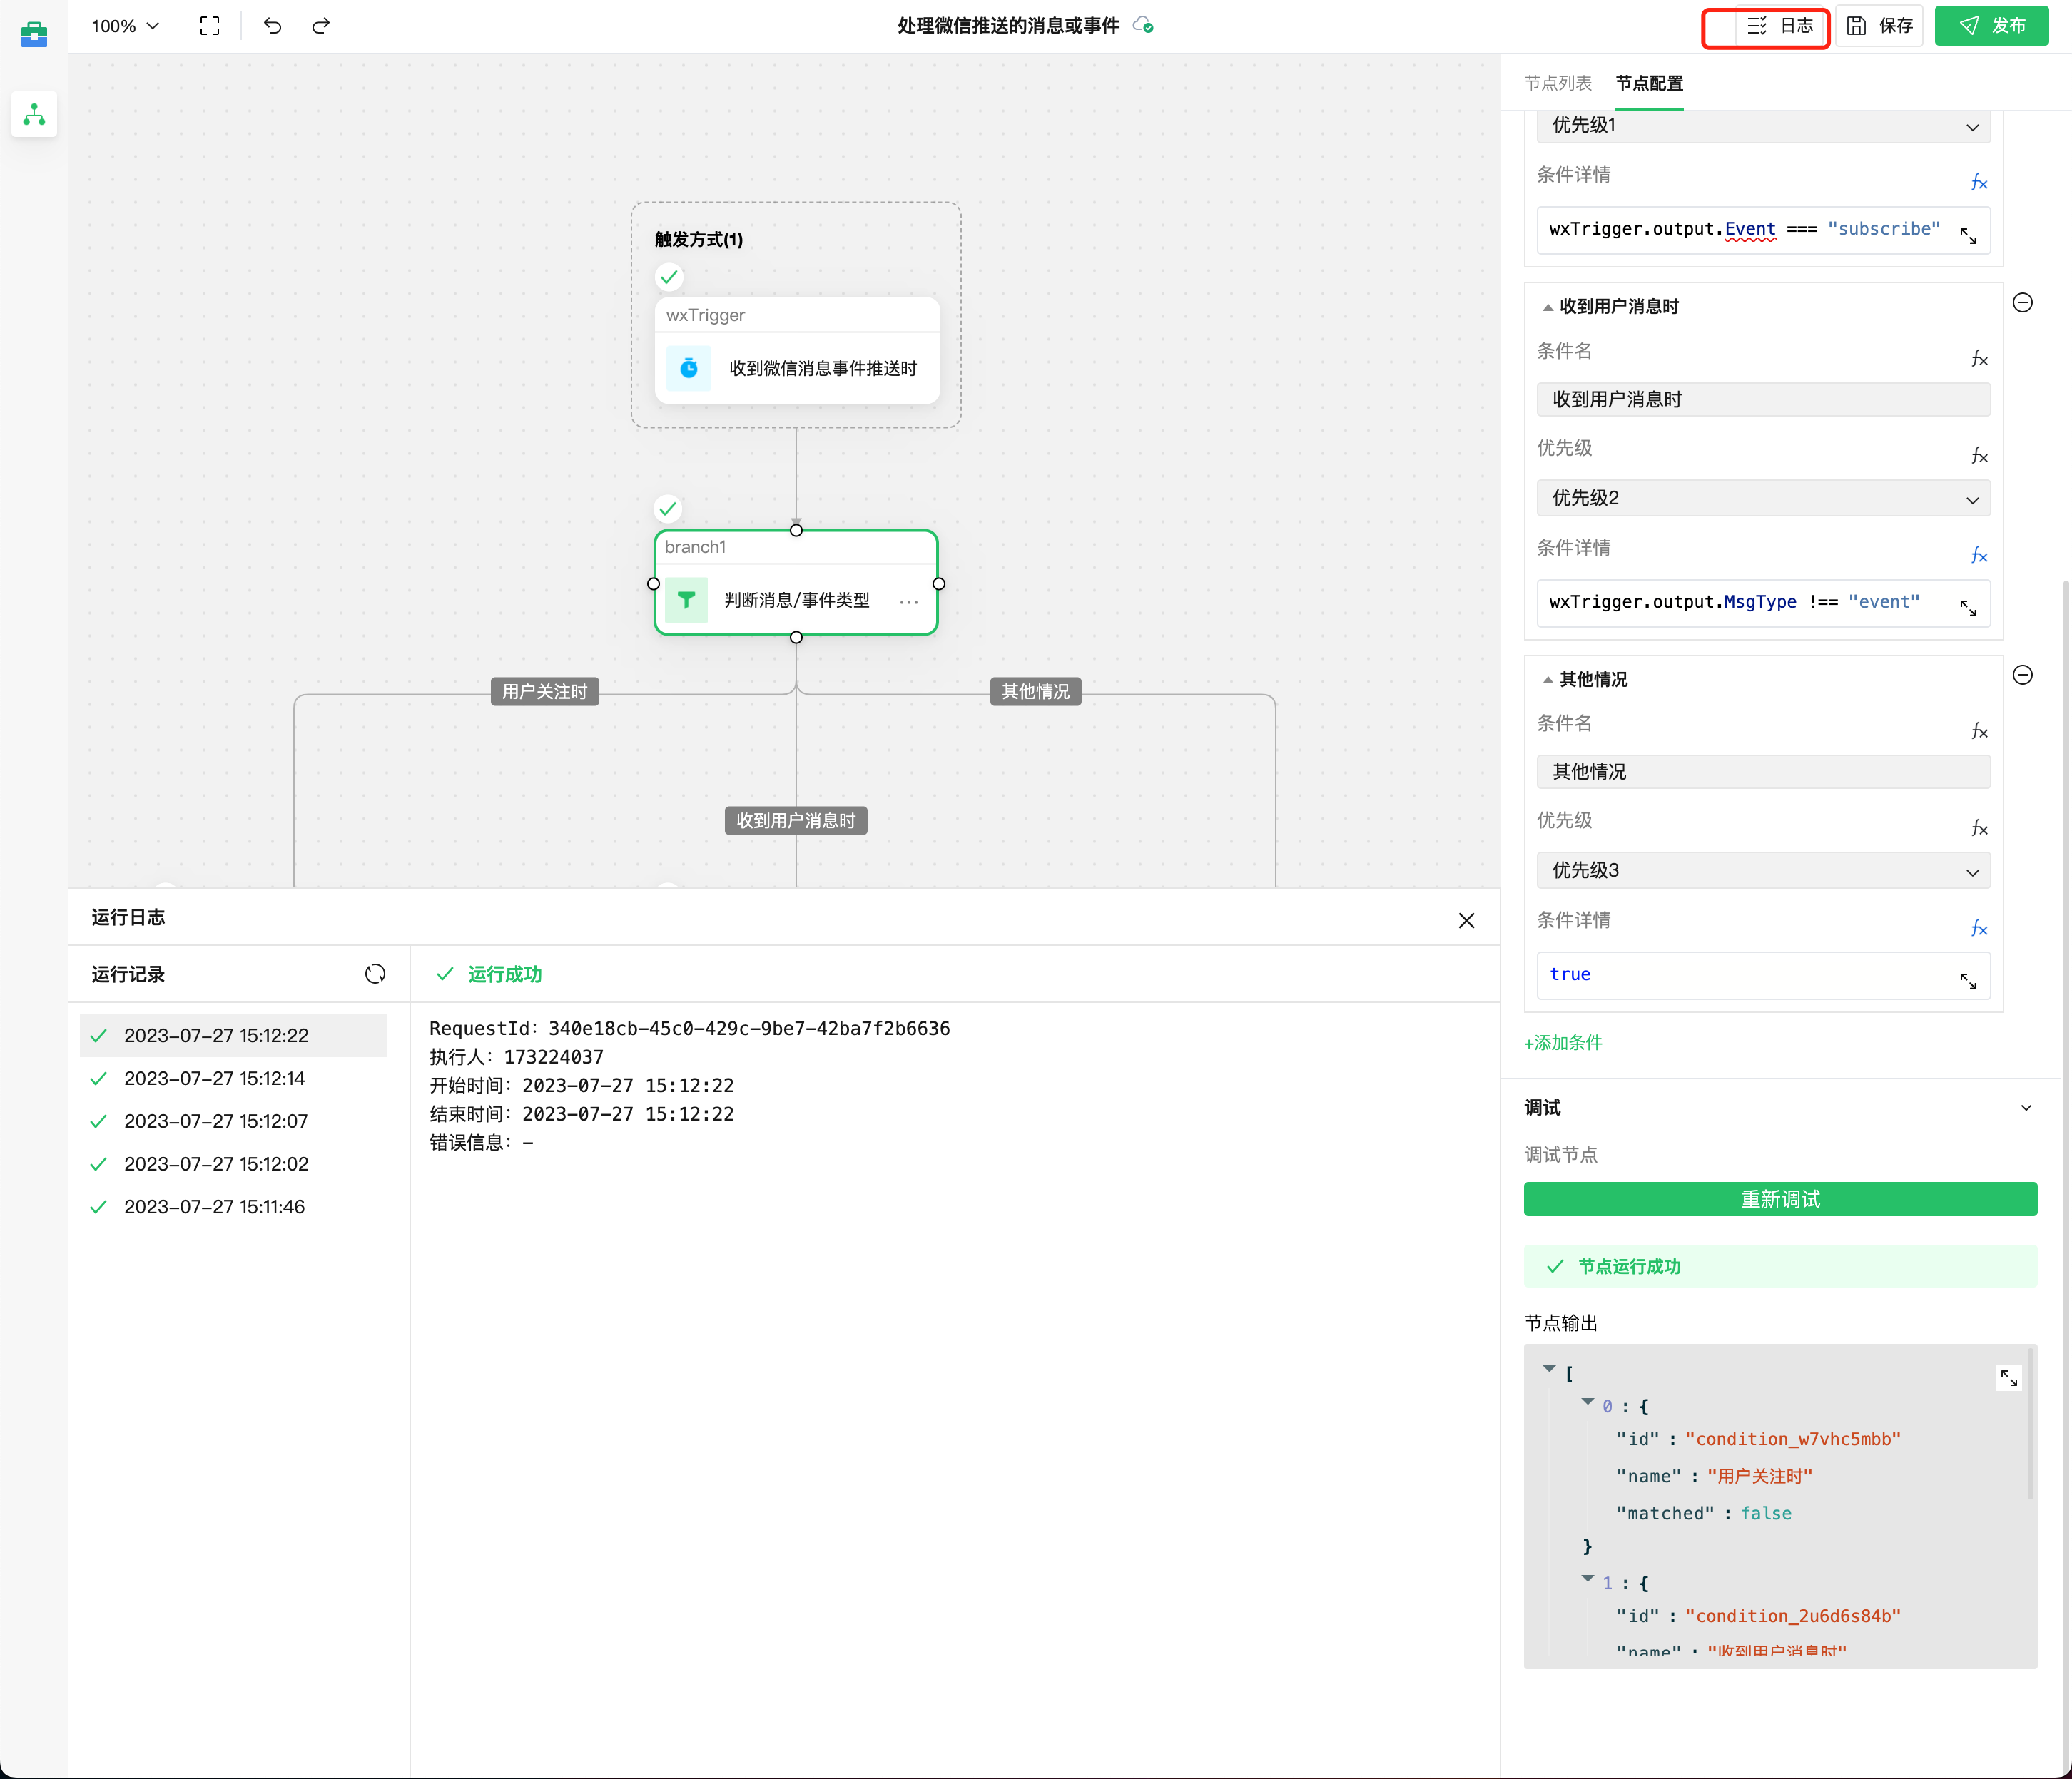
Step 4: View Logs
In the "Logs" module in the upper-right corner of the editor, you can also view the operation logs of the published workflow.