Initiating Invocation in the Mini Program
This chapter will introduce how to configure the mini program to initiate workflow invocations.
Initiating workflow invocation in the Mini Program is similar to initiating cloud function invocation. It requires completing environment initialization first, then using the wx.cloud interface to initiate the call.
Environment Initialization
By using wx.cloud.init in the Mini Program code, initialize the cloud development environment. The env parameter is the specific environment ID.
wx.cloud.init({
  env: 'cloudbase-env-id'
})
Workflow Invocation in the Mini Program
By adding the following code in the Mini Program to initiate the workflow invocation
wx.cloud.callFunction(
    "name":"lowcode-wx-datasource",   # The name is fixed as lowcode-wx-datasource
    "data":{
        "action":"StartFlowInstance",    # The action is fixed as StartFlowInstance
        "actionData":{
            "FlowId":"1736582720764907521",     # FlowId is the workflow ID, obtained by querying workflow information.
            "Params":{                          # Invocation parameters, supporting JSON-formatted parameters, which can be obtained via the trigger node's output within the workflow
                "a":1,
                "b":2
            }

        }
    }
)
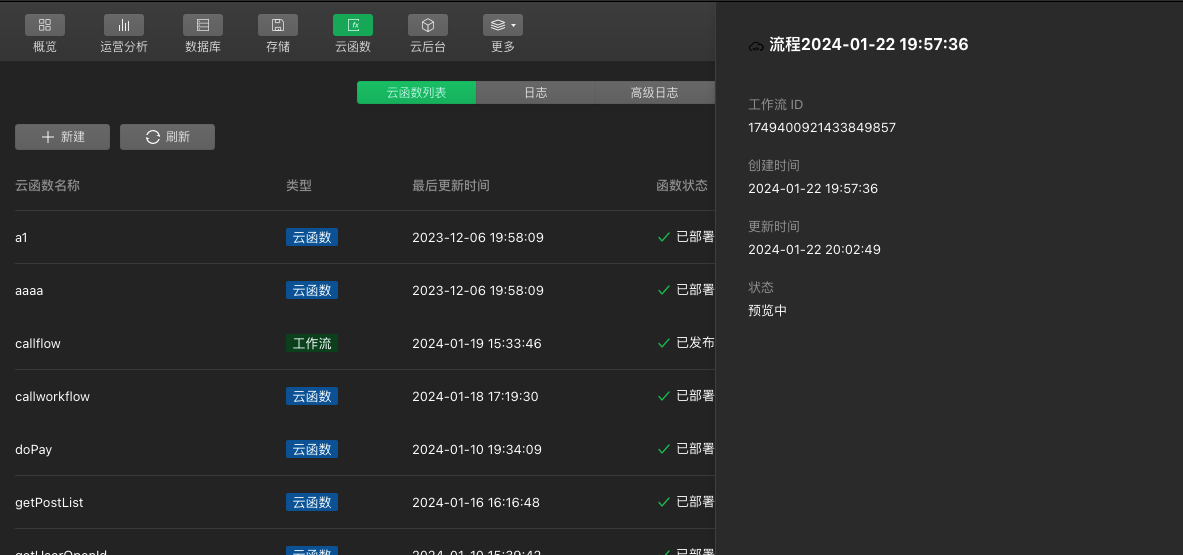
The FlowId is the ID of the workflow created in the previous step. The workflow ID can be obtained by selecting the workflow in the workflow list and viewing its properties.
Additionally, Params passed parameters a and b to the workflow, matching the data processing logic within the workflow.
Invoke and Run
To initiate an invocation against the workflow, we added parameter retrieval and printing in the above code to view the execution results.
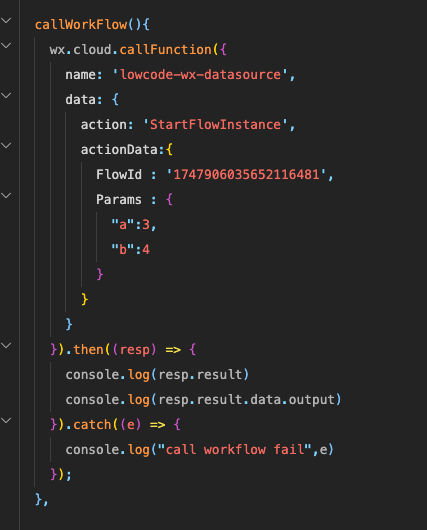
wx.cloud.callFunction({
    "name":"lowcode-wx-datasource",   # The name is fixed as lowcode-wx-datasource
    "data":{
        "action":"StartFlowInstance",    # The action is fixed as StartFlowInstance
        "actionData":{
            "FlowId":"1736582720764907521",     # FlowId is the workflow ID, obtained by querying workflow information.
            "Params":{                          # Invocation parameters, supporting JSON-formatted parameters, which can be obtained via the trigger node's output within the workflow
                "a":1,
                "b":2
            }

        }
    }
}).then((resp) => {
    console.log(resp.result)
    console.log(resp.result.data.output)
}).catch((e) => {
    console.log("call workflow fail",e)
});
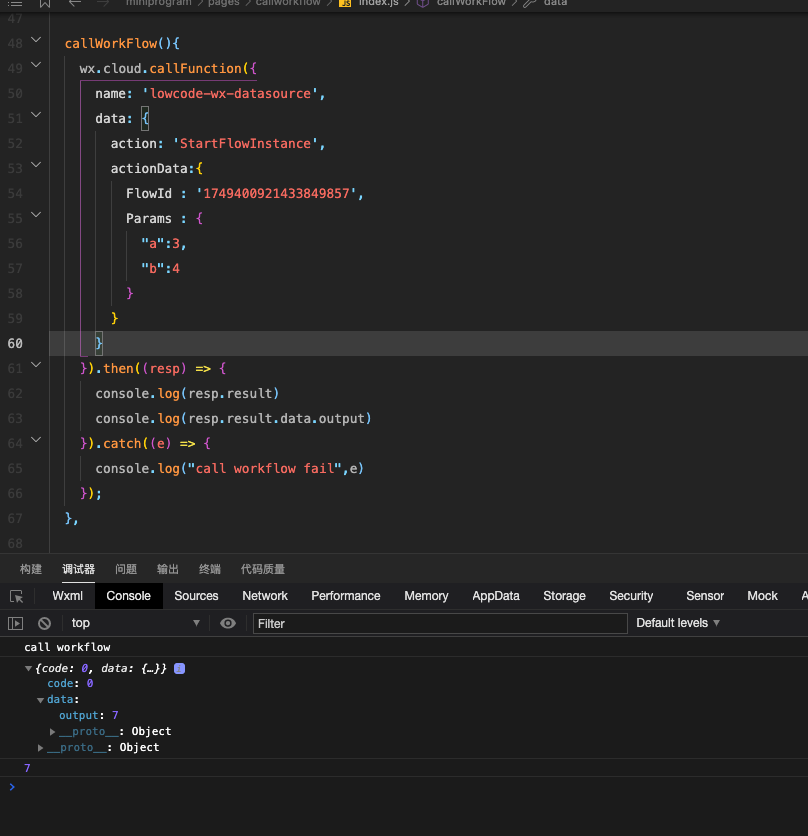
The data structure returned by the workflow is as follows. By checking the code, you can determine whether the workflow executed successfully. By retrieving the output, you can obtain the execution result of the workflow.
{
    "result":{
        "code":0,
        "data":{
            "output":{
                "hello":"world"
            }
        }
    }
}
After triggering the workflow invocation, you can obtain the return result of the workflow invocation as follows:
We can further modify the invocation parameters to view more returned data.