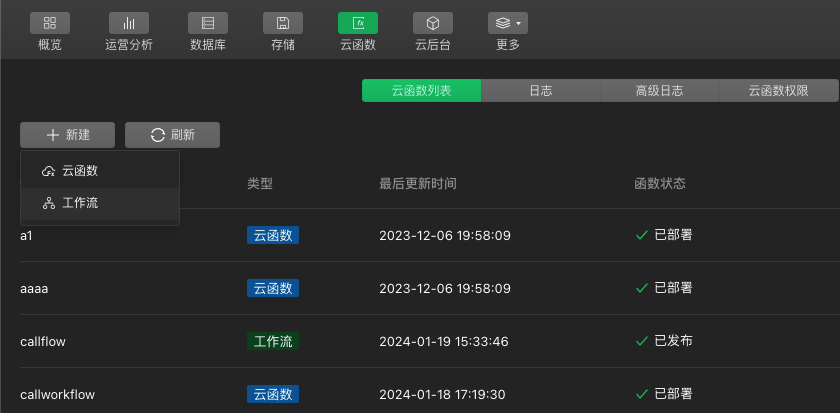
Workflow creation and configuration
This chapter will introduce how to configure a simple workflow. The created workflow supports triggering via sdk, accepts parameters, and returns after processing is completed.
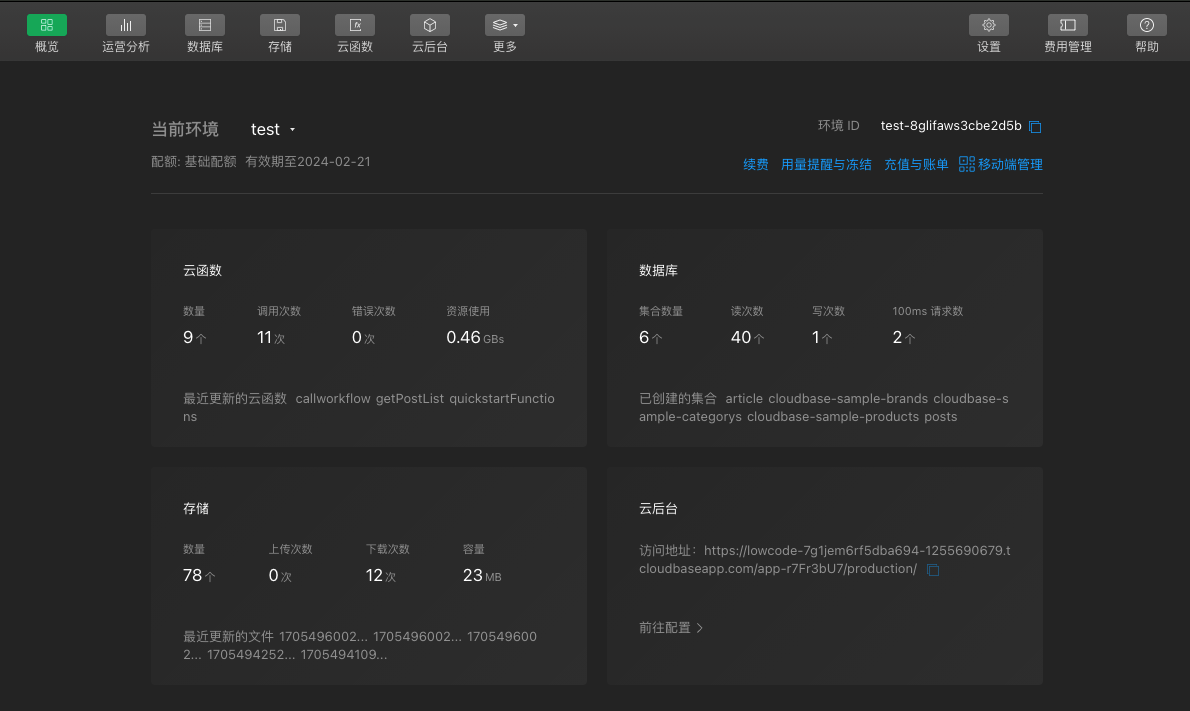
Prepare the Environment
This case is completed in the WeChat Mini Program Developer IDE and depends on a provisioned Cloud Development environment with corresponding workflow capabilities.
Before proceeding with subsequent configurations, ensure that WeChat Cloud Development has been activated and the workflow capability is enabled.
Workflow creation and configuration
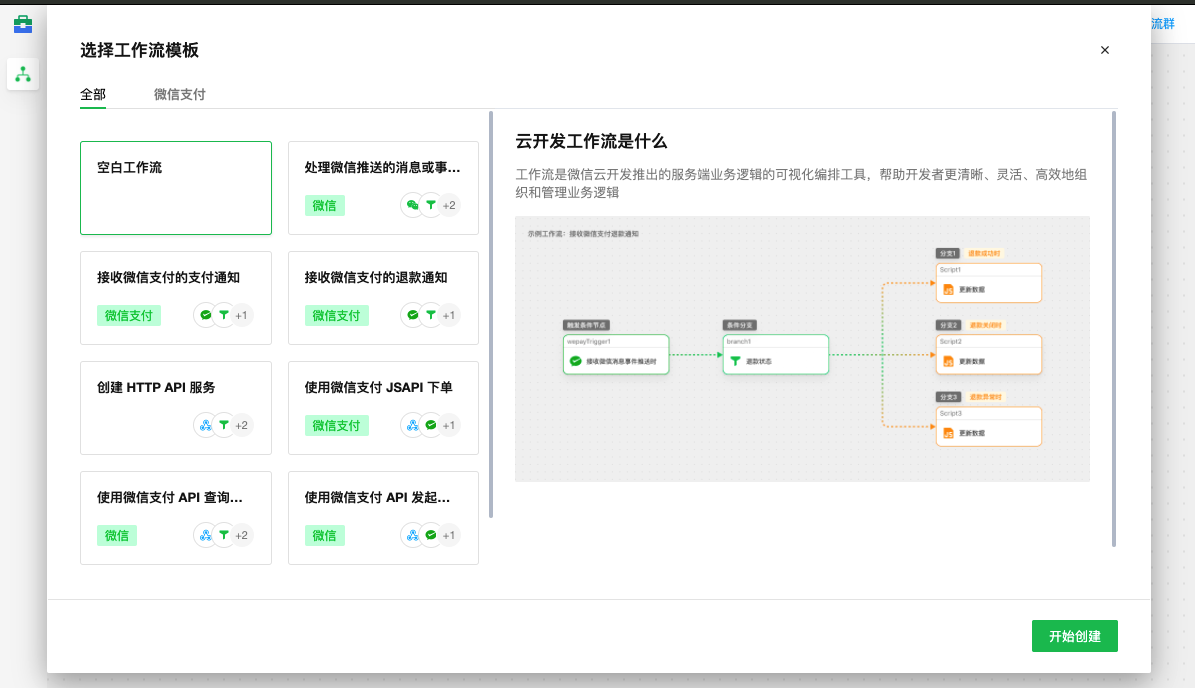
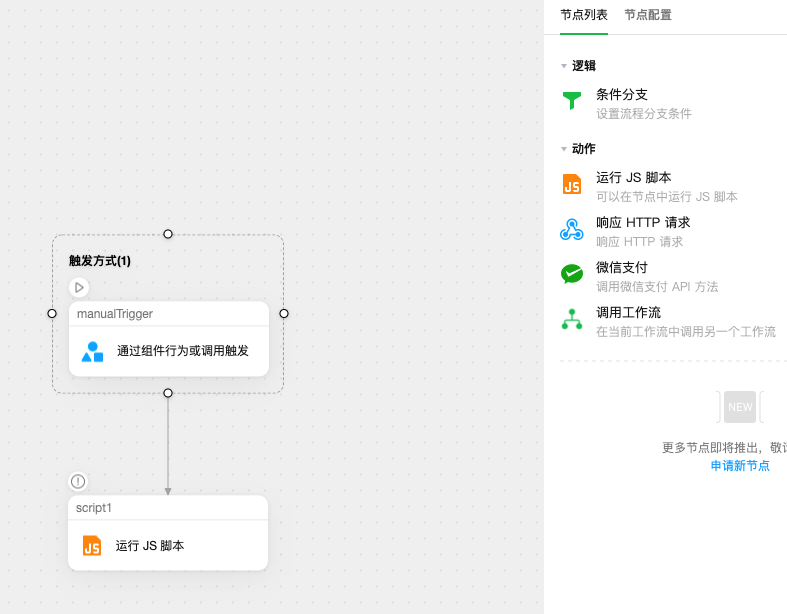
Creating a new workflow and configuring triggers in WeChat IDE
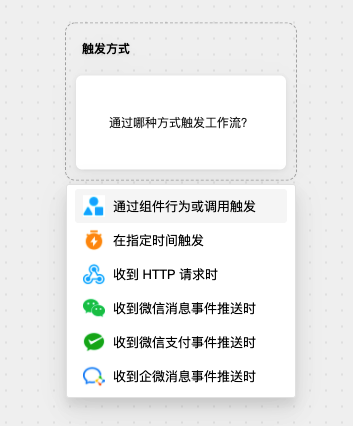
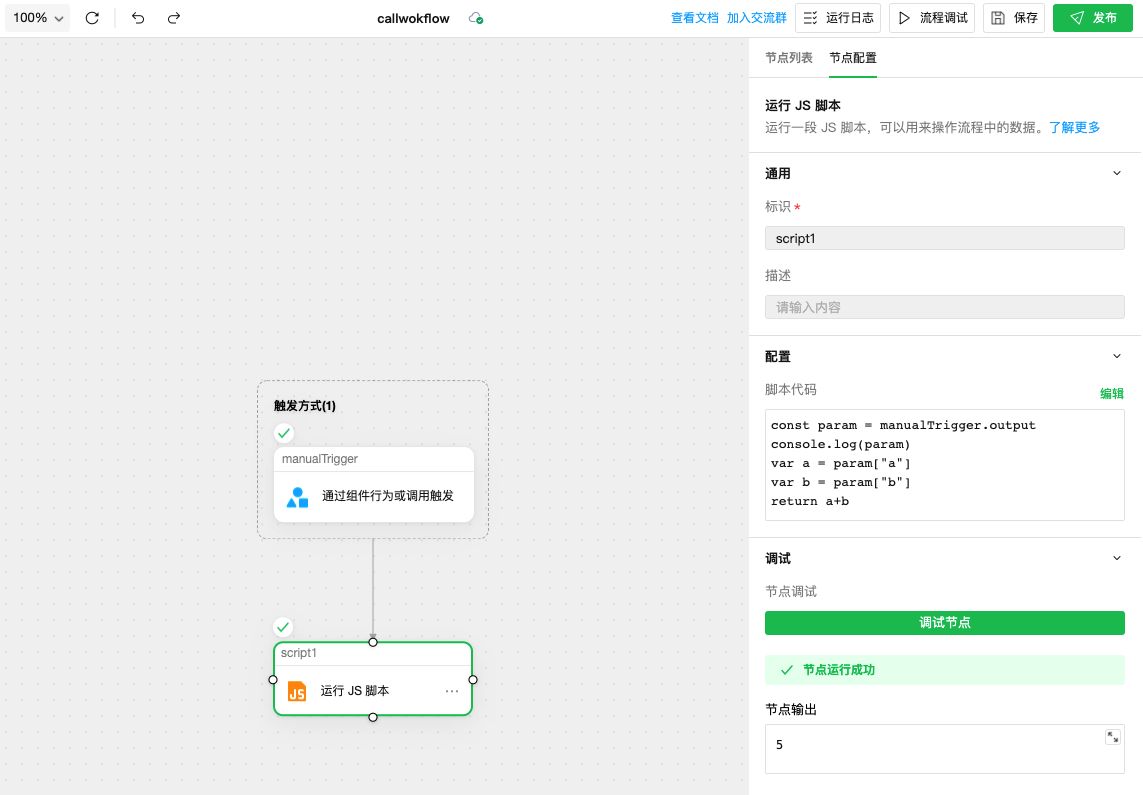
Create a blank workflow through the entry in the developer IDE, and select the trigger method as "via component or invocation behavior".
Configuring Logic Nodes
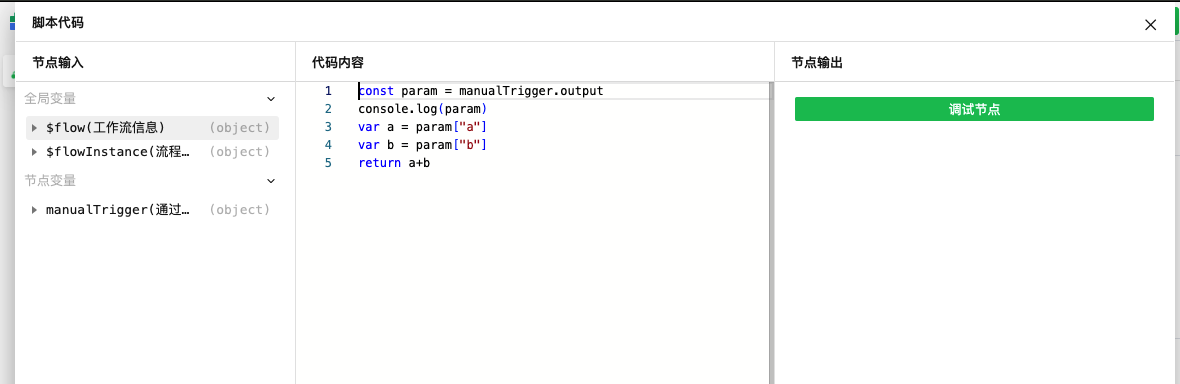
Add a custom code node after the trigger node to process passed parameters via code.
The custom code is edited as follows:
const param = manualTrigger.output
console.log(param)
var a = param["a"]
var b = param["b"]
return a+b
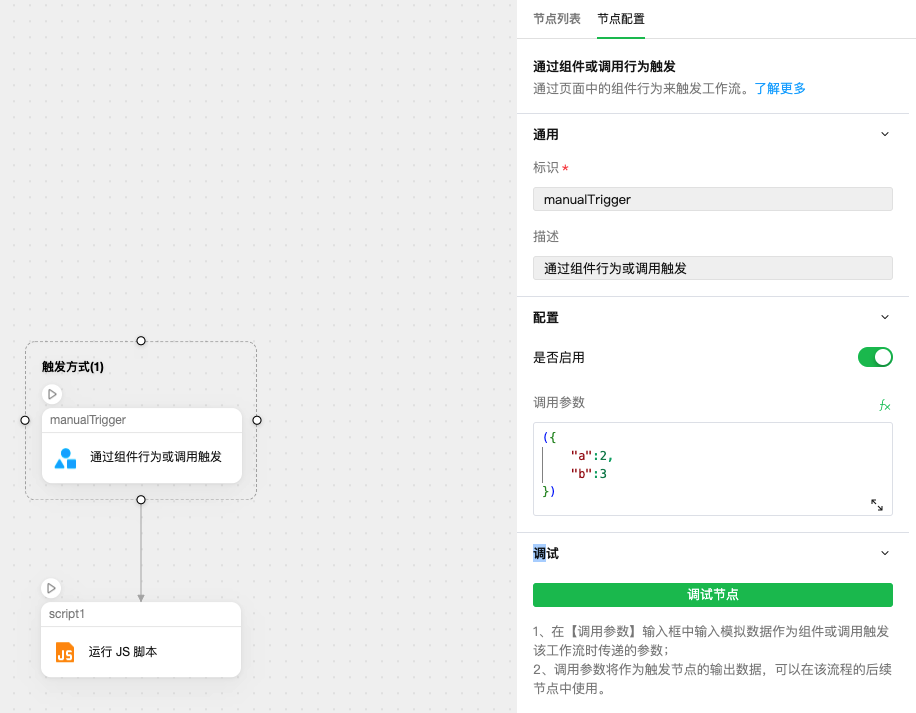
Test Workflow
To initiate debugging for the workflow, the debugging input parameters can be set as follows:
{
    "a":2
    "b":3
}
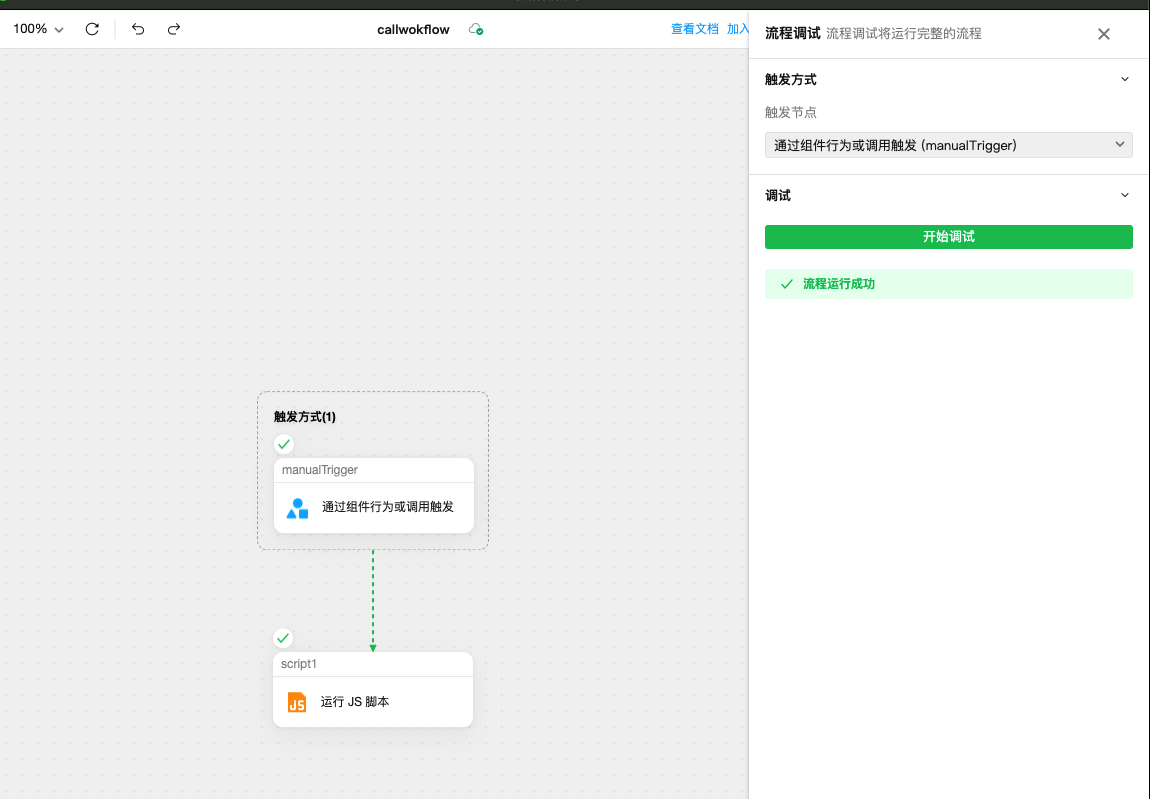
After configuring the debugging input parameters, initiate workflow debugging and view the execution results.
Publish Workflow
After the workflow configuration is completed and saved, proceed to publish it and confirm that it has been successfully published.
Later, you can view the operation status of the published version through the log interface within the workflow.
