Email Login
Authentication (v1) is no longer maintained. Please migrate to Authentication (v2).
Using email login, you can allow your users to register and log in to CloudBase using their own email and password, and also update the email and password used for login.
Enabling Email Login
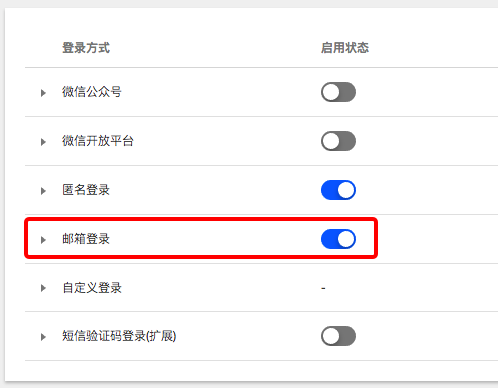
Step 1: Enabling Email Login
Go to the CloudBase console, and on the Login Authorization settings page, enable email login:
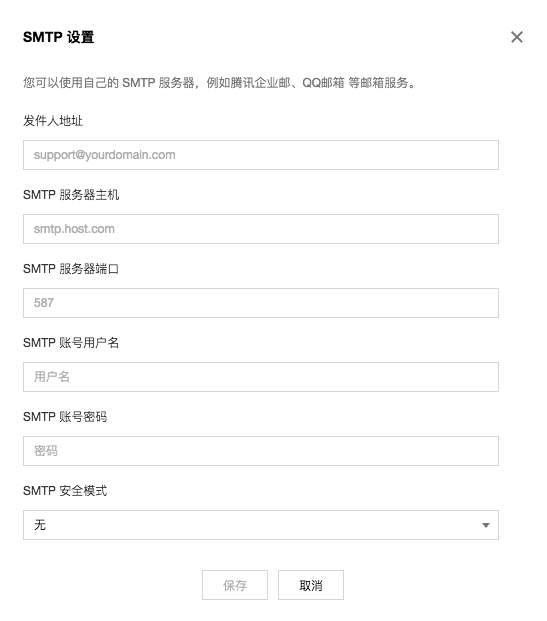
Step 2: Configuring Sender Email
Open the "Sender Configuration" page on the right, and fill in your email account's SMTP account information.
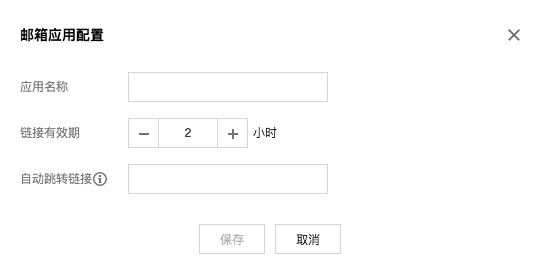
Step 3: Configuring Application Name and Auto-Redirect Link
Open the "Application Configuration" page on the right to configure your application name and auto-redirect link.
- The application name you set will appear in the verification email.
- The email sent by CloudBase contains a URL. After the user opens the URL in the email, it will automatically redirect to the auto-redirect link you set.
Login Process
Step 1: Initializing the SDK
- Web
import cloudbase from "@cloudbase/js-sdk";

const app = cloudbase.init({
  env: "your-env-id"
});
Step 2: Registering an Account Using Email
First, the user needs to enter their email and password, then call the SDK's registration interface:
- Web
app
  .auth()
  .signUpWithEmailAndPassword(email, password)
  .then(() => {
    // Verification email sent successfully
  });
After calling the registration interface, CloudBase will use your pre-configured email to send a verification email to the user's mailbox. The email contains an activation link. The account will be officially registered only after the user clicks the activation link.
Password length should be not less than 8 and not greater than 32, and should contain both letters and numbers.
Step 3: Log in to CloudBase using email+password
- Web
app
  .auth()
  .signInWithEmailAndPassword(email, password)
  .then((loginState) => {
    // Login successful
  });
Configuring Email Login Using QQ Mail
Step 1: Log in to QQ Mail
Go to the QQ Mail homepage and log in to your QQ Mail account.
Step 2: Enable IMAP/SMTP Service
After logging in to your email, navigate to "Settings - Account".

Then, in the "Account" settings, locate the "Enable Service" option and enable the IMAP/SMTP service.
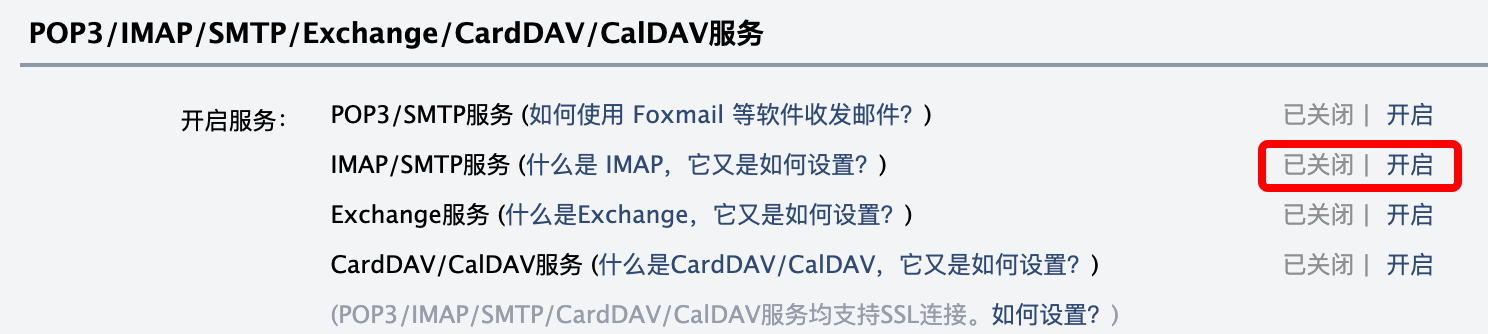
After enabling successfully, please save your email login authorization code.
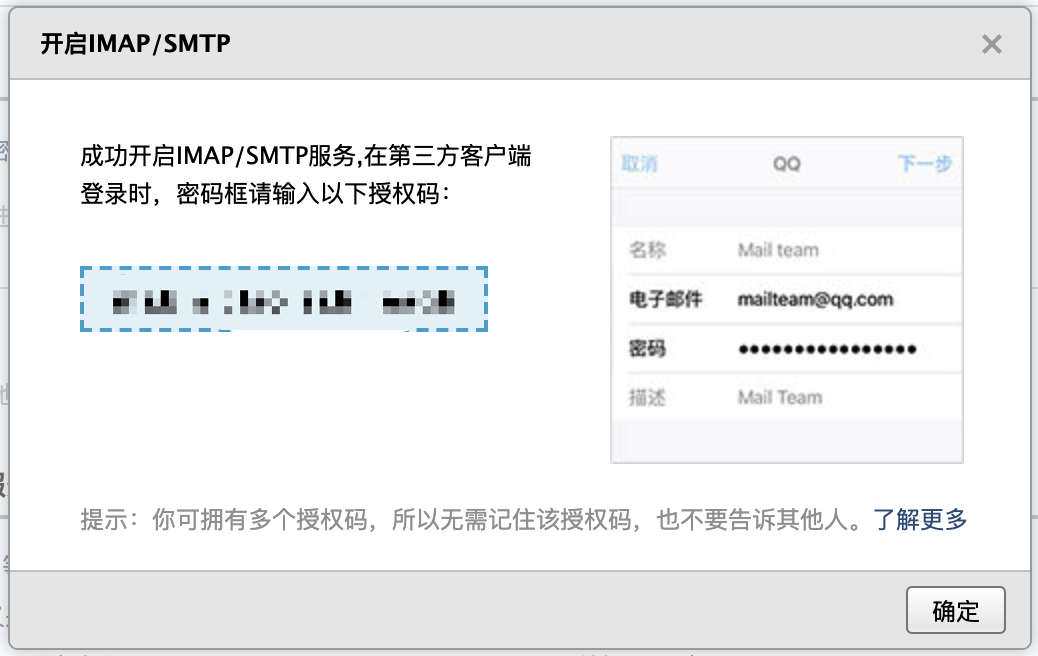
You can also enable the POP3/SMTP service. The authorization codes for both services can be used as the SMTP account password in Step 3.
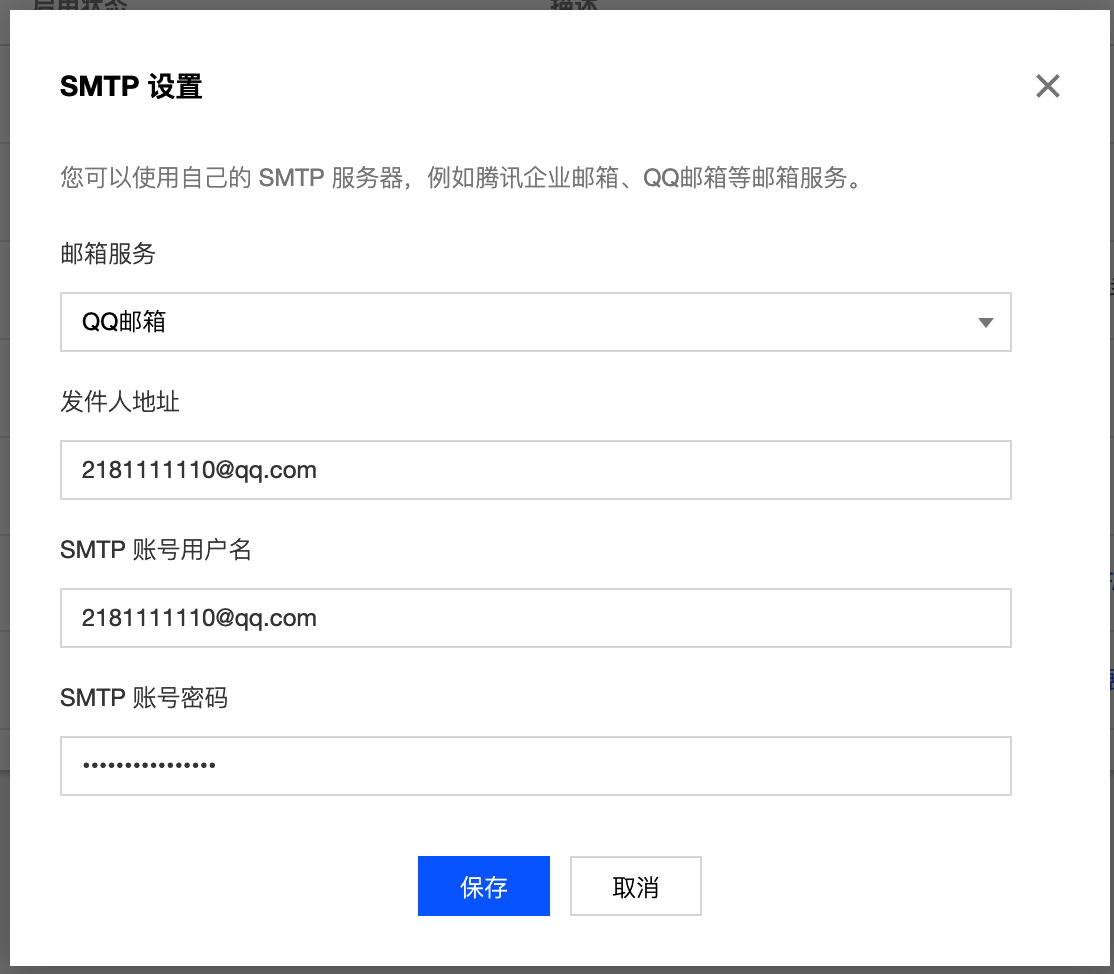
Step 3: Configure QQ Mail as the Sender
Go to the CloudBase console. On the Login Authorization page, open the "Configure Sender" panel on the right. Select QQ Mail as the email service, use your QQ Mail address as the sender address and SMTP account username, and use the authorization code from Step 2 as the SMTP account password.