Quick Start
Preparations
- Code hosting platform account
- Github
- Gitlab
- Gitee
- Register a Tencent Cloud account and activate CloudBase
Step 1: Choose a template
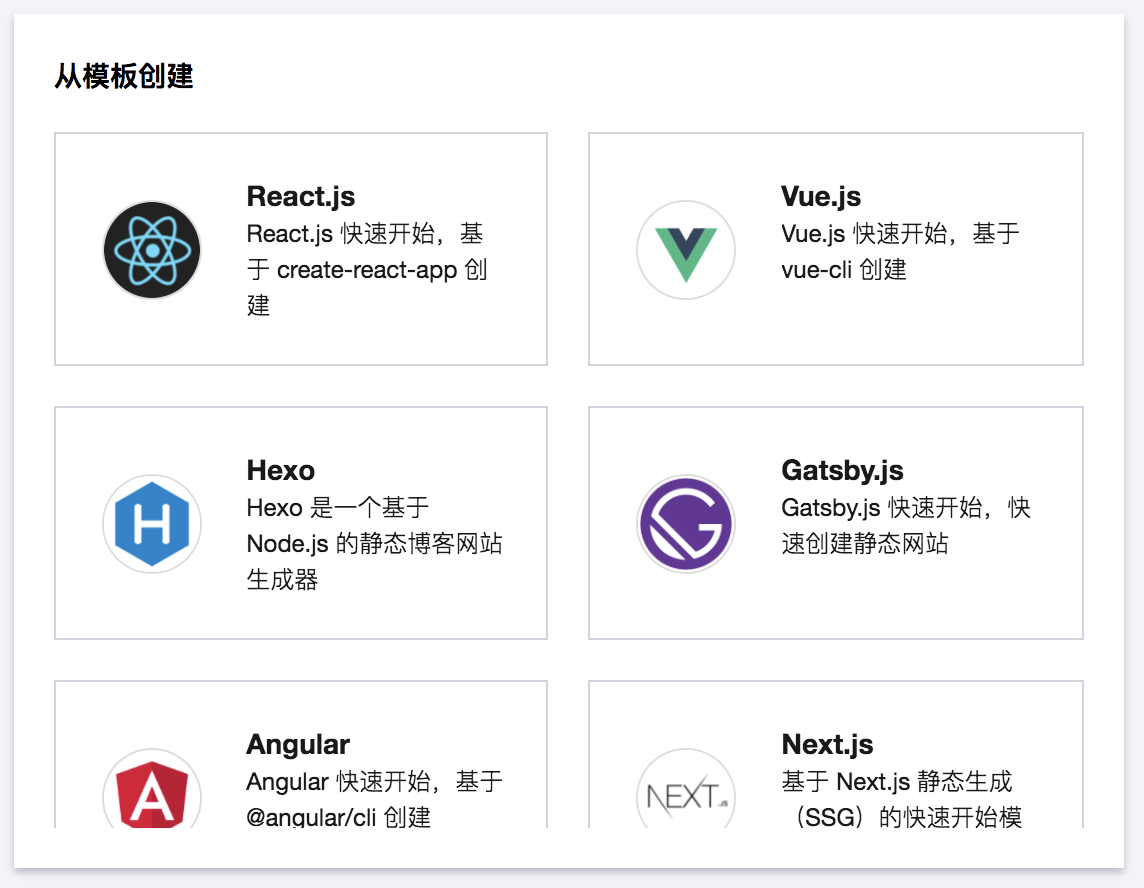
On the Webify Create Application page, select any template:

Step 2: Clone the template to the code repository
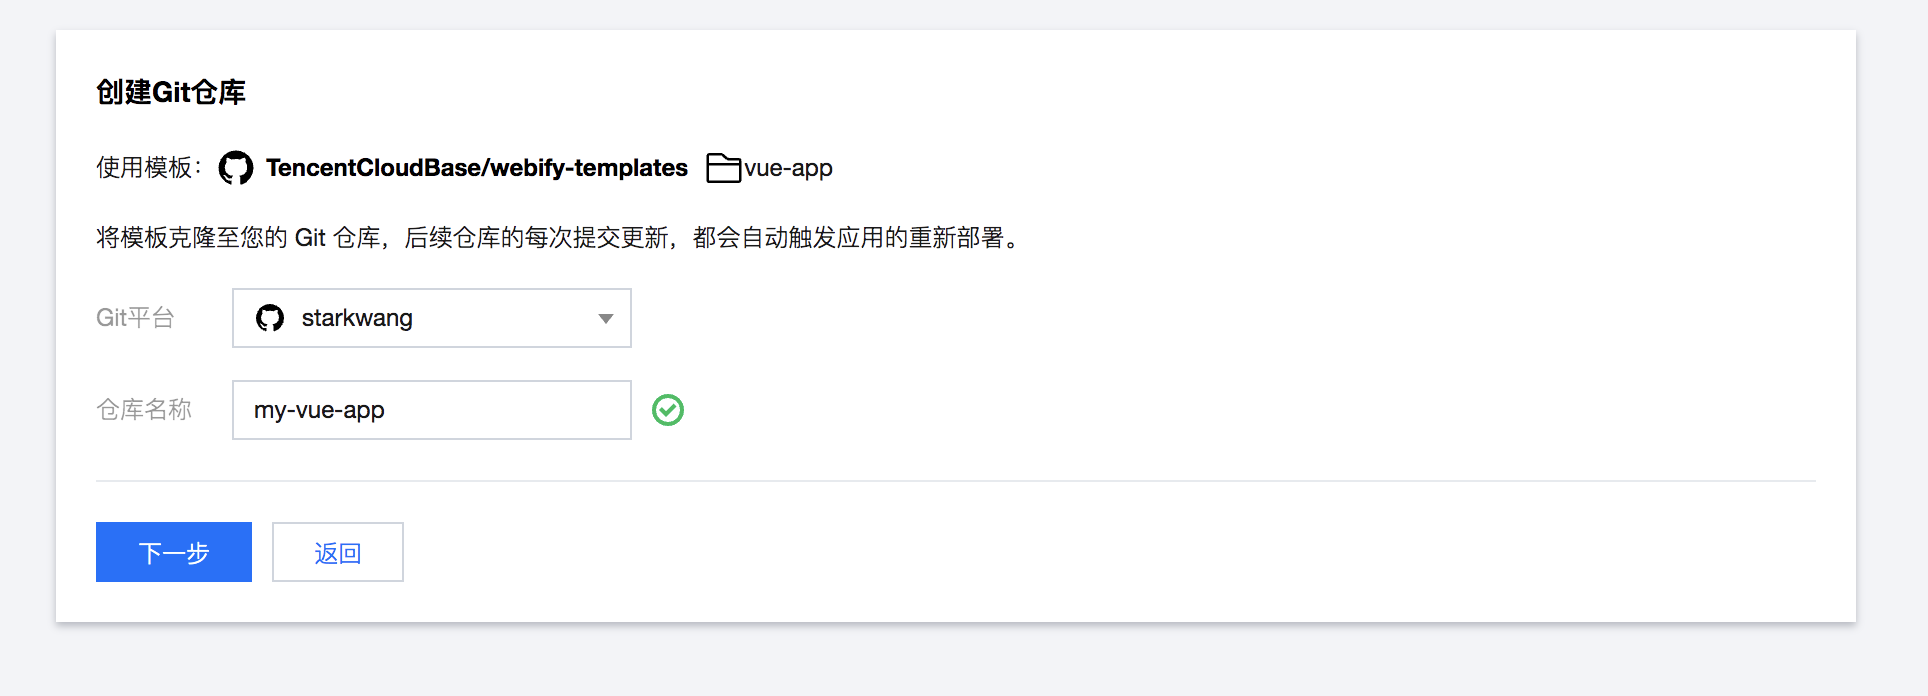
After selecting a template, Webify will create a new code repository for you using the template. Each subsequent commit to the repository will automatically trigger a redeployment of the application.
Before creating a repository, you need to complete the account authorization process on the Git platform. You can go to the Settings page to view the current authorization status.

Step 3: Application Configuration

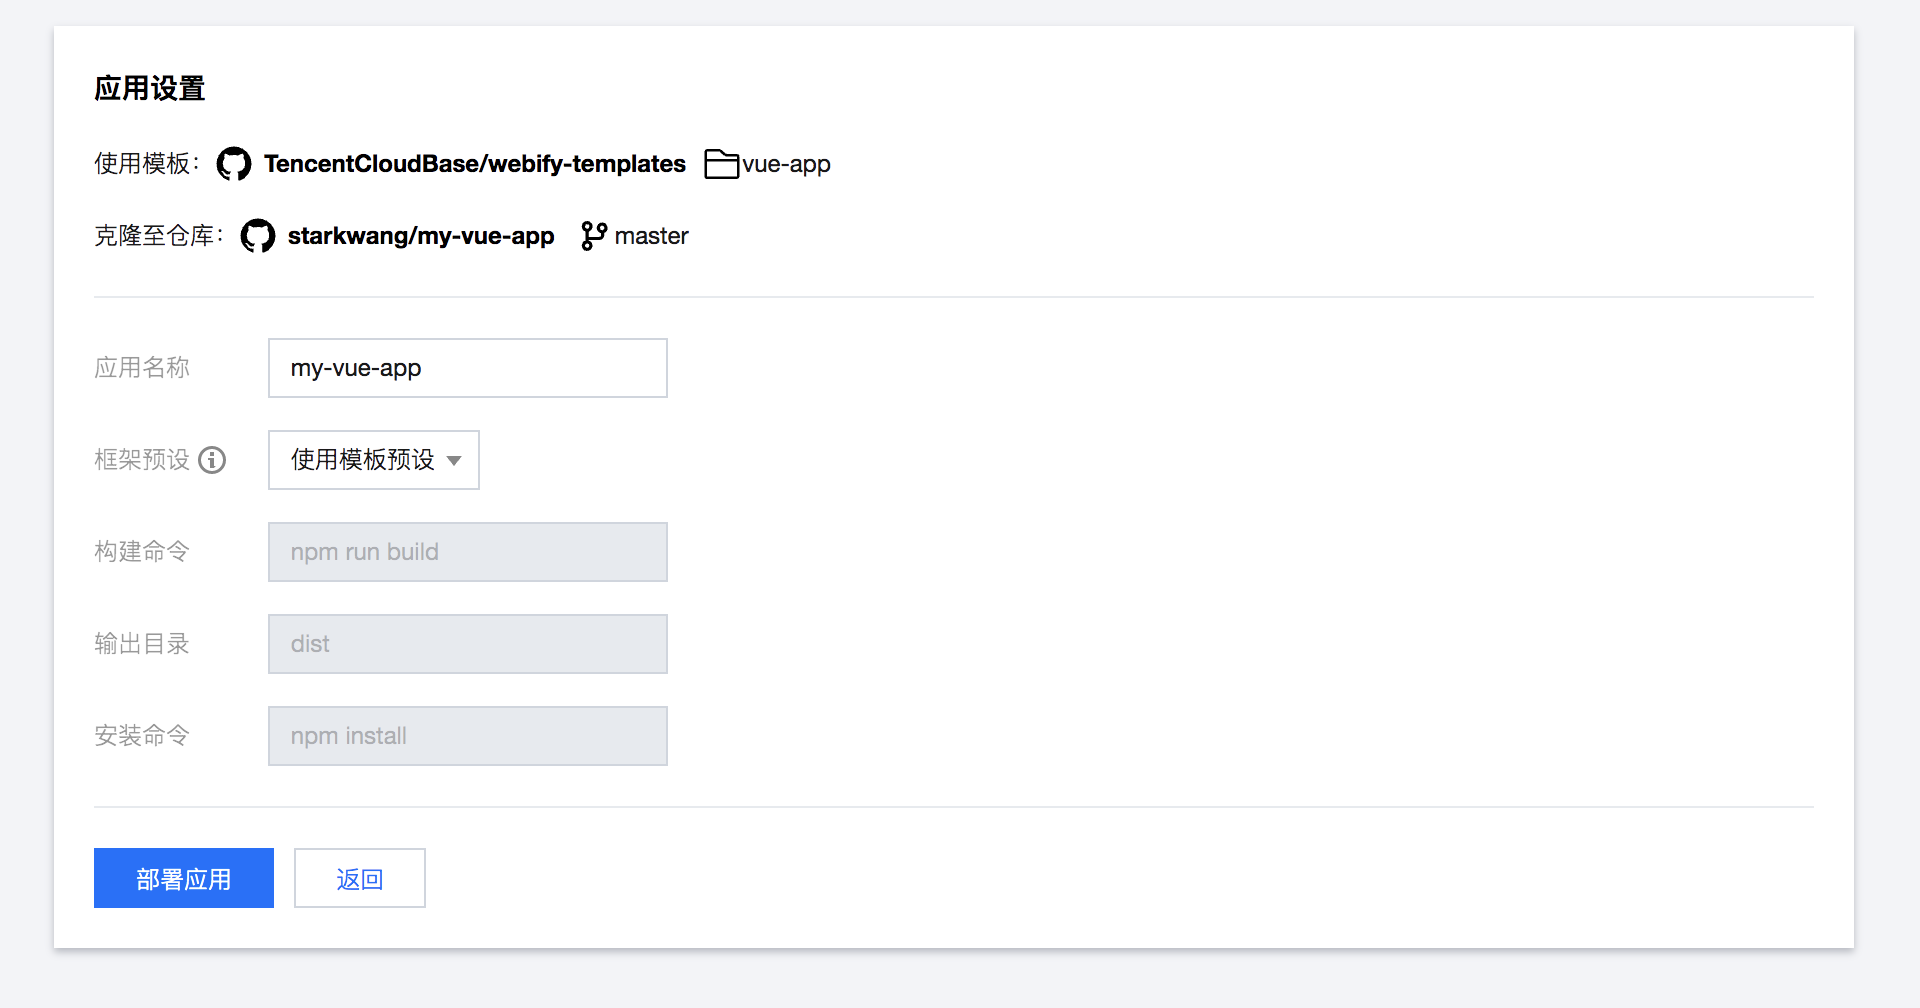
You can configure the application on this page using the template's preset configuration or a custom configuration.
It is recommended for first-time users to use the template's preset configuration.
Step 4: Complete Deployment and Access the Application
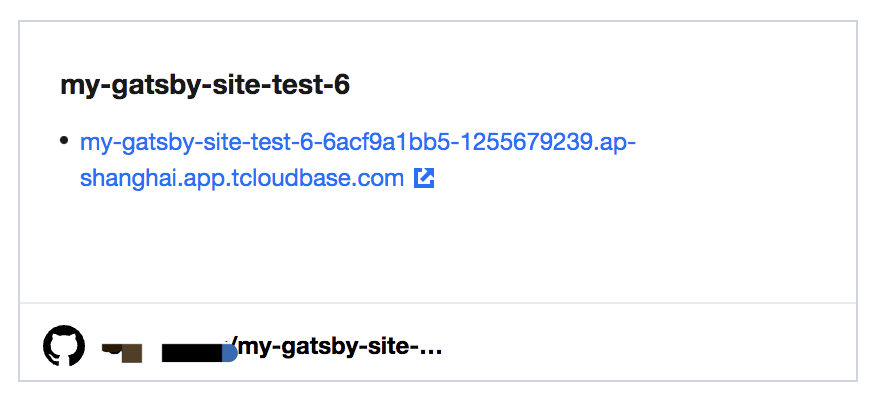
After clicking "Deploy Application", Webify will initialize resources and build/deploy your application. Upon completion, the application will be successfully deployed:

Webify assigns by default a domain name with the suffix .<region>.app.tcloudbase.com to each application. Here, region refers to the resource availability zone where the application is located, such as ap-shanghai. You can use this domain name to access your application.
Step 5 (Optional): Develop Your Application
In the above process, Webify has used the template to create a new code repository for you. You can subsequently push updates to the code repository, triggering Webify's automatic build and deployment to update your application.
Clone the repository locally
git clone https://github.com/<your-name>/<repo-name>
Enter the project root directory and start the development environment:
npm run dev
After modifying the application, submit the changes to the remote Git repository.
git commit -m "my first change"
git push origin
This will subsequently trigger Webify's automatic build and deployment.