Web Application
This guide explains how to quickly integrate CloudBase AI capabilities into Web applications.
Preparation
- Create a Web project (React, Vue, or native HTML all work)
- A CloudBase environment (older plans can be upgraded), and get the environment ID
- Enable the required models in Console → AI → Text Models
- Get Publishable Key (CloudBase Console → Environment Configuration → API Key)
Guides
- Guide 1: Call large models directly to implement text generation
- Guide 2: Implement intelligent conversation through Agent
Guide 1: Call Large Models to Implement Text Generation
In a Web application, directly call the text generation capability of large models to implement the simplest text generation. Here's a simple Demo of a "Seven-Character Quatrain" generator as an example:
Step 1: Install SDK
npm install @cloudbase/js-sdk
Step 2: Initialize CloudBase Environment
Initialize the CloudBase environment in your code:
import cloudbase from "@cloudbase/js-sdk";

const app = cloudbase.init({
  env: "<CloudBase Environment ID>",
  accessKey: "<YOUR_PUBLISHABLE_KEY>"
});
Replace "<CloudBase Environment ID>" with your actual CloudBase environment ID, and "<YOUR_PUBLISHABLE_KEY>" with your actual Publishable Key. After successful initialization, you can use app.ai() to call AI capabilities.
Step 3: Create AI Model and Call Text Generation
// Get AI instance
const ai = app.ai();

// Create model instance, here we use DeepSeek large model
const model = ai.createModel("cloudbase");

// Set the AI system prompt, here using seven-character quatrain generation as an example
const systemPrompt =
  "Please strictly follow the rules of seven-character quatrains or seven-character regulated verse in creation. Tones must conform to regulations, rhymes should be harmonious and natural, and rhyming characters should be in the same rhyme category. Create content around the user's given theme. A seven-character quatrain has four lines, each with seven characters; a seven-character regulated verse has eight lines, each with seven characters, with the second and third couplets requiring neat correspondence. At the same time, incorporate vivid imagery, rich emotions, and beautiful artistic conception, demonstrating the charm and beauty of classical poetry.";

// User's natural language input, such as 'Write me a poem praising Jade Dragon Snow Mountain'
const userInput = "Write me a poem praising Jade Dragon Snow Mountain";

// Pass the system prompt and user input to the large model
const res = await model.streamText({
  model: "hy3", // Specify the specific model
  messages: [
    { role: "system", content: systemPrompt },
    { role: "user", content: userInput },
  ],
});

// Receive the response from the large model
// Since the large model's return result is streamed, we need to loop to receive the complete response text.
for await (let str of res.textStream) {
  console.log(str);
}
// Output result:
// "# Ode to Jade Dragon Snow Mountain\n"
// "Snowy peaks soar into clouds at the apex, jade bones and ice skin defy the nine heavens.\n"
// "Snow shadows and misty light enhance the scenery, sacred mountain sanctuary sustains endless charm.\n"
As you can see, with just a few lines of code, you can directly call CloudBase to access the text generation capability of large models.
Guide 2: Implement Intelligent Conversation Through Agent
By calling the text generation interface of large models, you can quickly implement a question-and-answer scenario. However, for complete conversation functionality, just having the input and output of a large model is not enough. You need to transform the large model into a complete Agent to better interact with users.
CloudBase's AI capabilities not only provide raw large model access but also provide Agent access capabilities. Developers can define their own Agents on CloudBase and then call Agents directly from Web applications for conversations.
Step 1: Install and Initialize SDK
npm install @cloudbase/js-sdk
import cloudbase from "@cloudbase/js-sdk";

const app = cloudbase.init({
  env: "<CloudBase Environment ID>",
  accessKey: "<YOUR_PUBLISHABLE_KEY>"
});
Replace "<CloudBase Environment ID>" with your actual CloudBase environment ID. After successful initialization, you can use app.ai() to call AI capabilities.
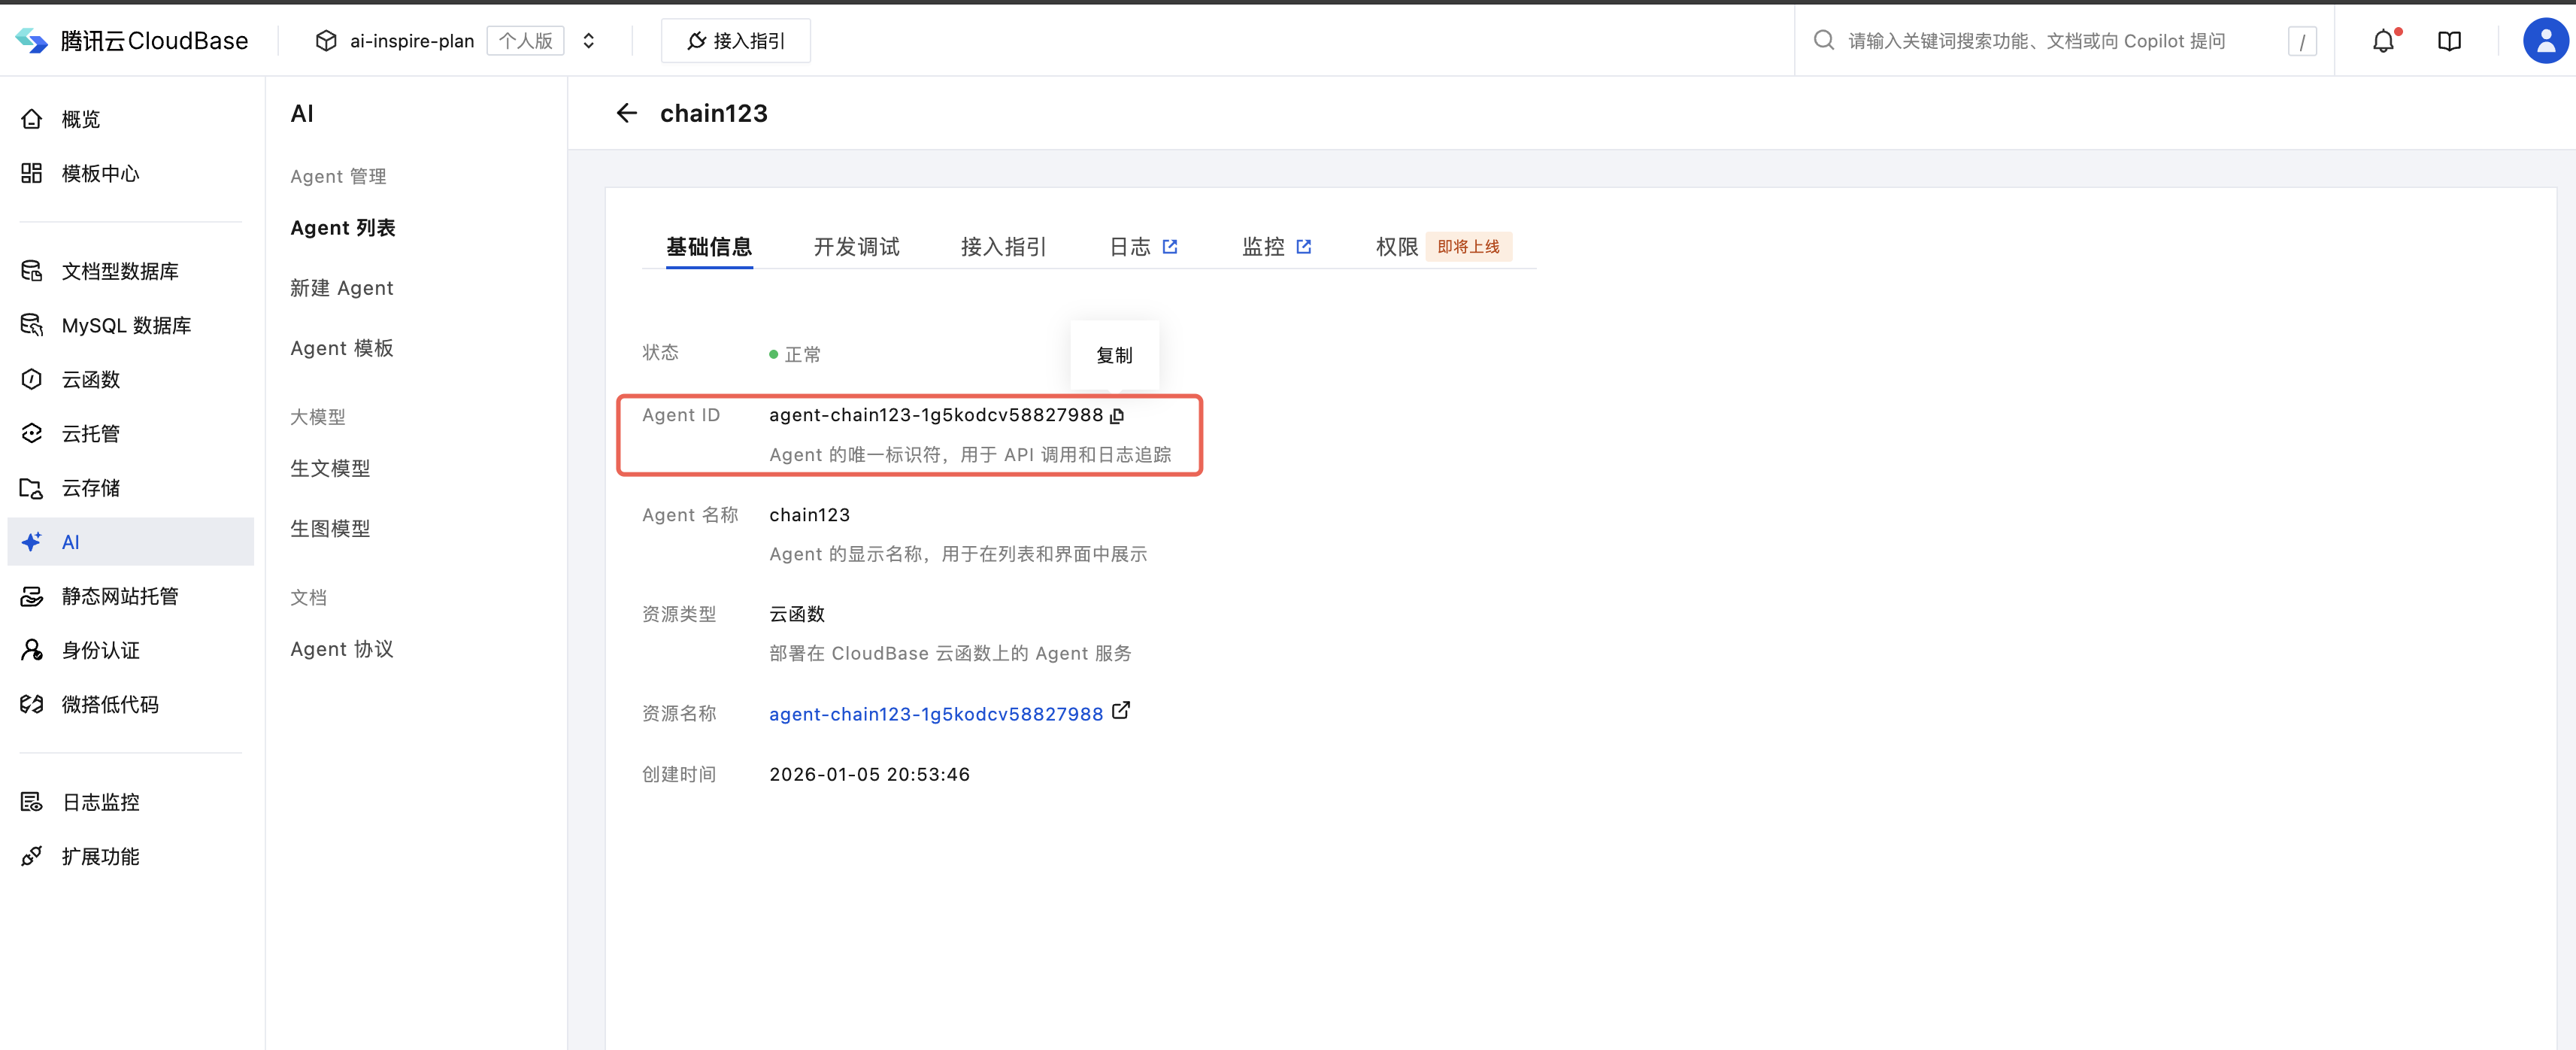
Step 2: Create an Agent
Go to CloudBase Platform - AI, select a template, and create an Agent.
You can create Agents through open-source frameworks like LangChain, LangGraph, or integrate third-party Agents like Tencent Yuanqi, Intelligent Agent Development Platform, Dify, etc.

Copy the AgentID from the page, which is the unique identifier of the Agent and will be used in the code below.
Step 3: Implement Conversation with Agent in Web Application
We just created an Agent called "Mini Program Development Expert". Let's try chatting with it to see if it can handle common CloudBase error reporting issues. In a Web application, use the following code to directly call the Agent we just created and start a conversation:
// Get AI instance
const ai = app.ai();

// User input, here we use an error message as an example
const userInput =
  "What does this error in my mini program mean: FunctionName parameter could not be found";

const res = await ai.bot.sendMessage({
  botId: "<AgentID>", // Agent unique identifier from Step 2
  msg: userInput,
  history: [],
});

for await (let x of res.textStream) {
  console.log(x);
}
// Output result:
// "### Error Explanation\n"
// "**Error message:** `FunctionName \n"
// "parameter could not be found` \n"
// "This error usually means that when calling a function, \n"
// "the specified function name parameter was not found. Specifically, \n"
// "it could be one of the following situations:\n"
// ……
We can also record the conversation content and put it in the history array, then repeatedly call the Agent interface to achieve multi-turn conversation:
const res = await ai.bot.sendMessage({
  botId: "<AgentID>", // Agent unique identifier from Step 2
  msg: "Please introduce CloudBase",
  history: [
    { role: "user", content: "Hello" },
    { role: "assistant", content: "Sure, what can I help you with" },
  ],
});